Published: 6/7/2009
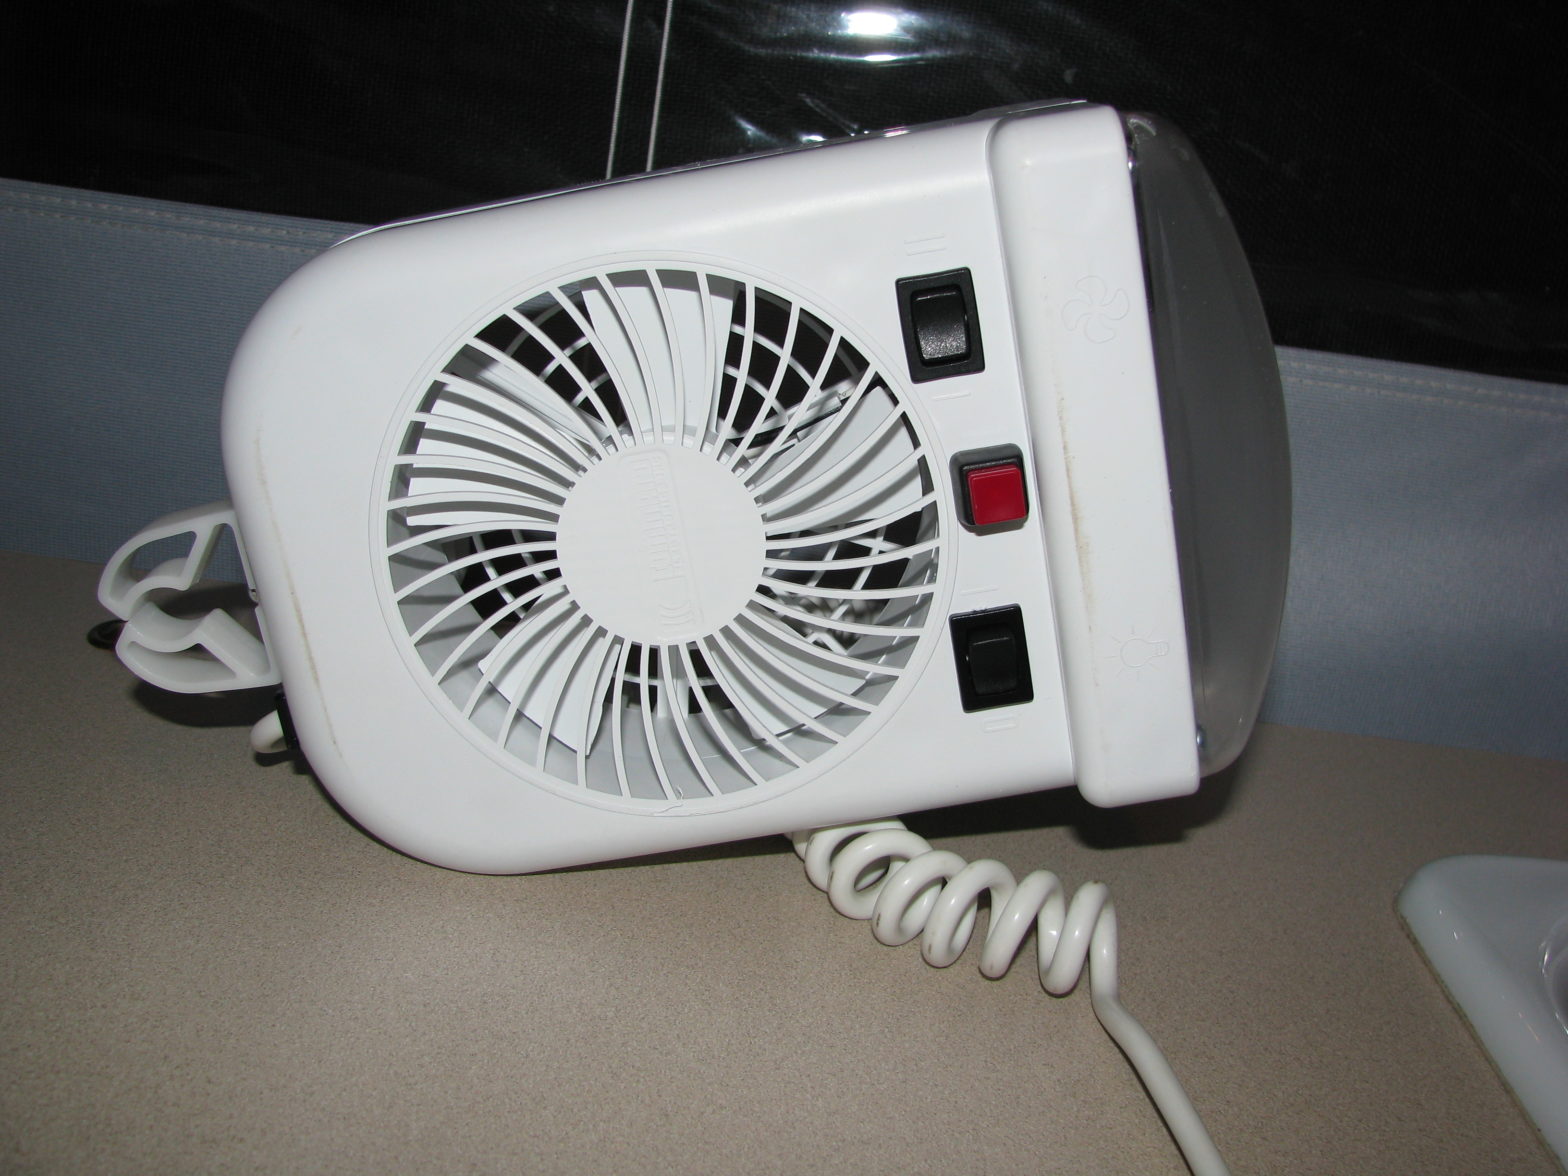
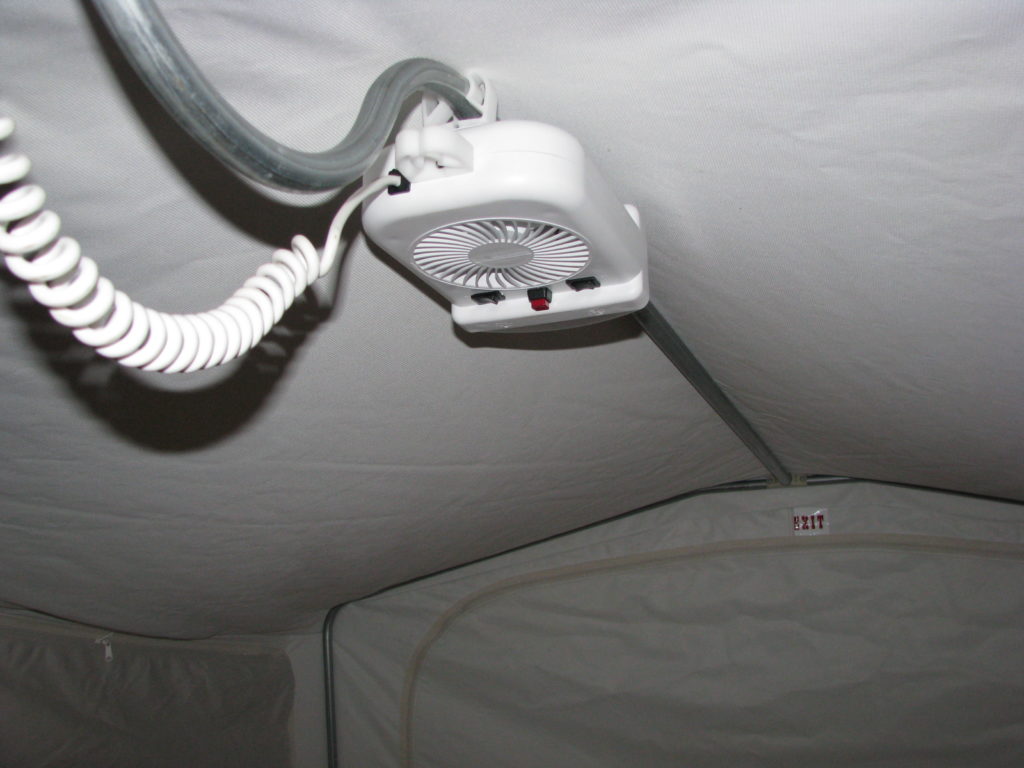
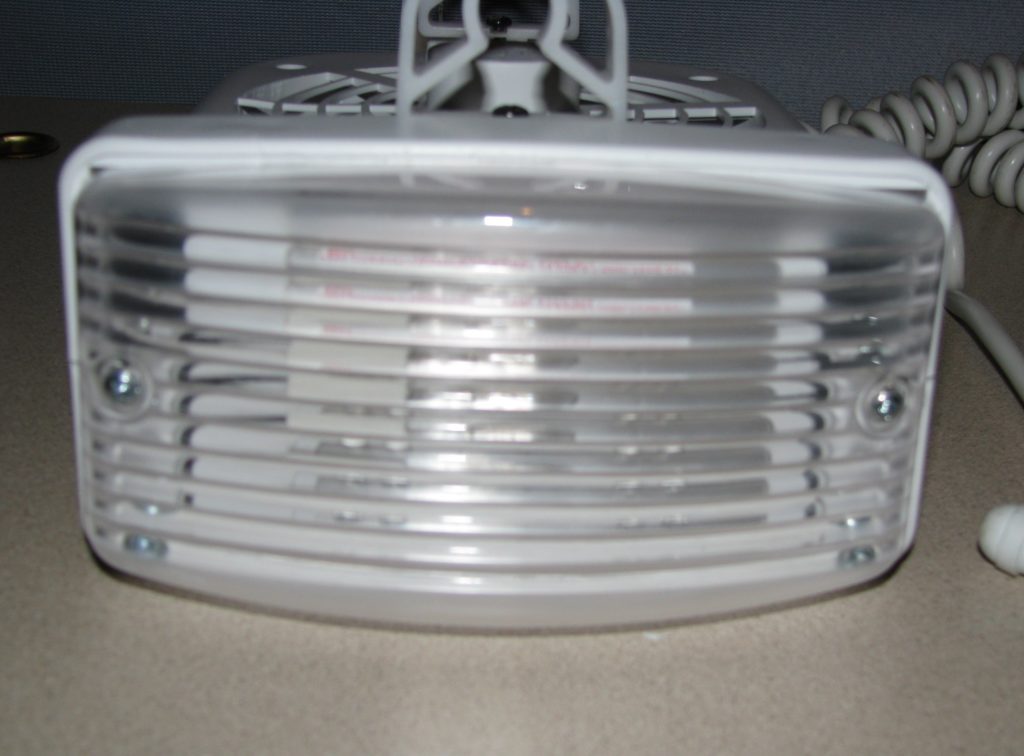
When we take our kids camping, one challenge is the lack of a night light in the bunks. An easy solution woud be to get a battery-operated light, but that’s another set of batteries I’d need to keep track of. Thankfully our camper, like most popups, has a 12V combination fan/light in each bunk. They plug into jacks on the ceiling and have clips to hang from the poles. The included light is way too bright for a night light, but when I popped one of them open I saw it wouldn’t be too hard to add a night light into the unit itself.
I did some experimentation, then decided to add some LEDs and an extra switch into the light. LEDs come in a wide variety of brightnesses, so I bought a whole bunch of different ones to try. I ended up choosing 5mm white 12000mcd LEDs from LCK-LED.com. Most LEDs run on about 3 volts, so to run off of 12 volts you’ll need to put four LEDs in series. The other thing to realize about LEDs is that they usually have a very small beam angle. They’re like spotlights, not flood lights. Having a bunch of LEDs shining straight down into your face wouldn’t be very conducive to sleeping, so I decided to put them inside the clear bezel pointing up (when mounted horizontally) for indirect lighting in the bunk.
The first step was to find a spot to mount the LEDs. You have to be careful to maintain some distance from the original bulb, since it gets pretty hot. What I decided to do was build a bracket to hold the LEDs and mount that bracket across the bottom of the opening. I grabbed a piece of vinyl siding J-channel that I had laying around and cut a 5 inch L-shaped piece from it. You could use just about any piece of vinyl siding, but if you have to buy something, J-channel is probably the cheapest.
The next step was to trim and shape the vinyl LED holder to fit in the required space. After that, I found a good spot for each of the LEDs (far enough away from the original light bulb) and drilled holes to mount them in. The LEDs are 5mm, so I used a 13/64″ bit. A 3/16″ bit would probably work pretty well if you reamed it out just a little. The LEDs have a small lip which will prevent them from pushing all the way through a properly sized hole. I also drilled small holes on the ends for mounting the completed LED bar.
Next I added the LEDs to the LED holder. I took the LEDs, laid them out in a row, carefully soldered them together in series (making sure they’re all facing the same direction). I also soldered some leads onto each end of the string of LEDs. Pay no attention to the colors of the wires in my pictures. I only had red and black, and I screwed the color standards up anyway. After I soldered them, I put the LED strip into the vinyl holder and held it all together with some epoxy.
After that, I found a place to mount the switch. I couldn’t find a switch that matched the existing ones, so I grabbed a on/off pushbutton. I split the two halves of the light’s case and drilled the mounting hole between the existing switches. It’s a little tight there, so you could put it someplace else if you wanted to.
Next, I wired it up. In the picture below, I pointed out where I connected my new wiring. The positive side is easy: just strip the end of the positive lead coming from the LEDs and push it into the empty slot in the orange junction block shown. My new wire is the thin black wire. For the negative side, I soldered a new wire onto the location shown (you could use a new spade plug like the existing wiring, but I didn’t have anything that fit). It’s kind of hard to see in the picture, but my new thin red wire is tied into the center pin on the switch. Run that new negative wire to the switch and solder it to one side. On the other side of the switch, solder the negative lead from the LED assembly. At this point it would be a good idea to test your wiring before reassembling.
Finally, I tucked all the wiring back inside (be careful of the fan) and mounted the switch. Using a couple of screws, I mounted the LED assembly as shown. I would have used smaller ones, but I used what I had. Make sure the screws don’t interfere with putting the lens back on. Close the case and put the lens back on.
That’s about it! I’m happy with the way it turned out.


