Published: 3/20/2009
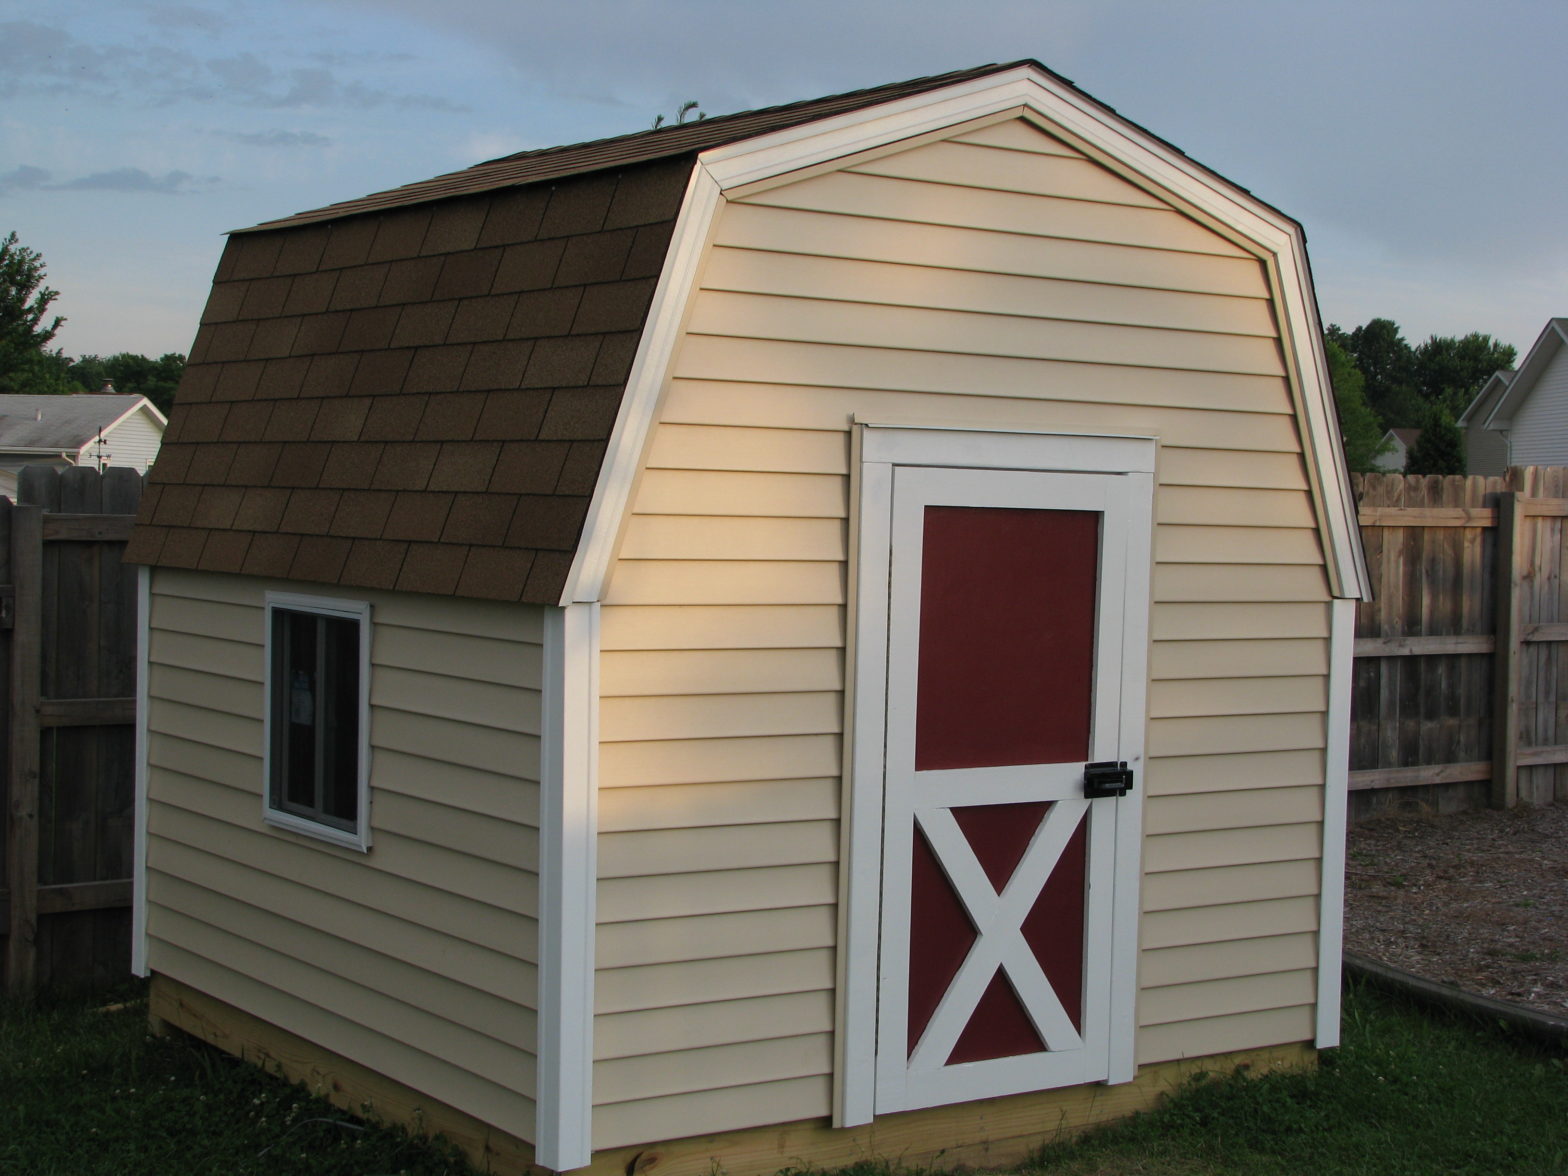
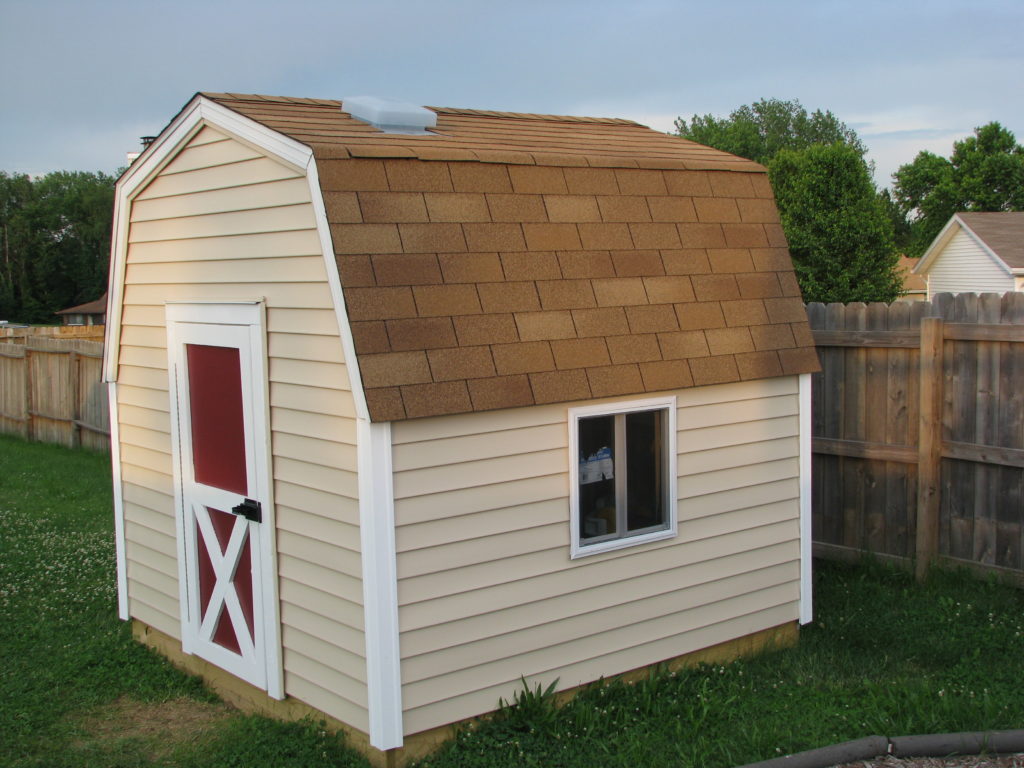
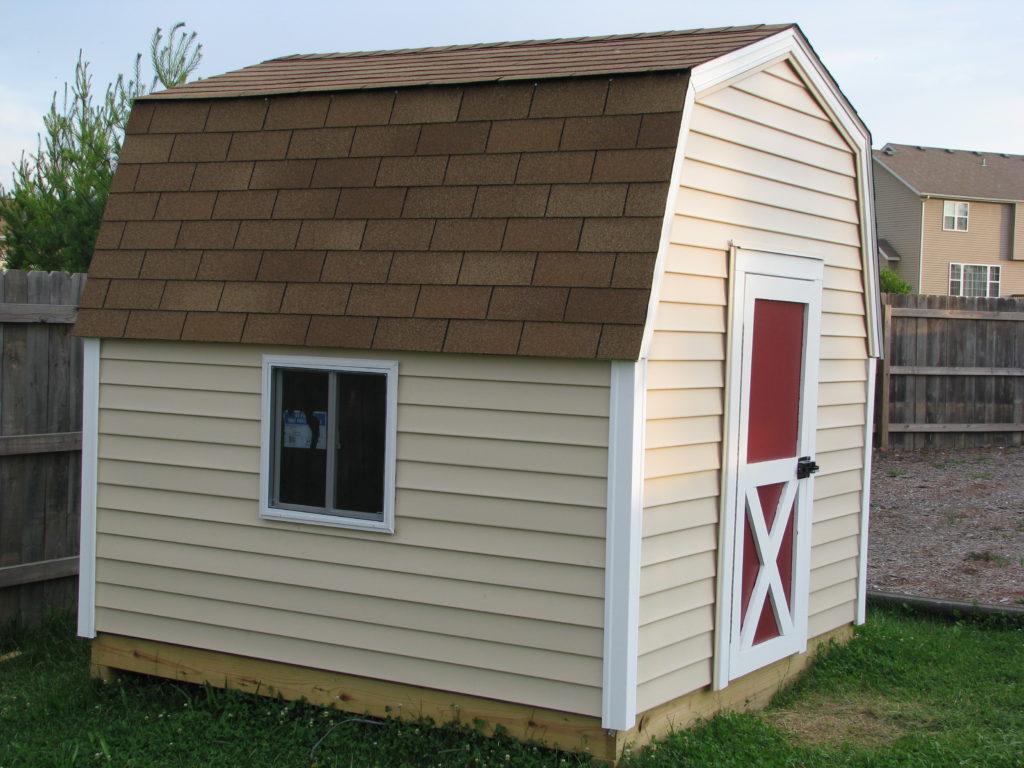
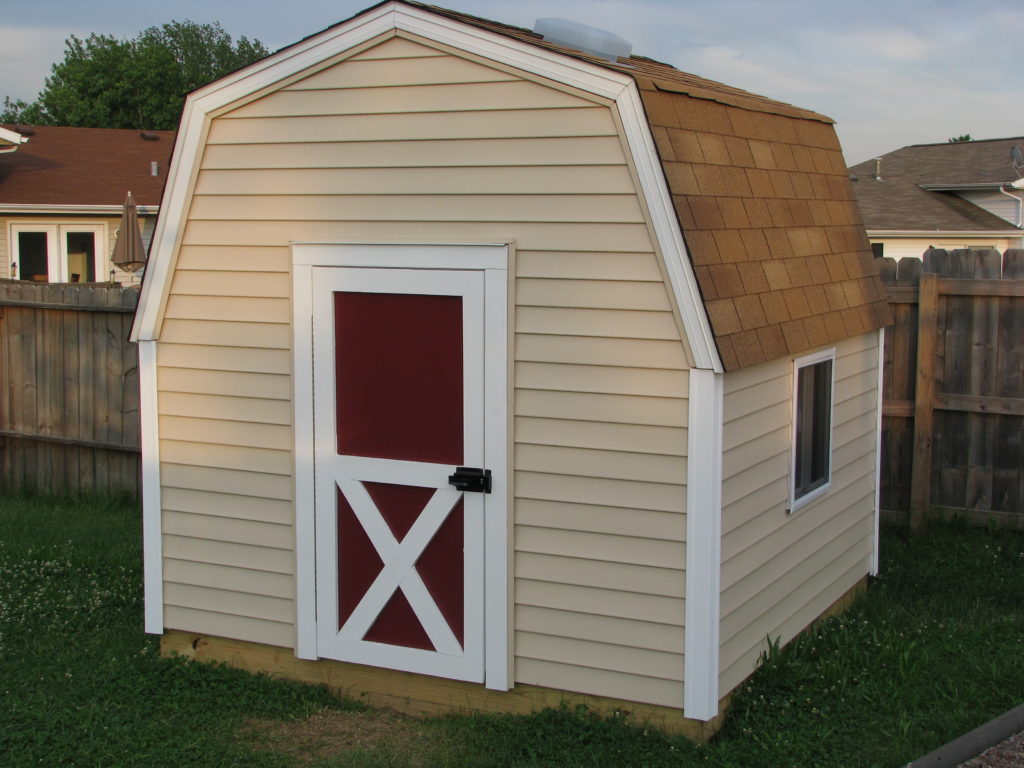
In May and June of 2008, with Evan’s help, I built a playhouse in the backyard for the kids. I haven’t completely finished what I intended to accomplish, but it’s serving its purpose well.
Status: Ready for play, but more to come
Project cost: ~$800
Build time: ~75 hours
Dimensions: 8ft x 8ft x 8ft (excluding roof overhangs)
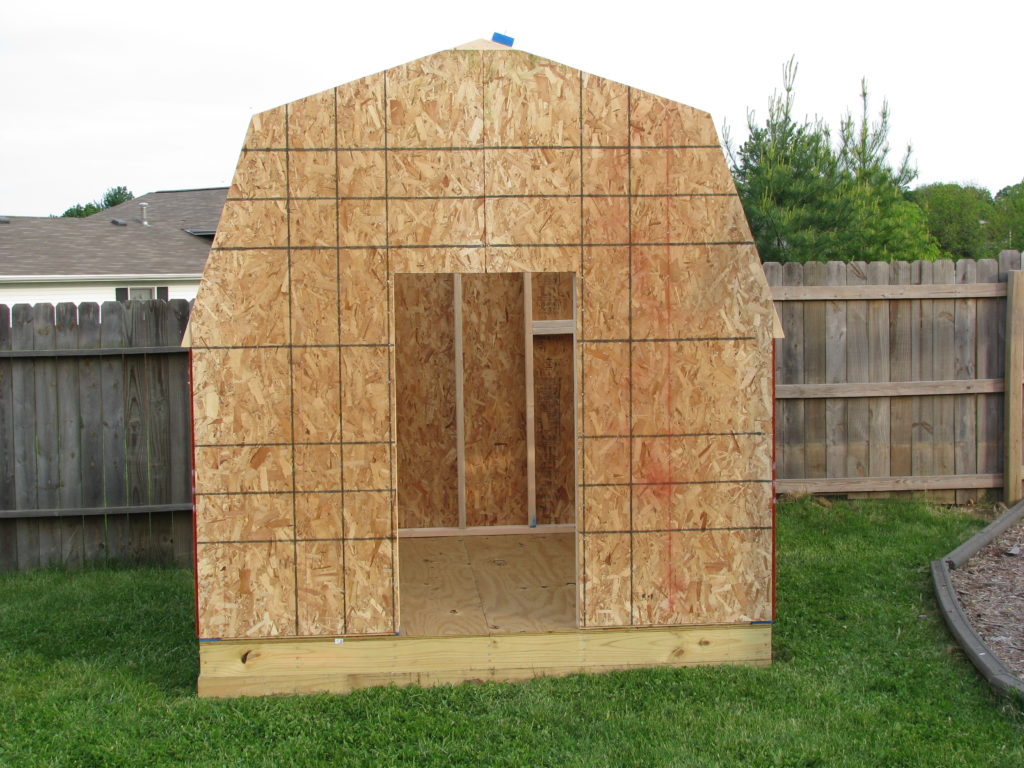
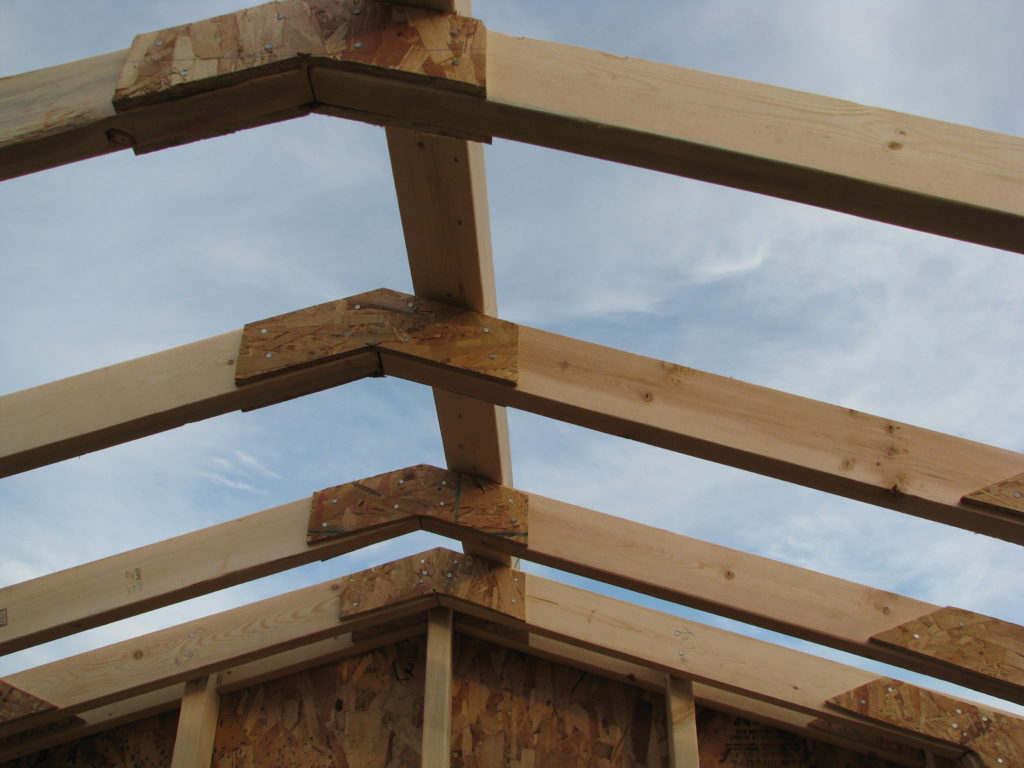
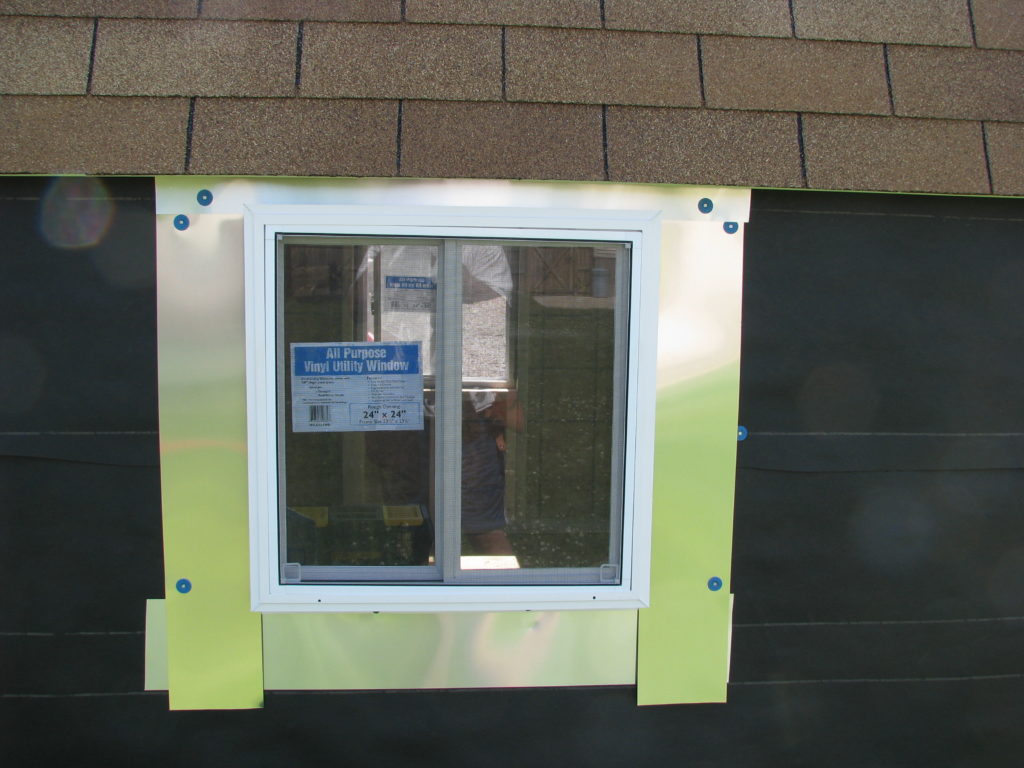
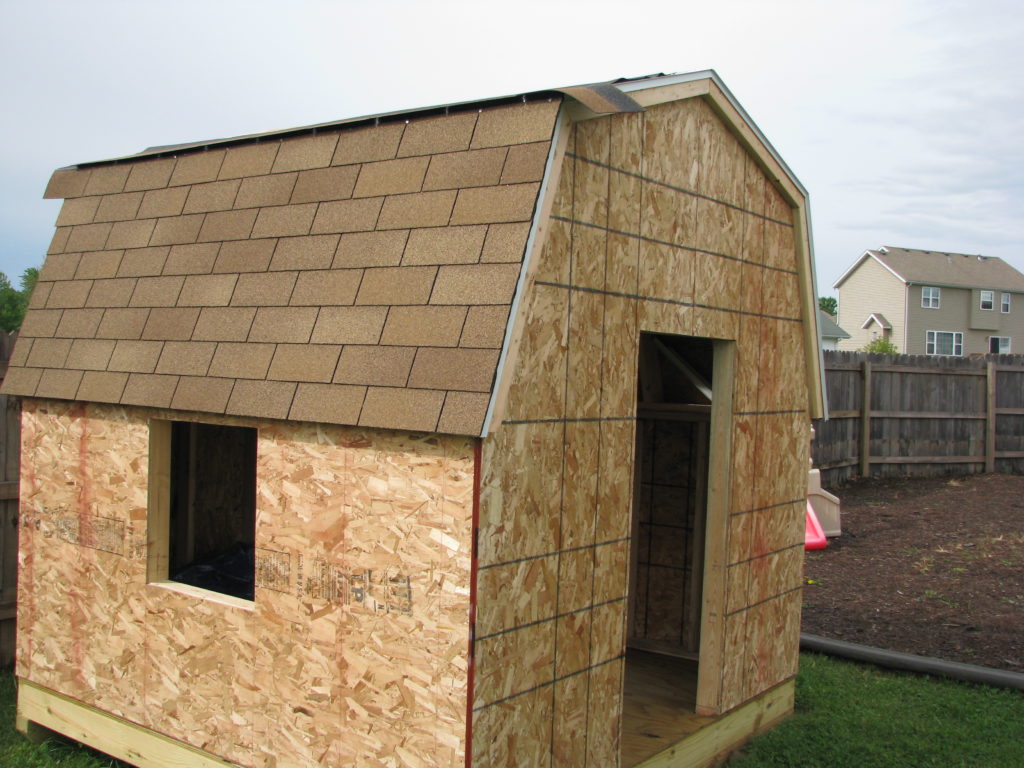
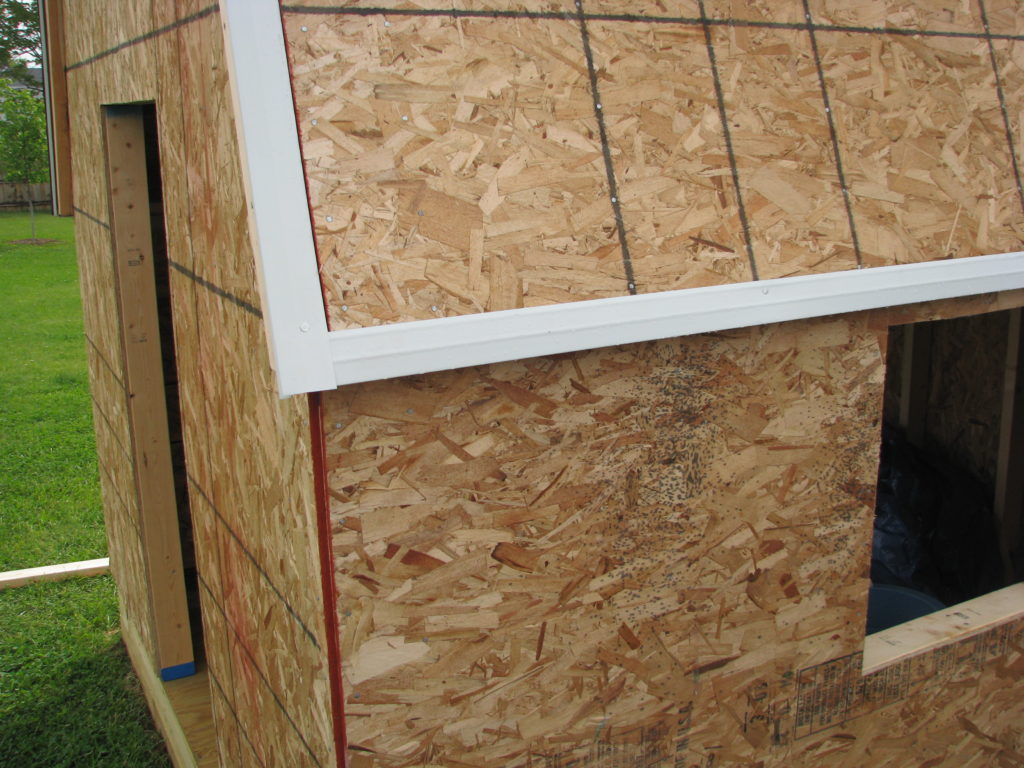
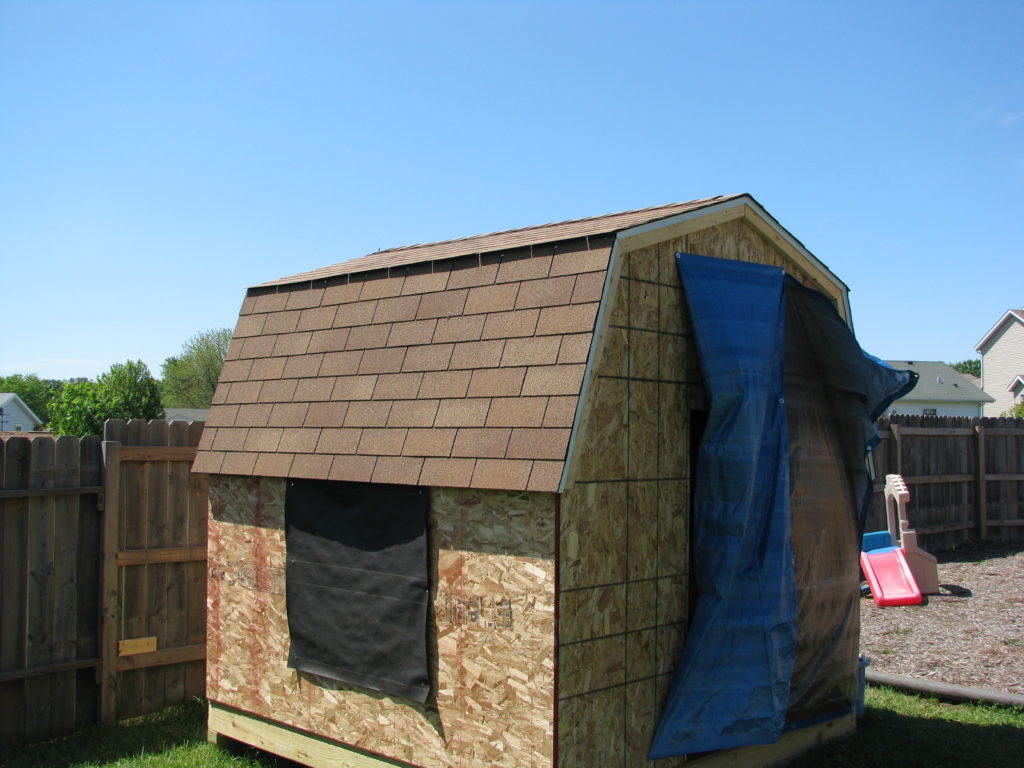
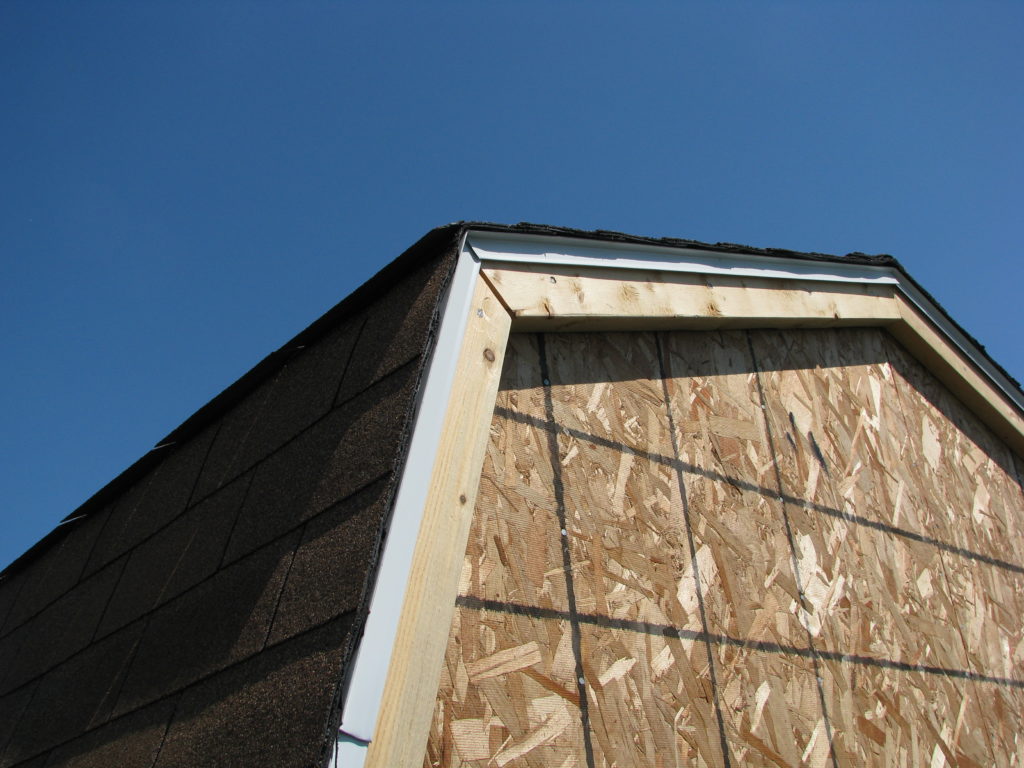
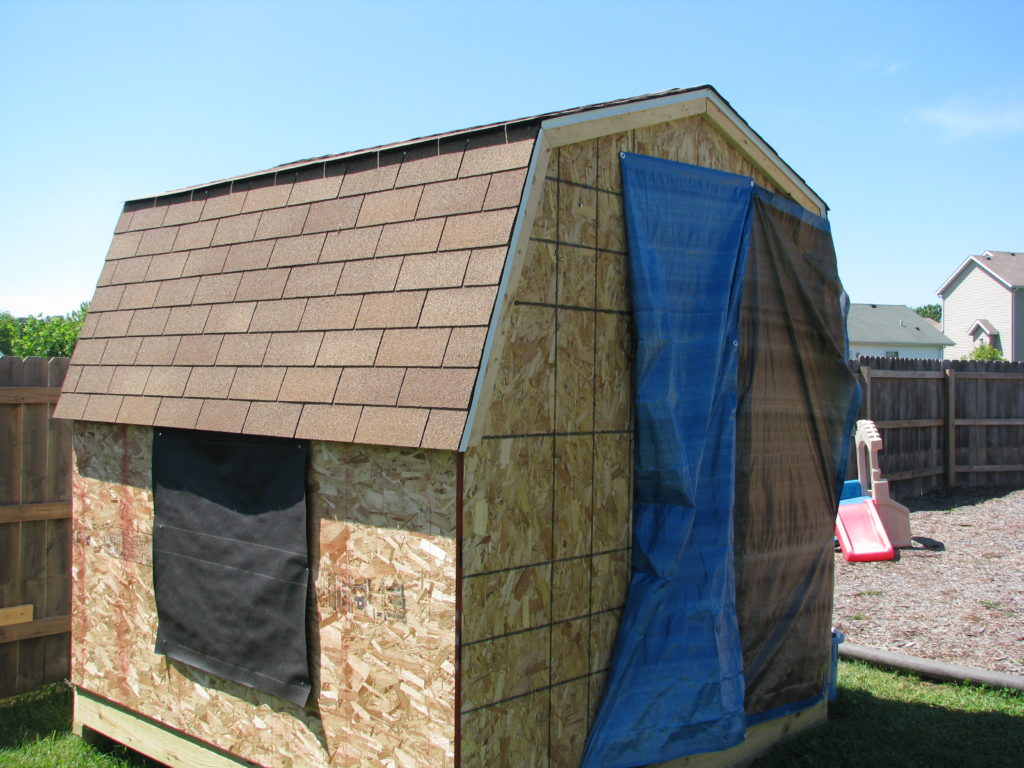
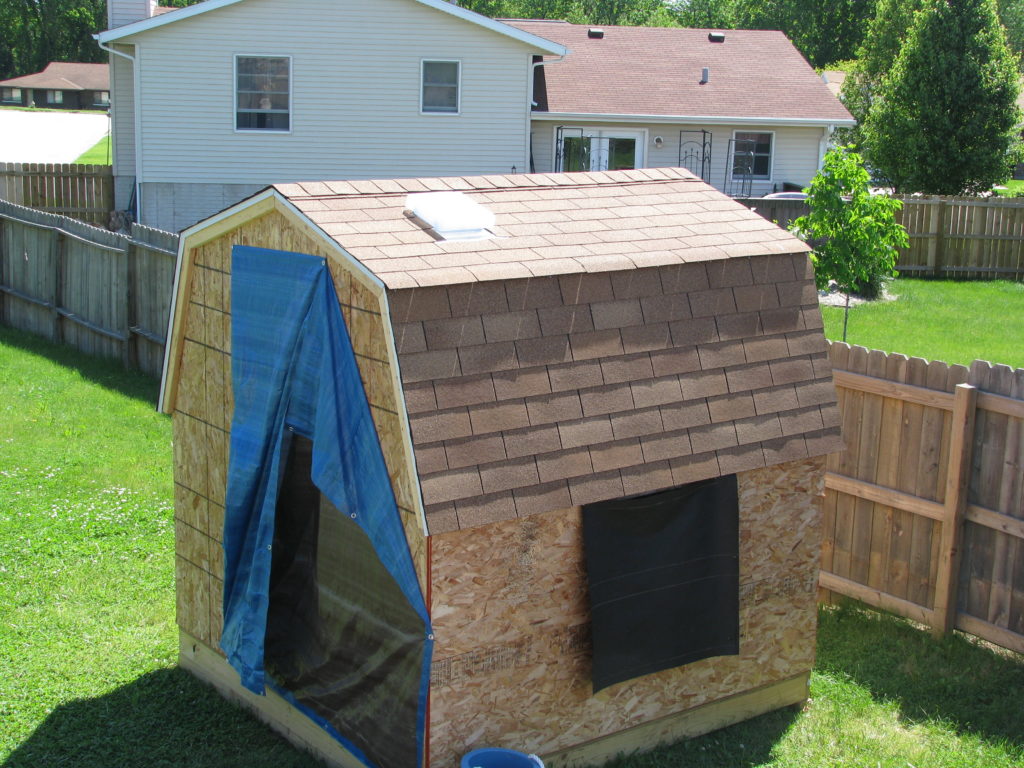
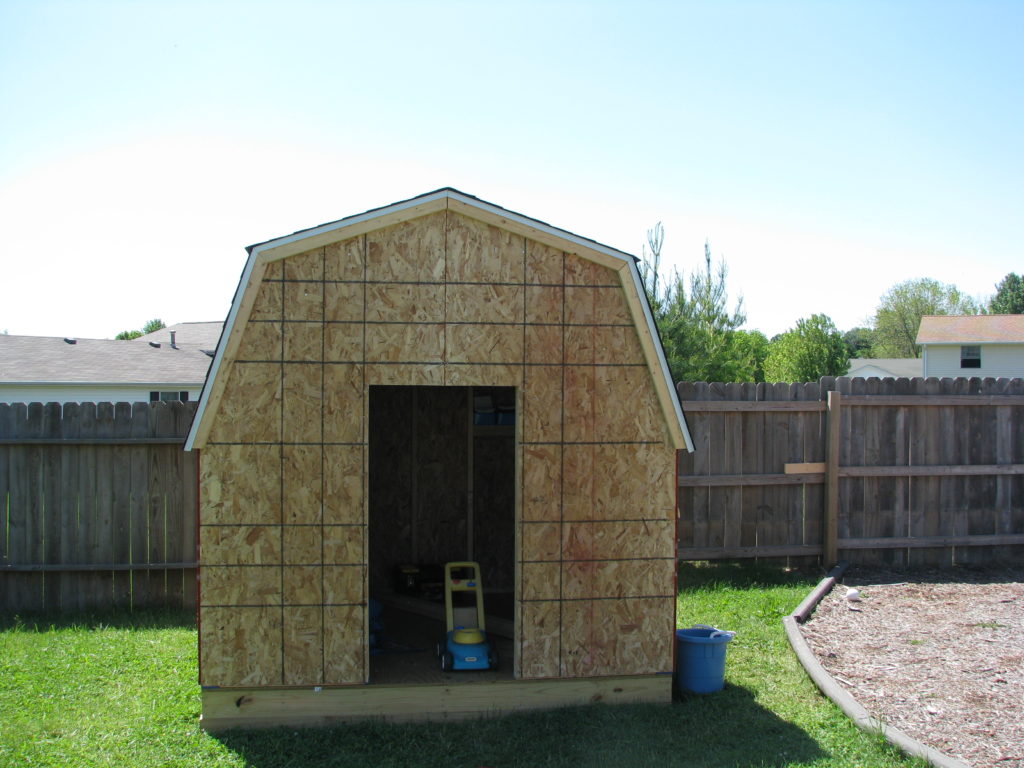
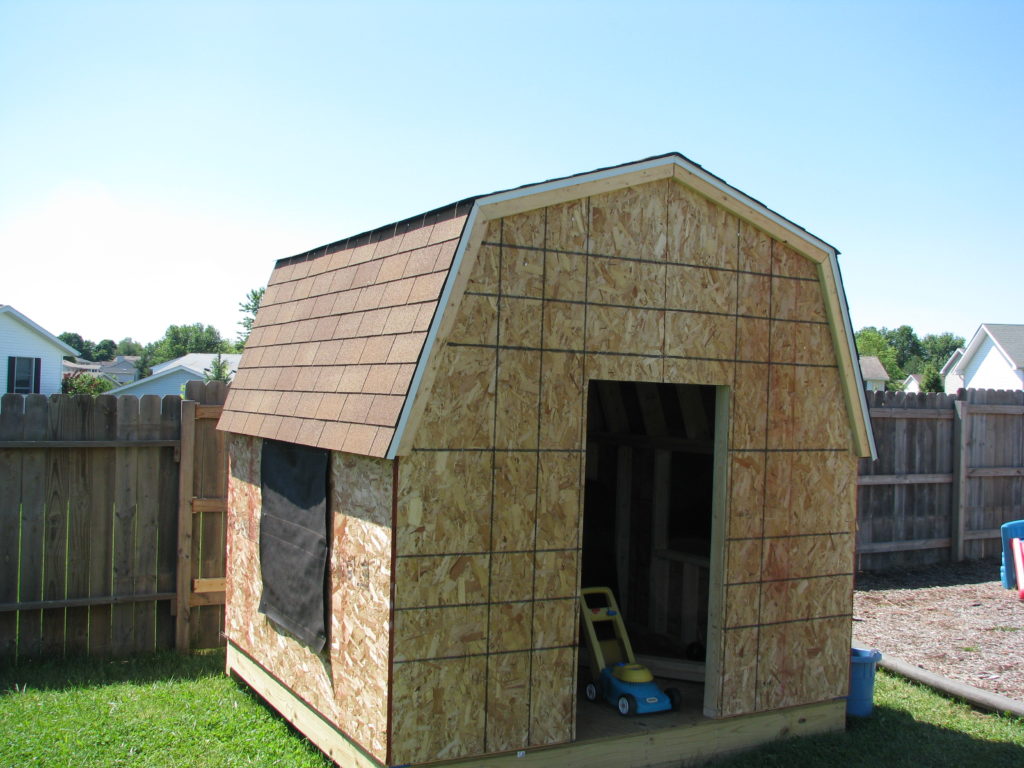
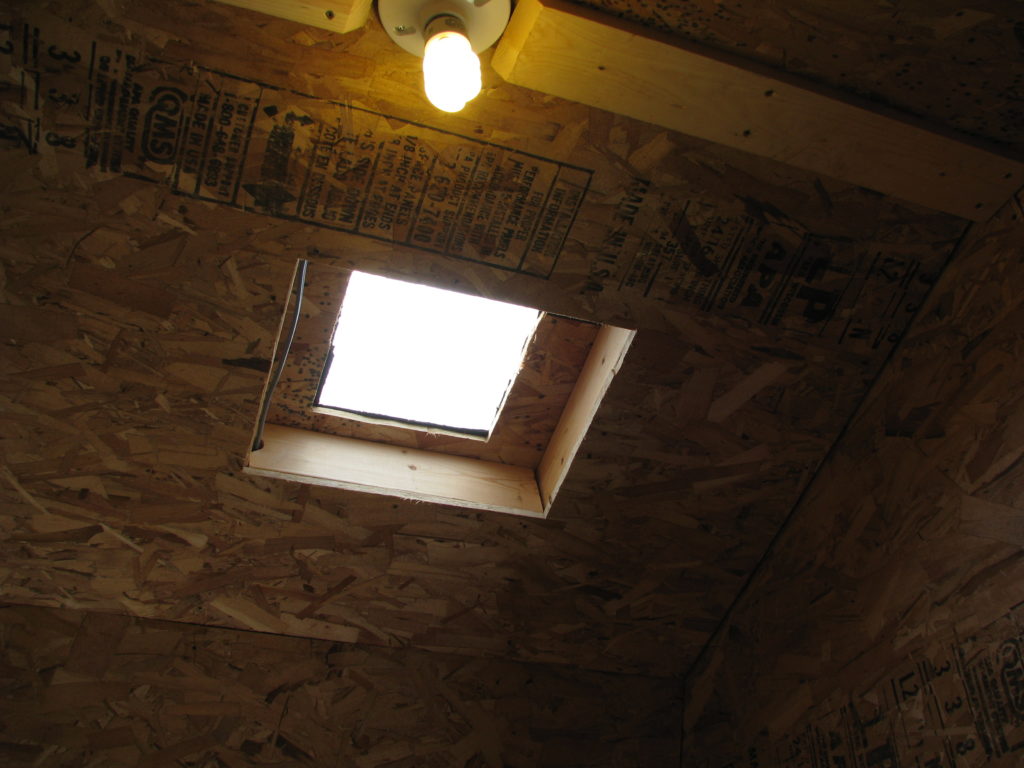
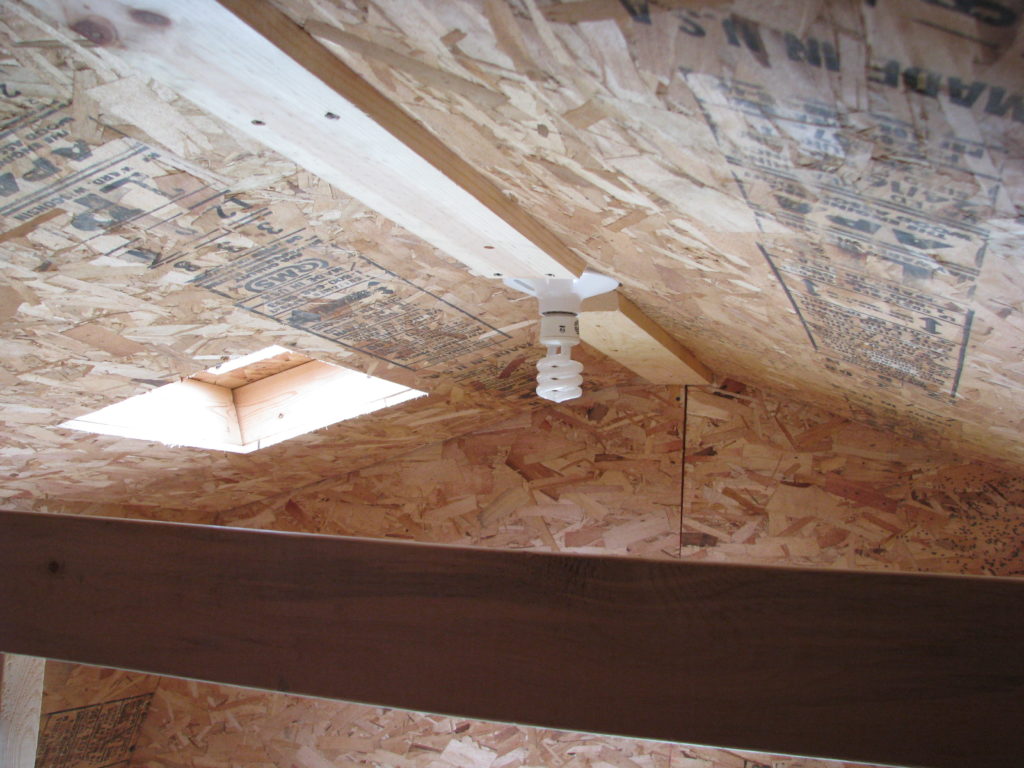
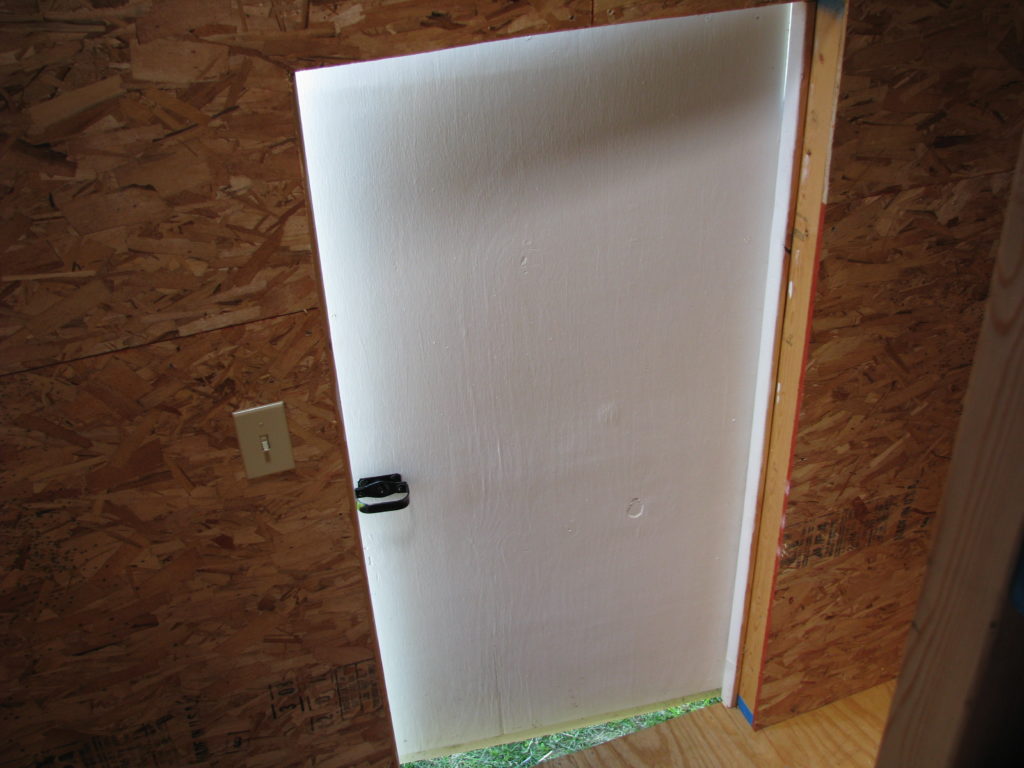
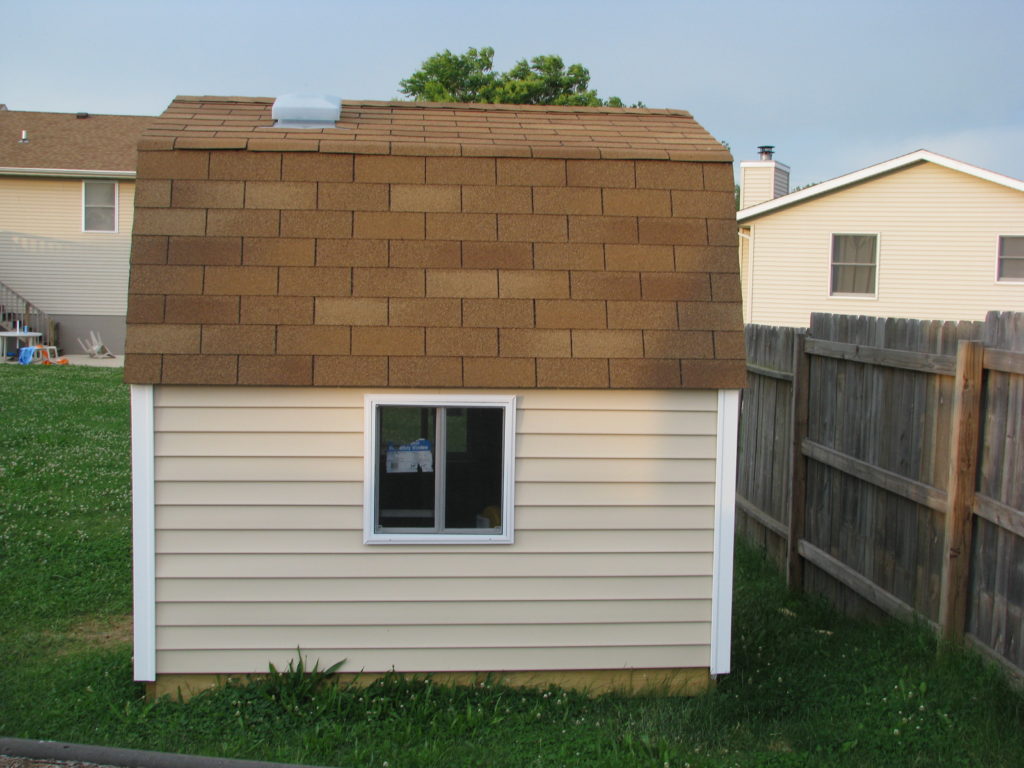
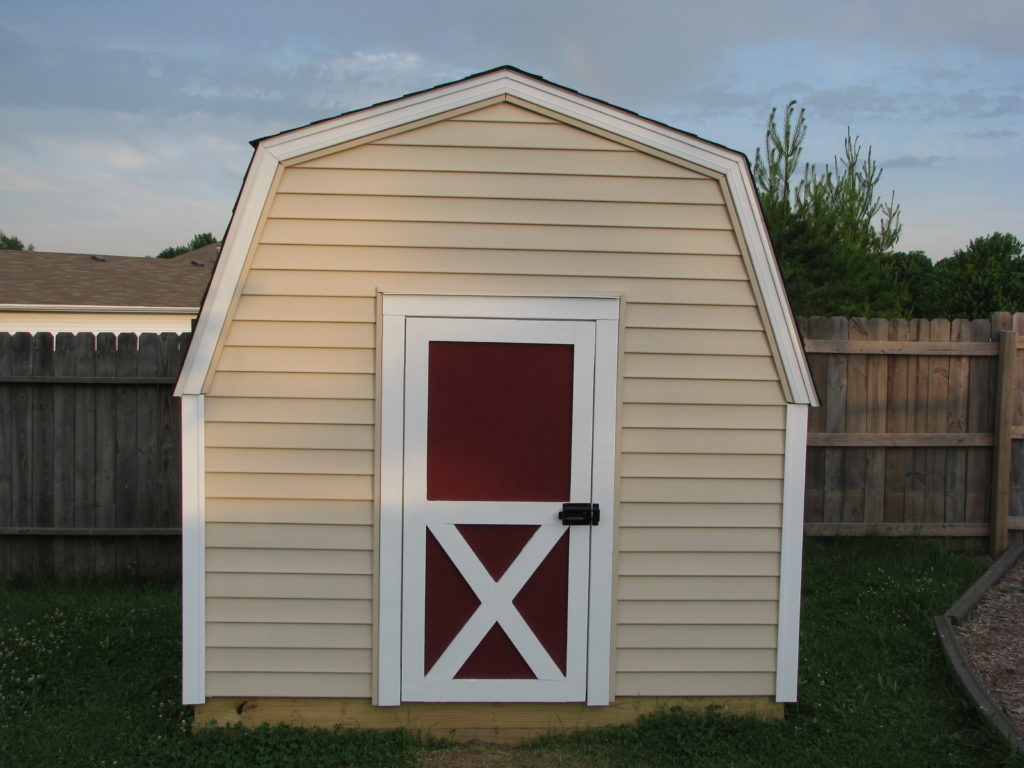
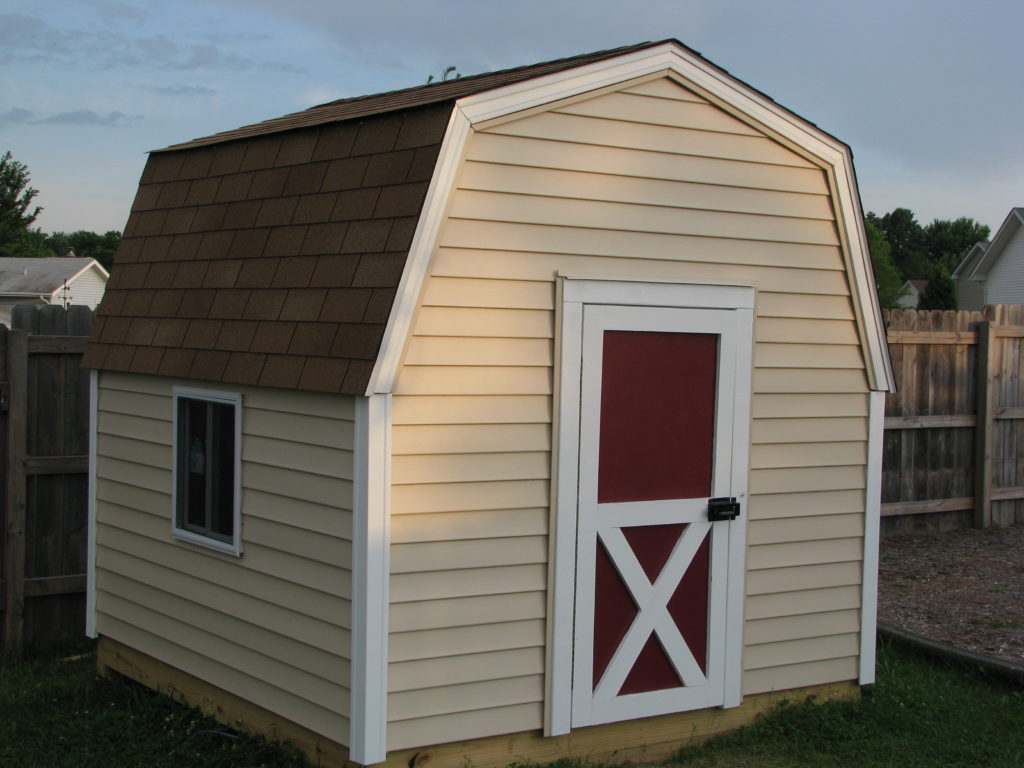
Essentially, the playhouse is just your standard wood-framed barn-style shed. It’s built with a wood floor, sits on skids, and uses home-made trusses for the gambrel roof. Because I hate painting, I used vinyl siding (which matches our house) and aluminum fascia cover. The playhouse has two sliding windows, a hand-built wood door, a skylight, interior sheathing, two electrical outlets, and a ceiling light.
What made this project challenging (and why it took so long) is that I started the project with a two-month old baby at home. As a result, I spent most of those hours after the kids went to bed on weeknights, and I did most of the work without an extra set of hands.
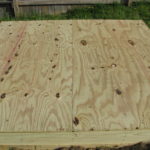
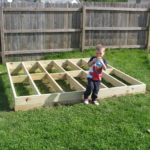
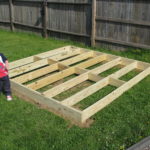
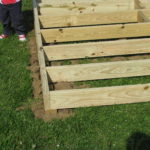
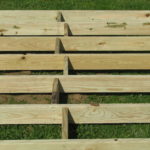
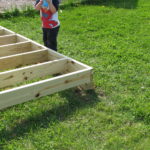
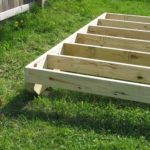
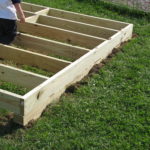
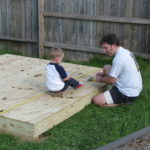
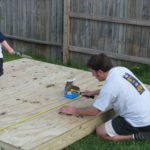
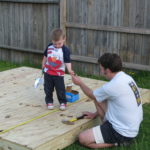
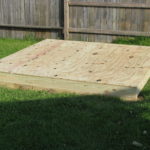
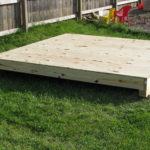
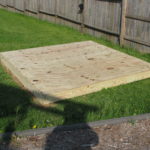
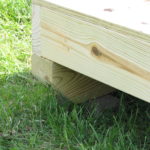
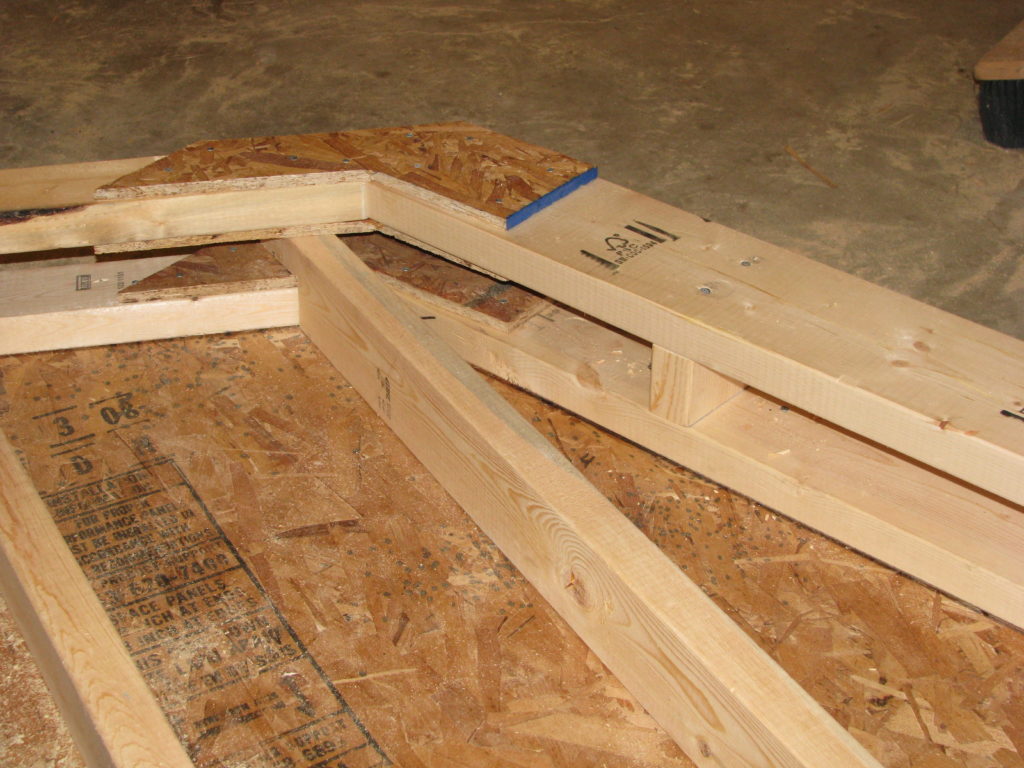
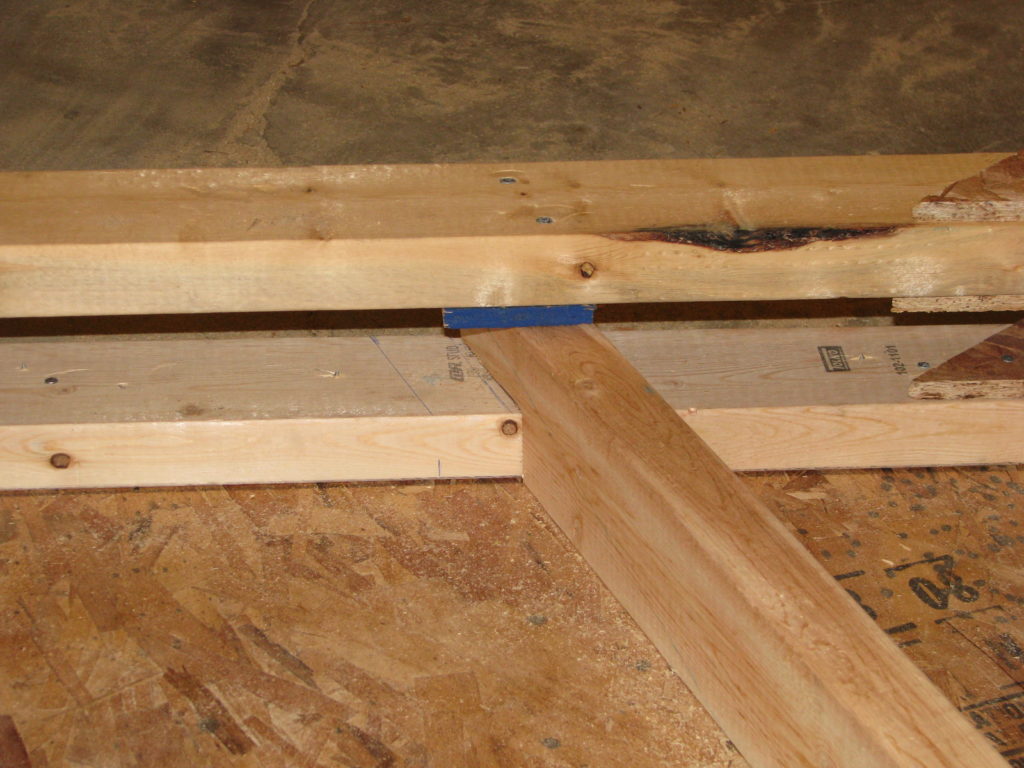
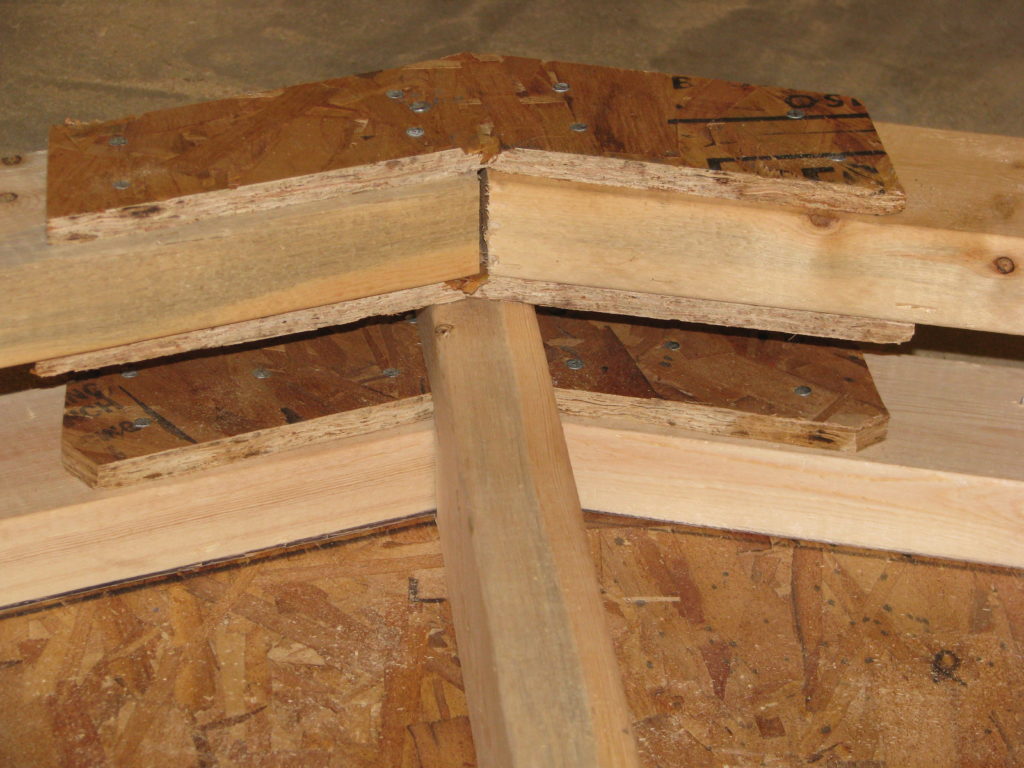
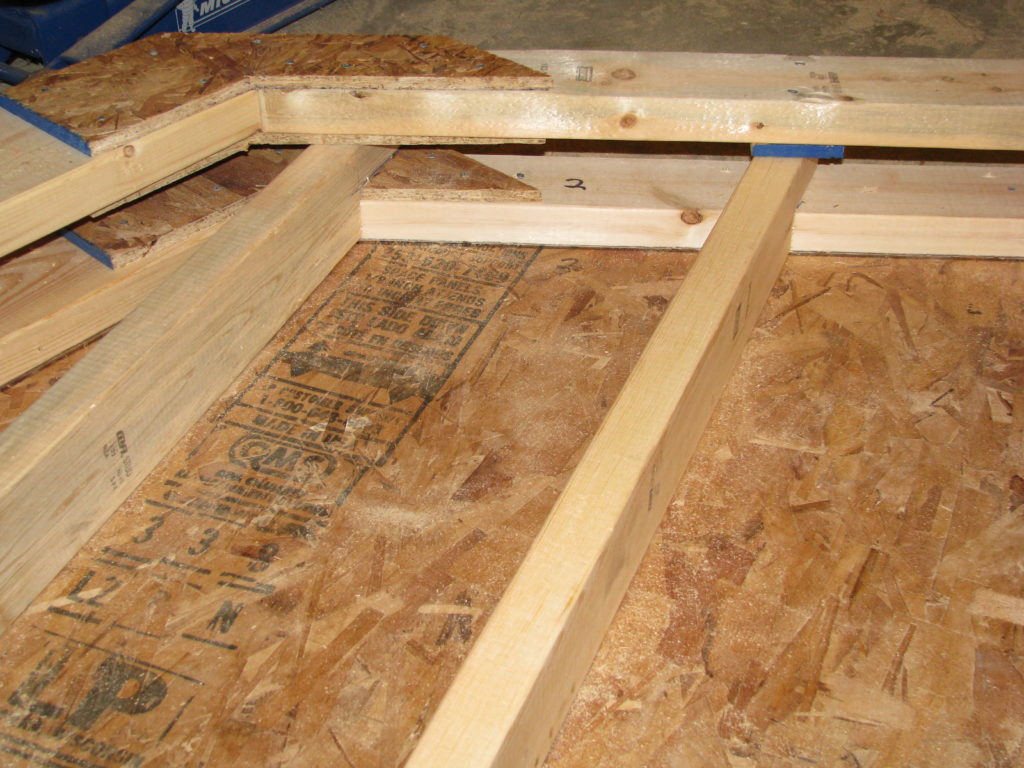
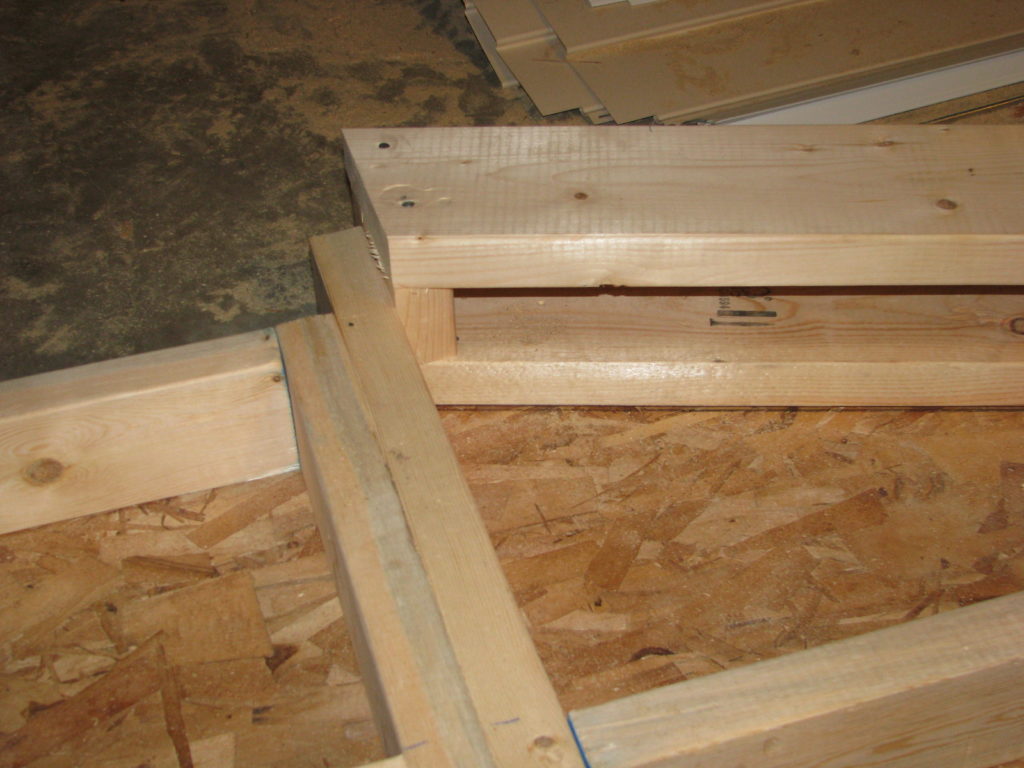
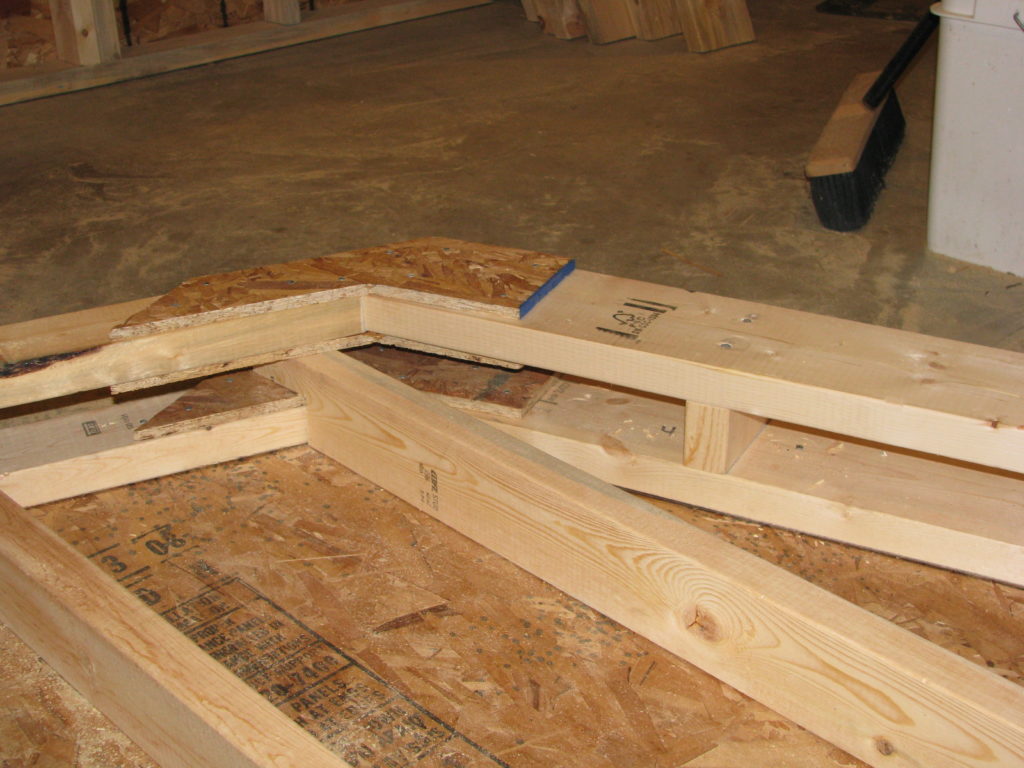
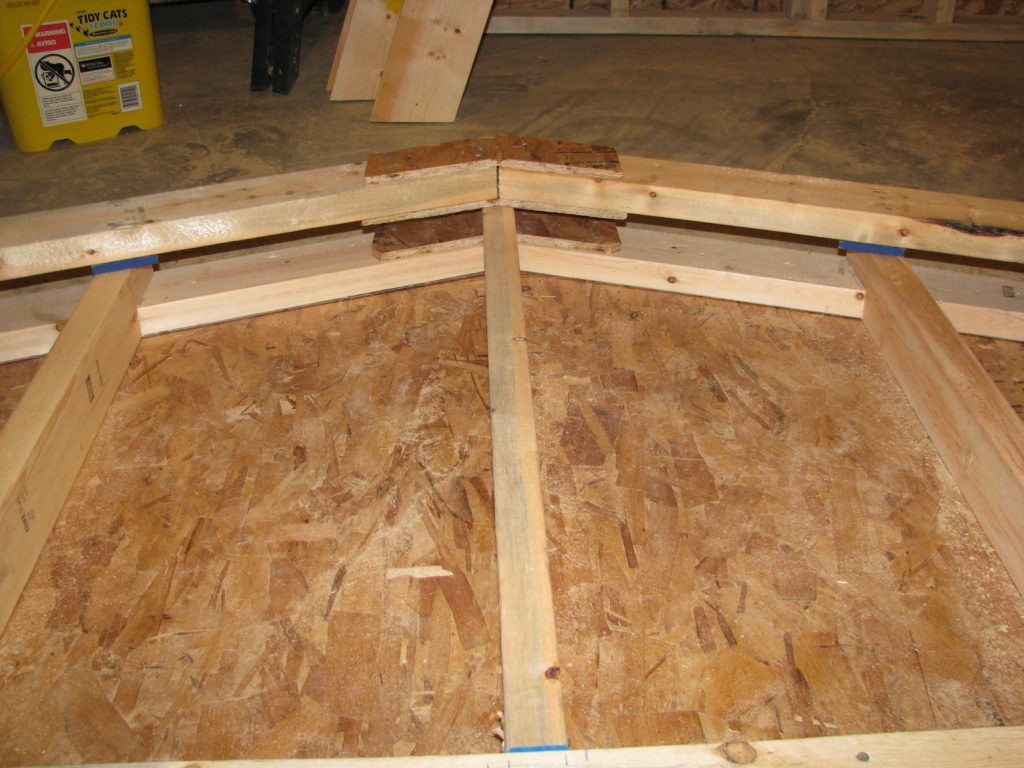
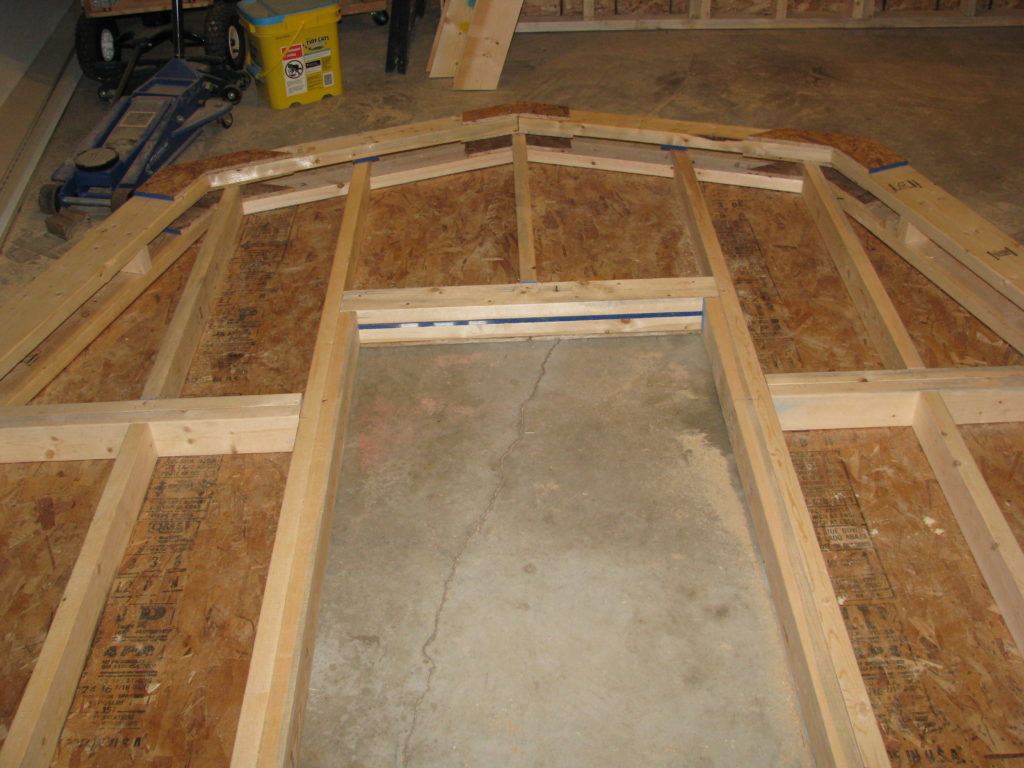
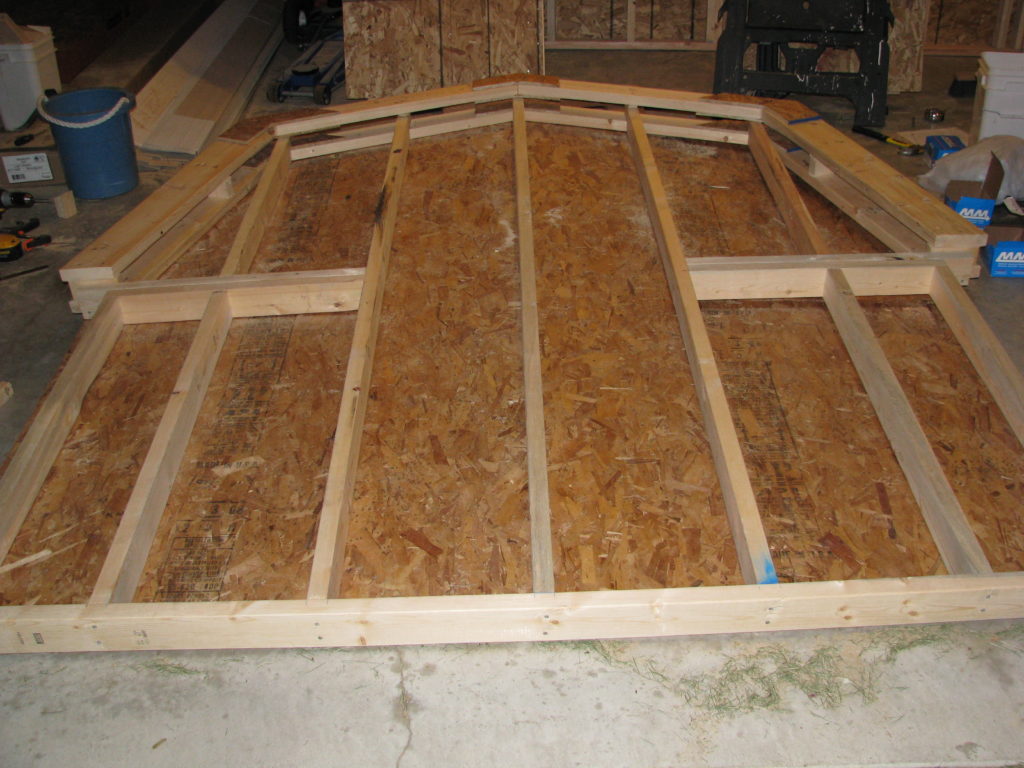
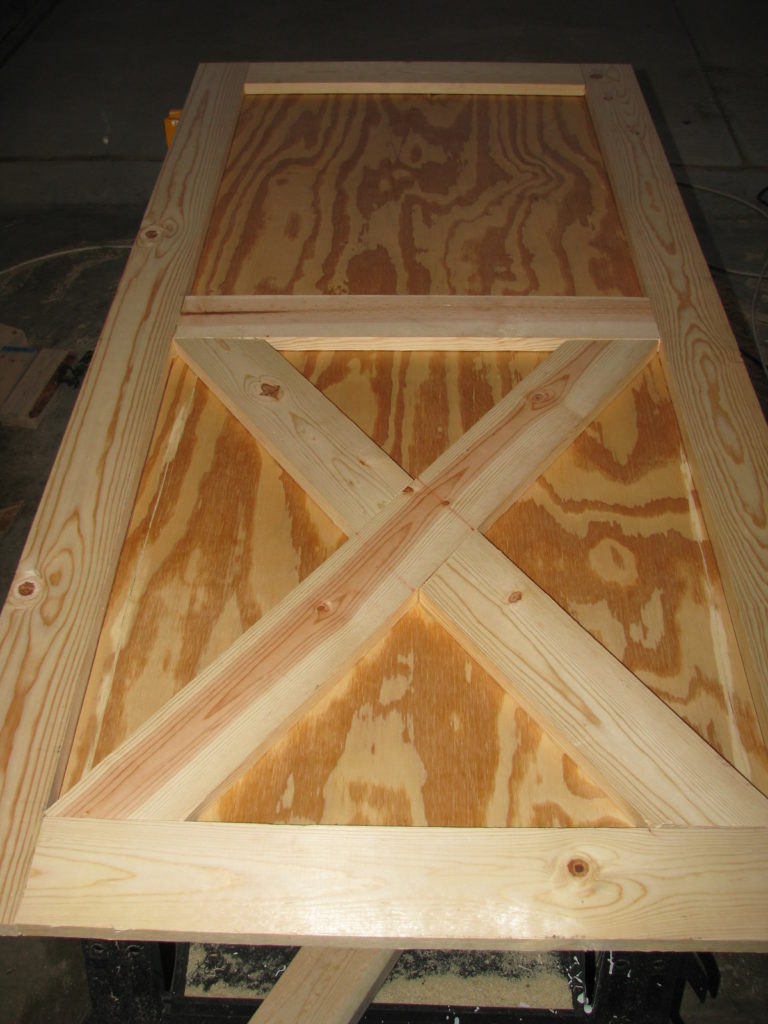
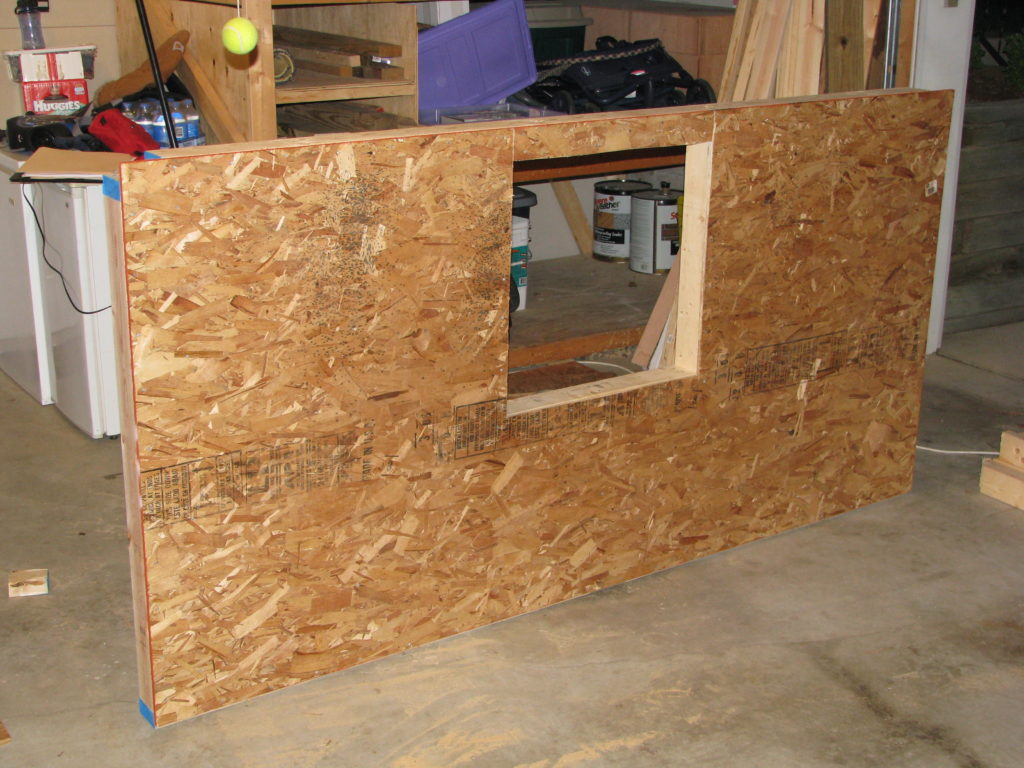
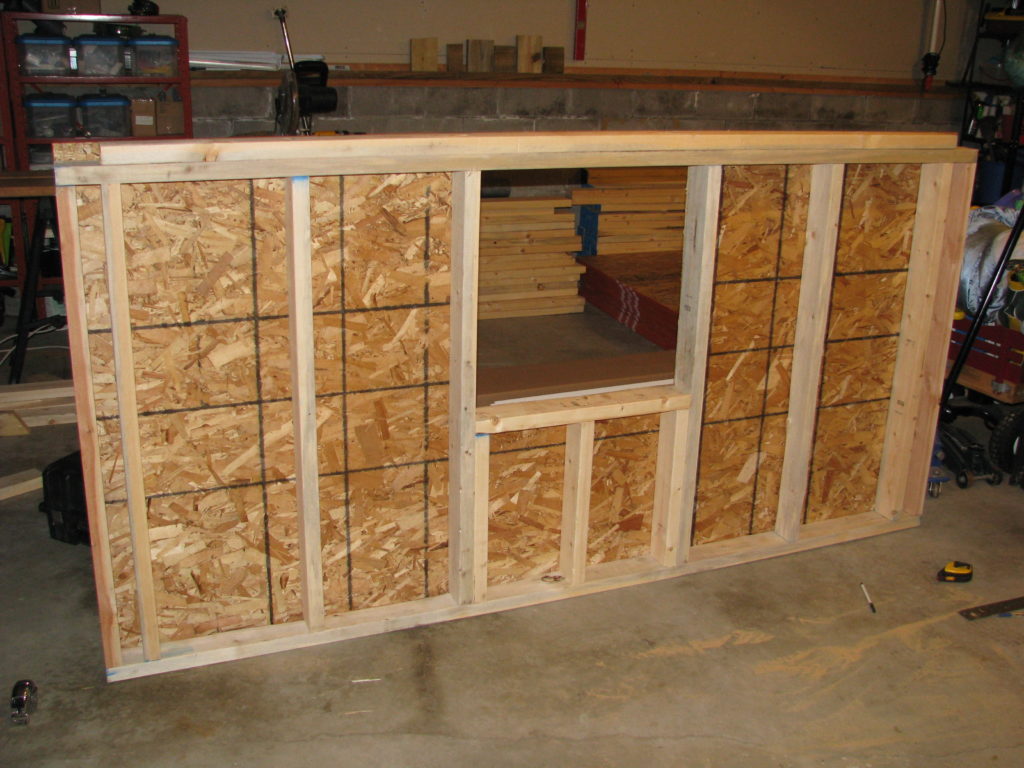
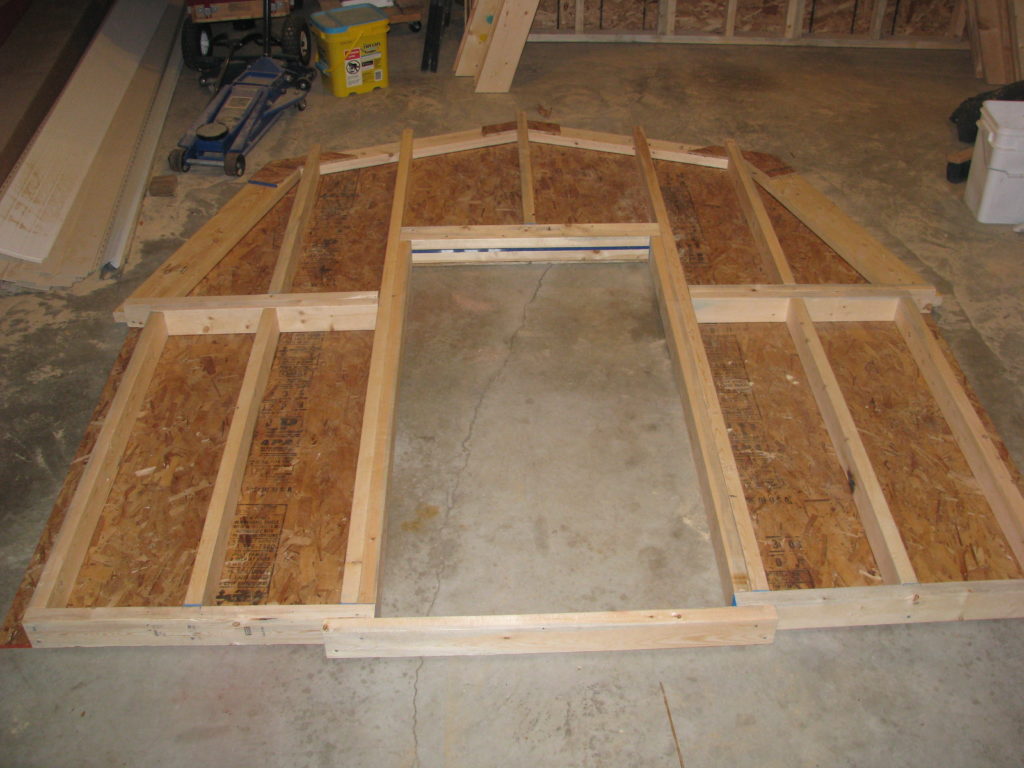
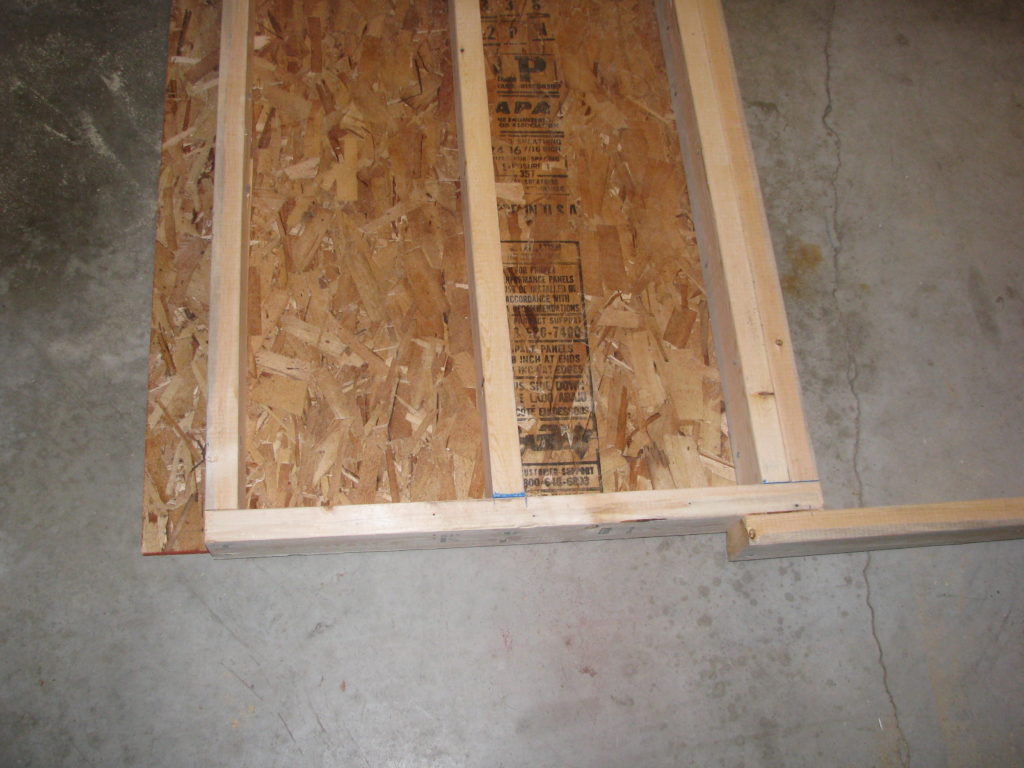
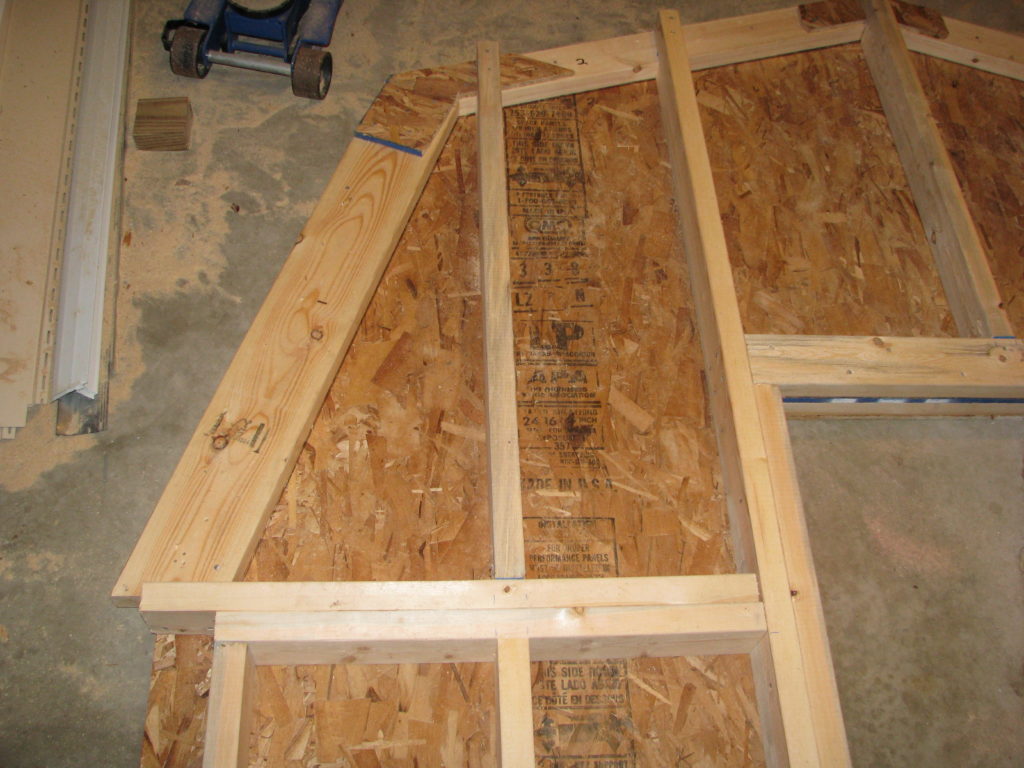
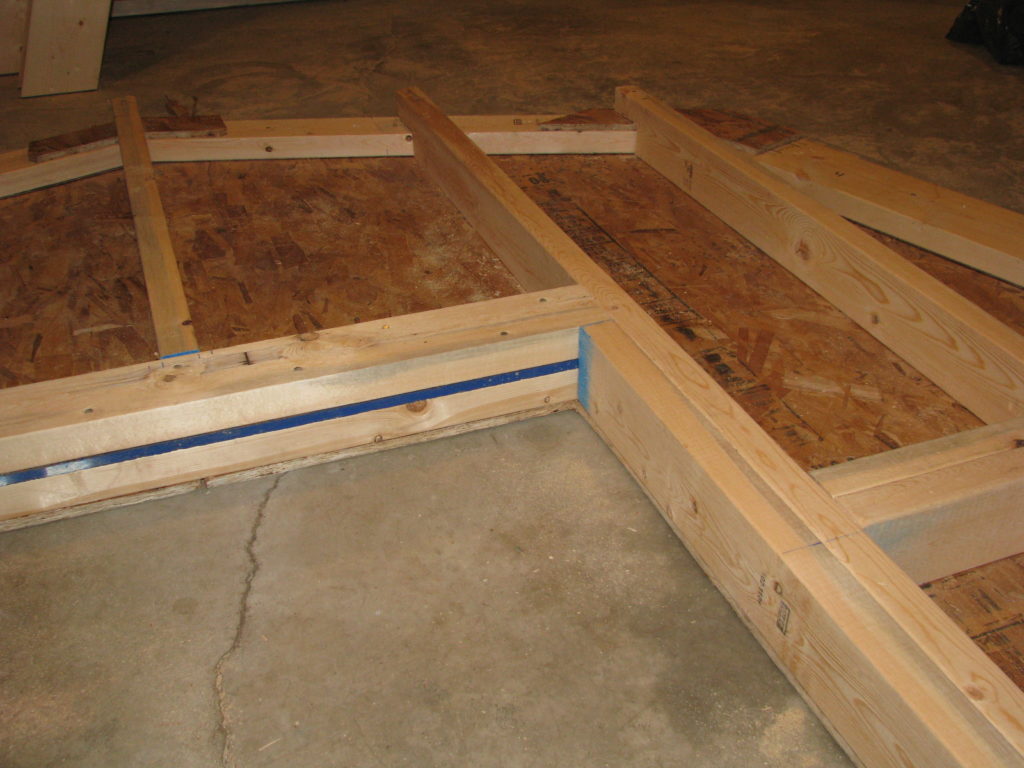
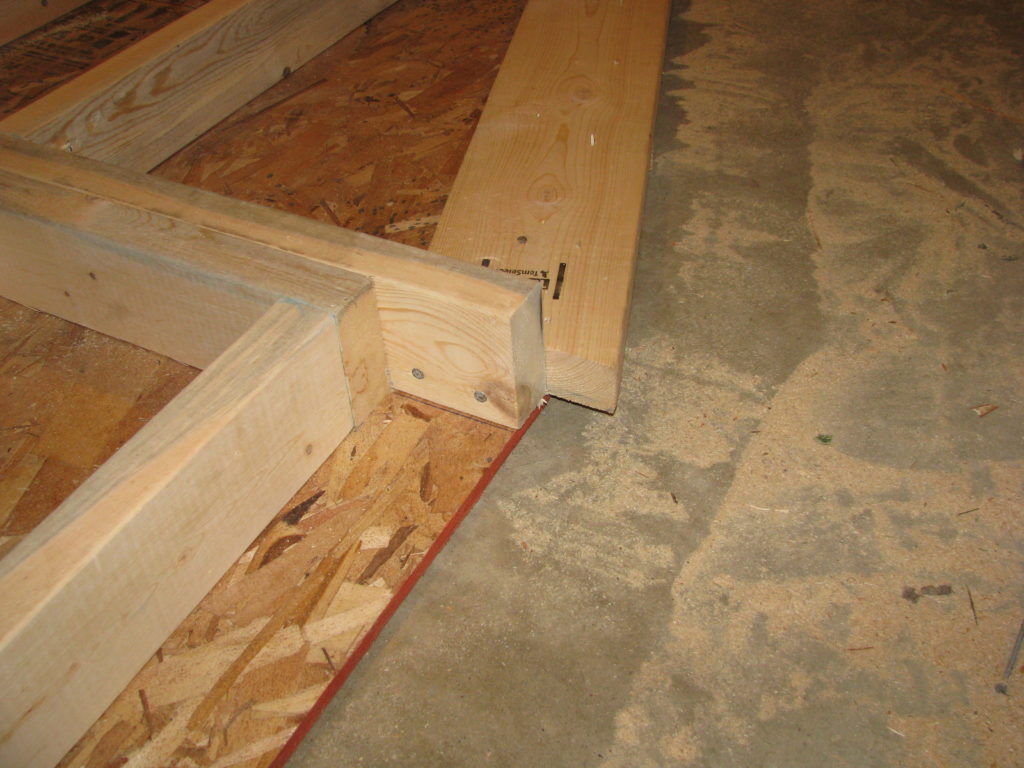
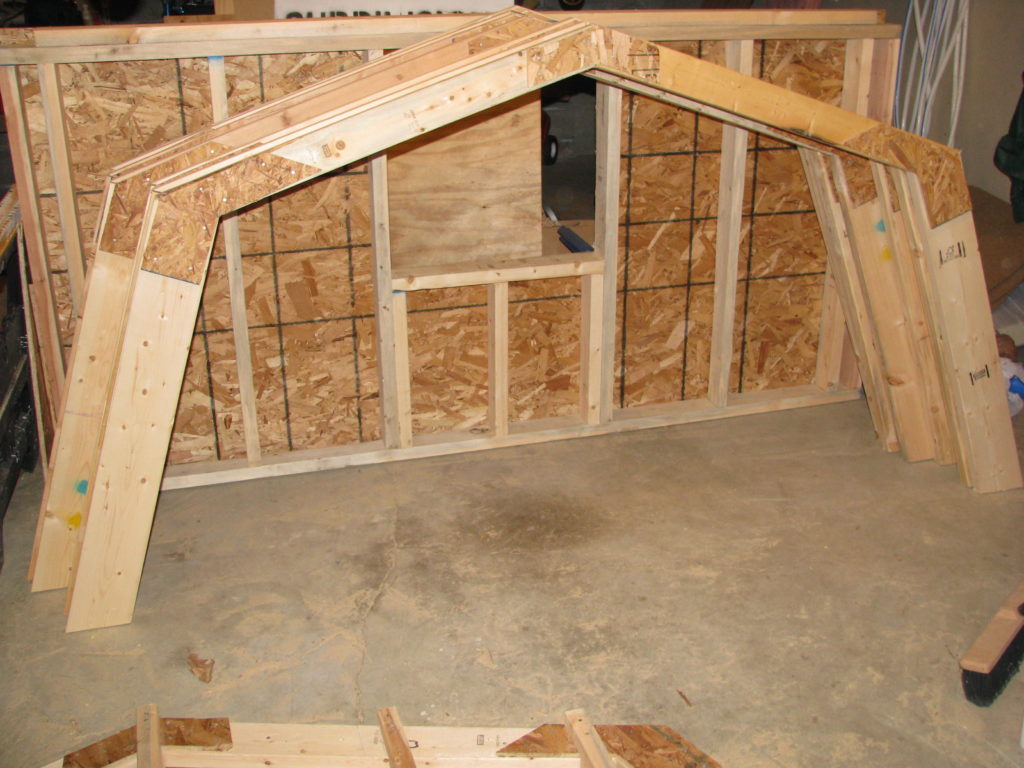
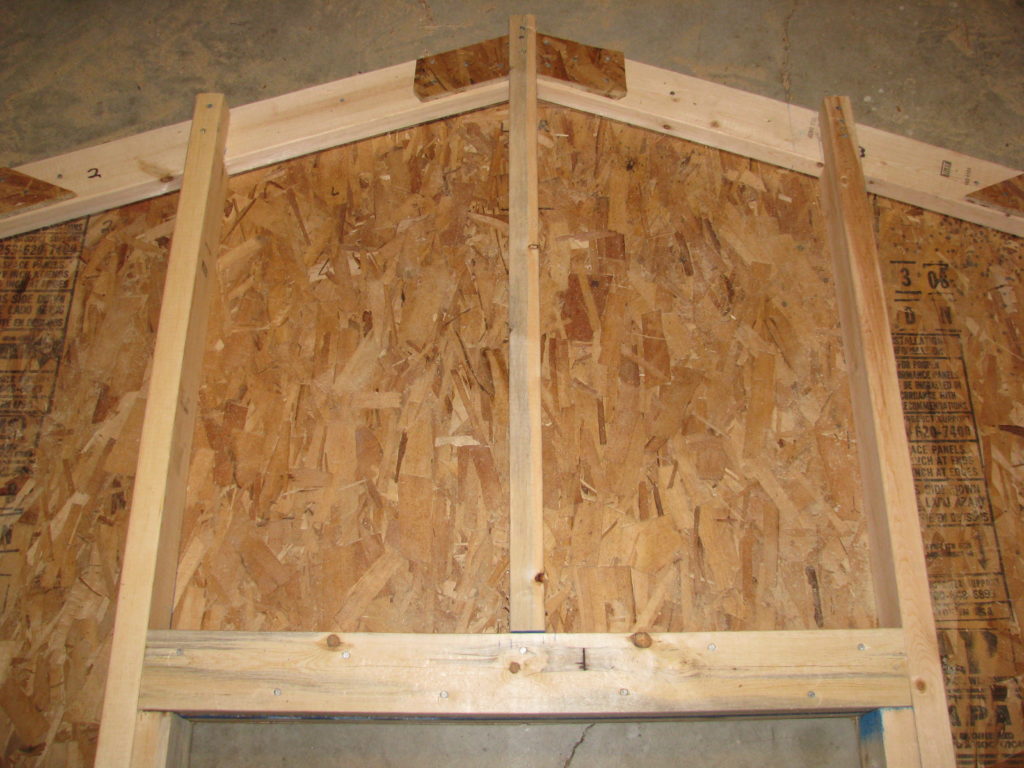
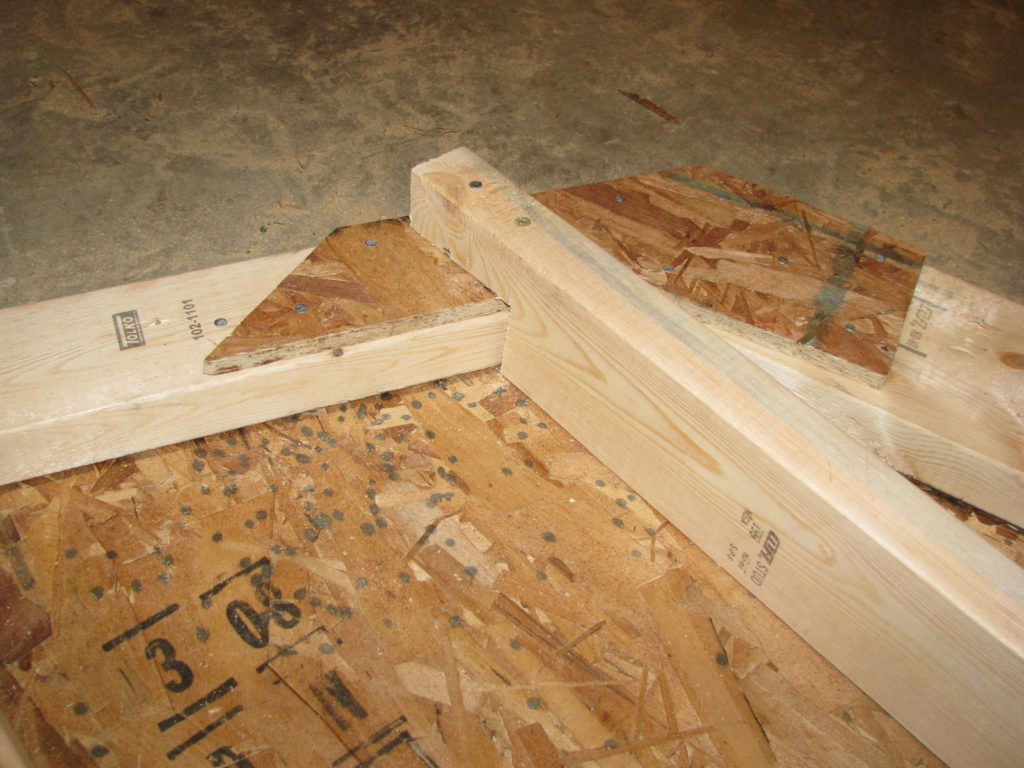
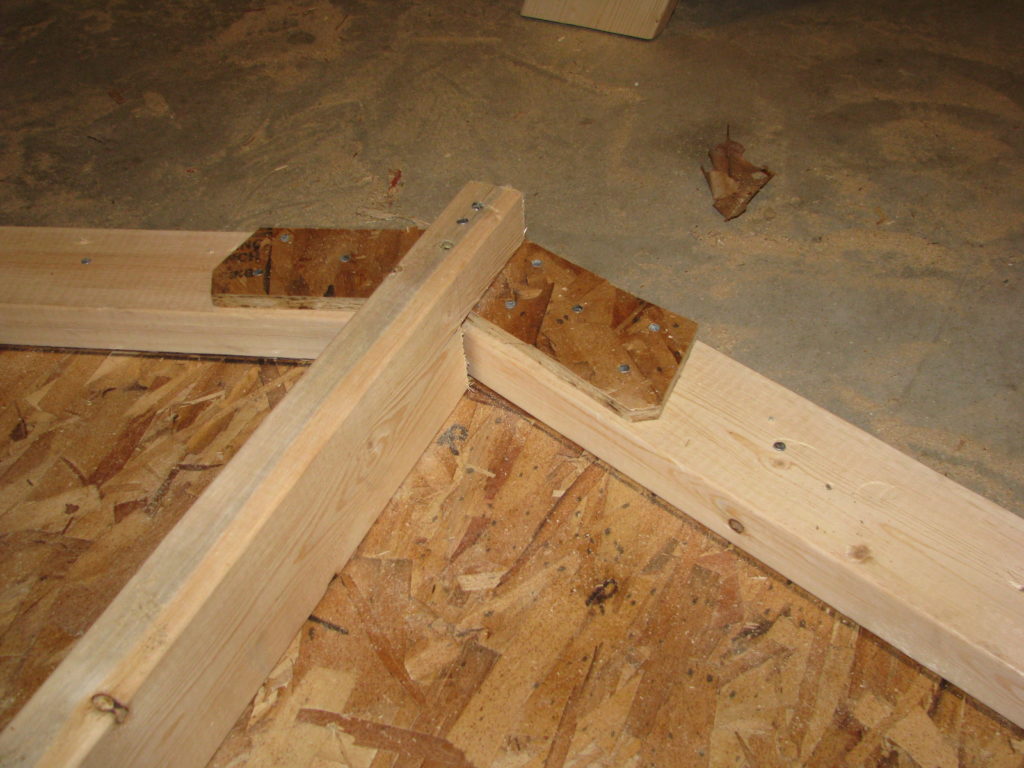
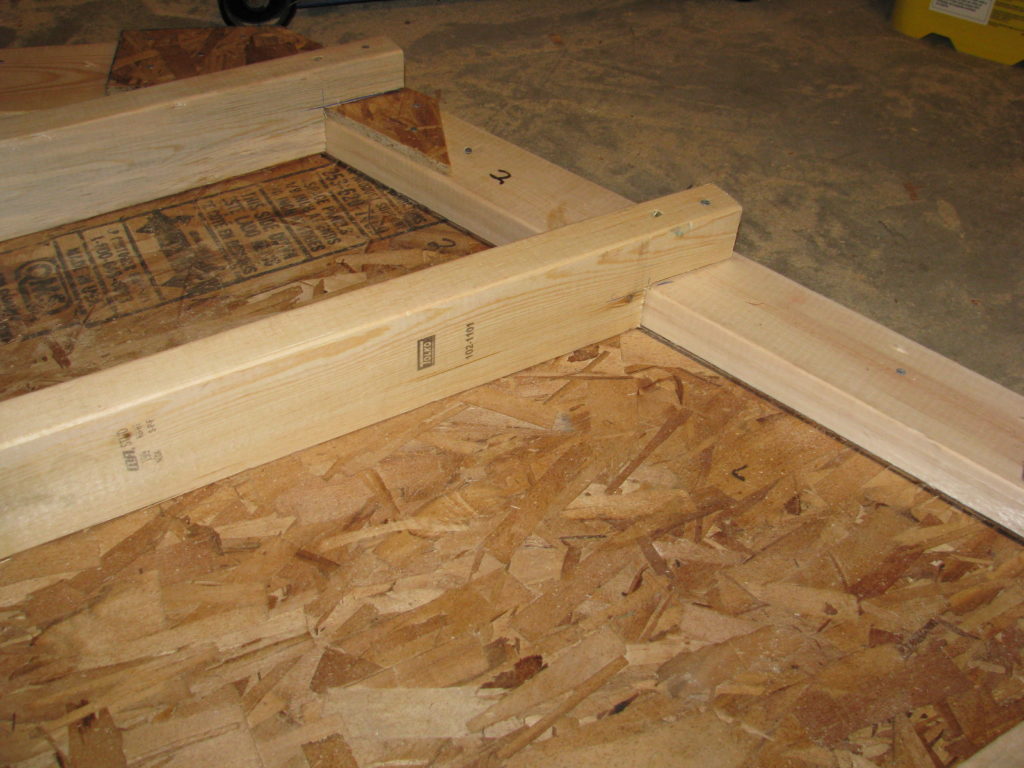
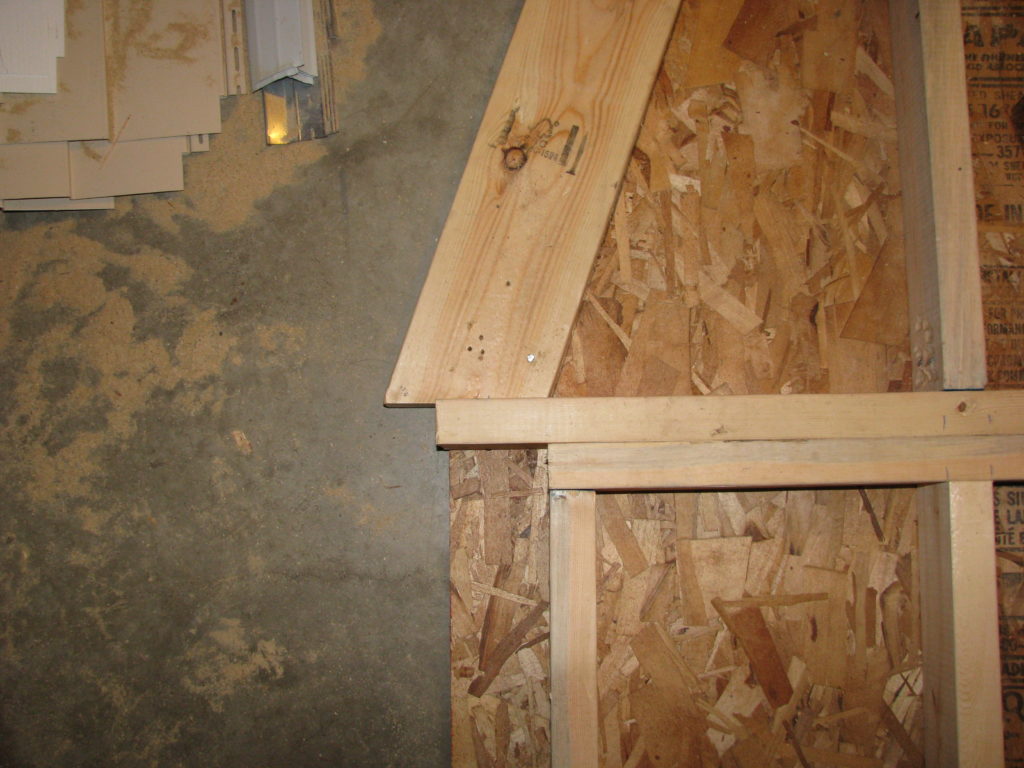
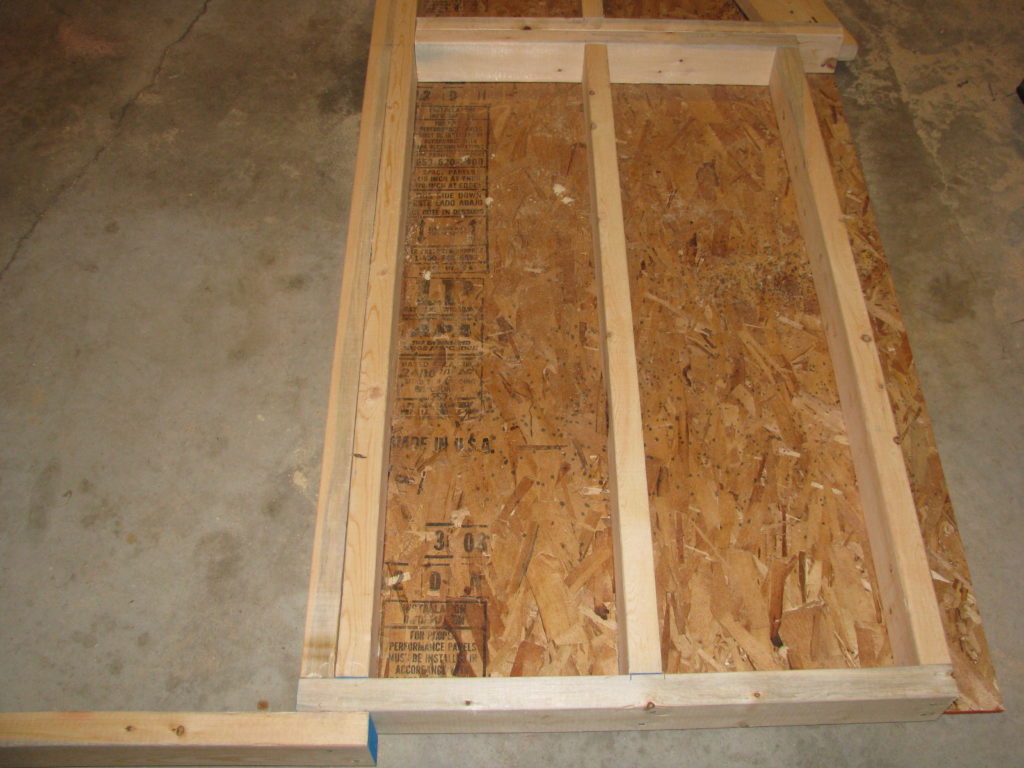
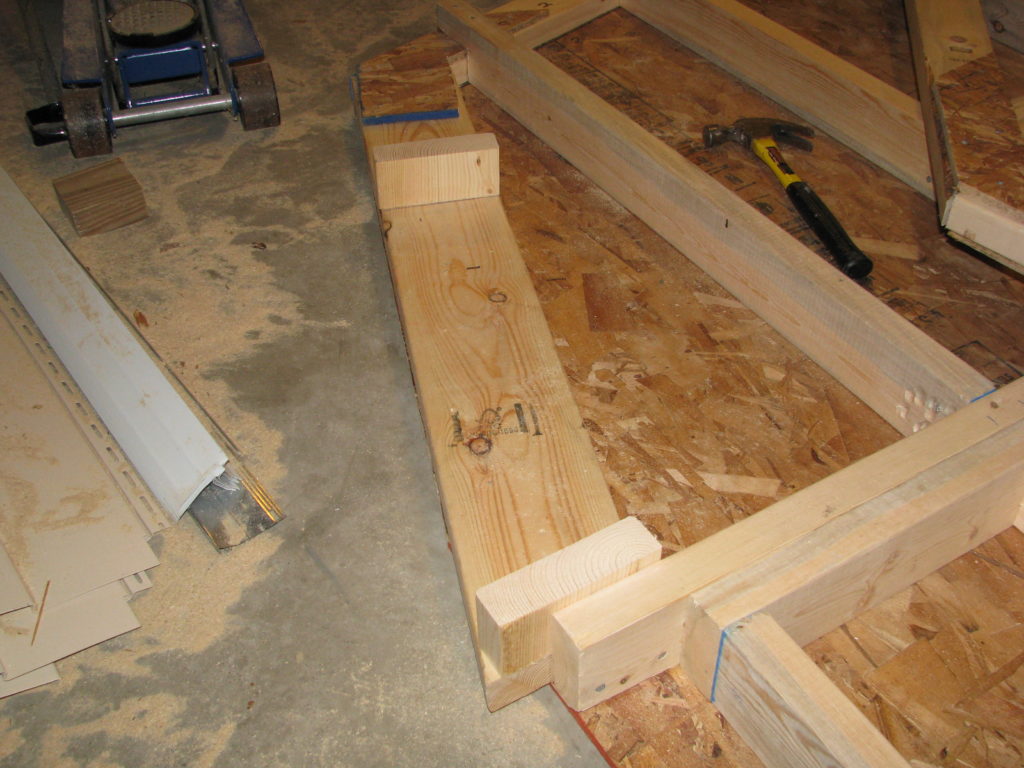
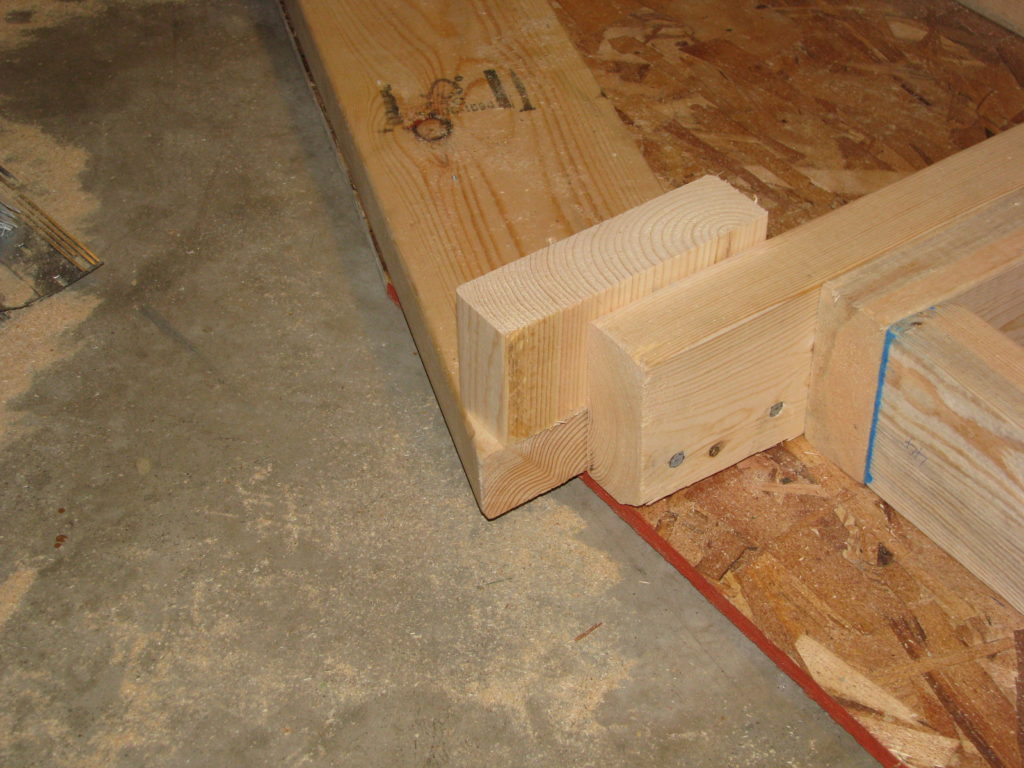
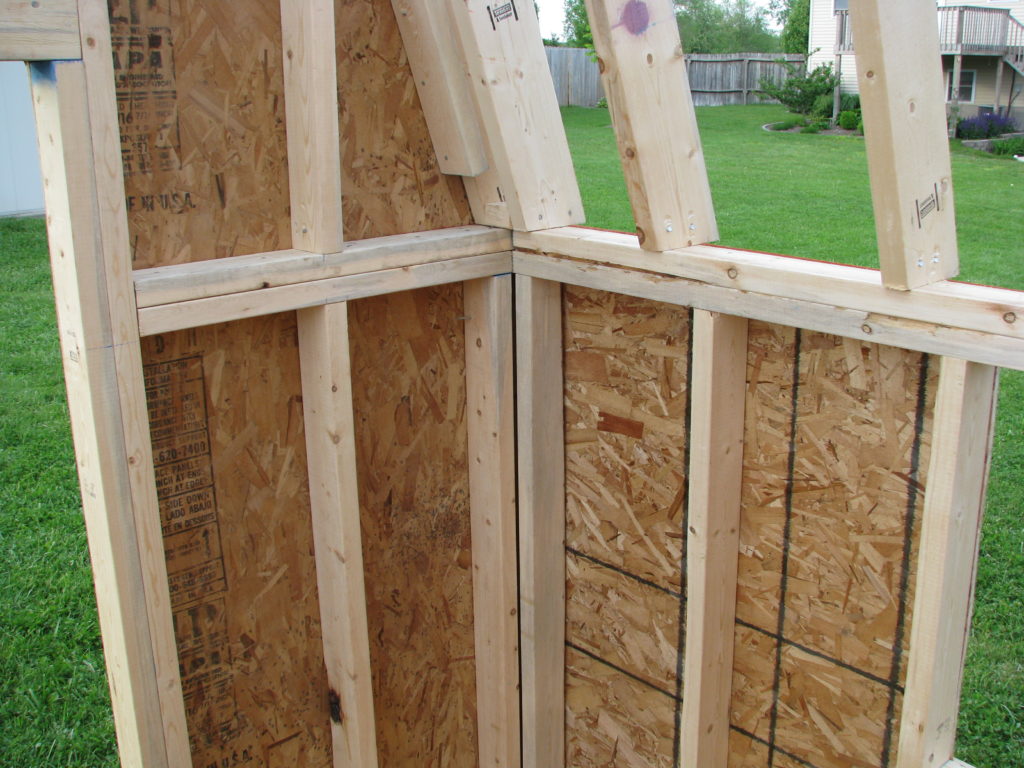
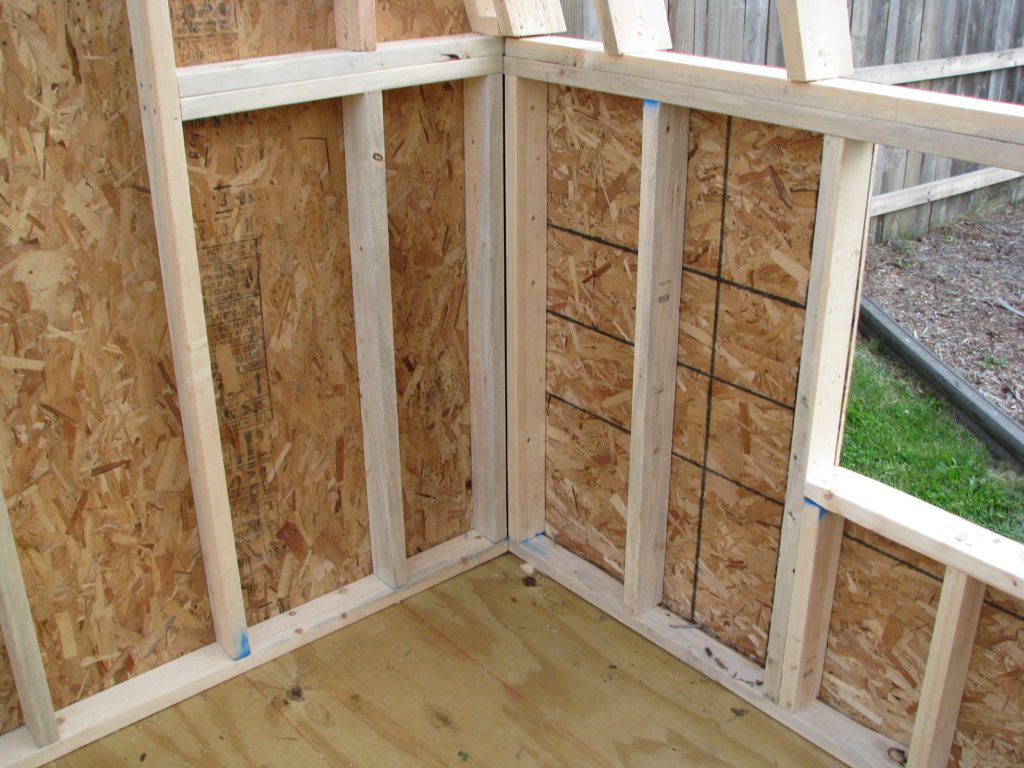
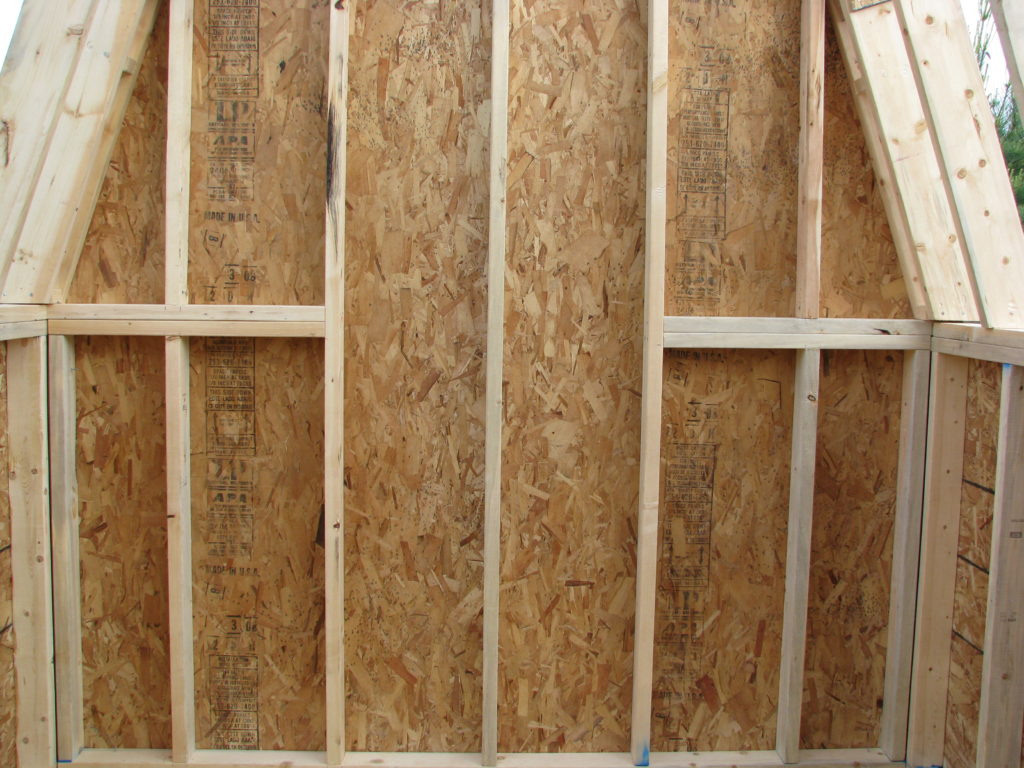
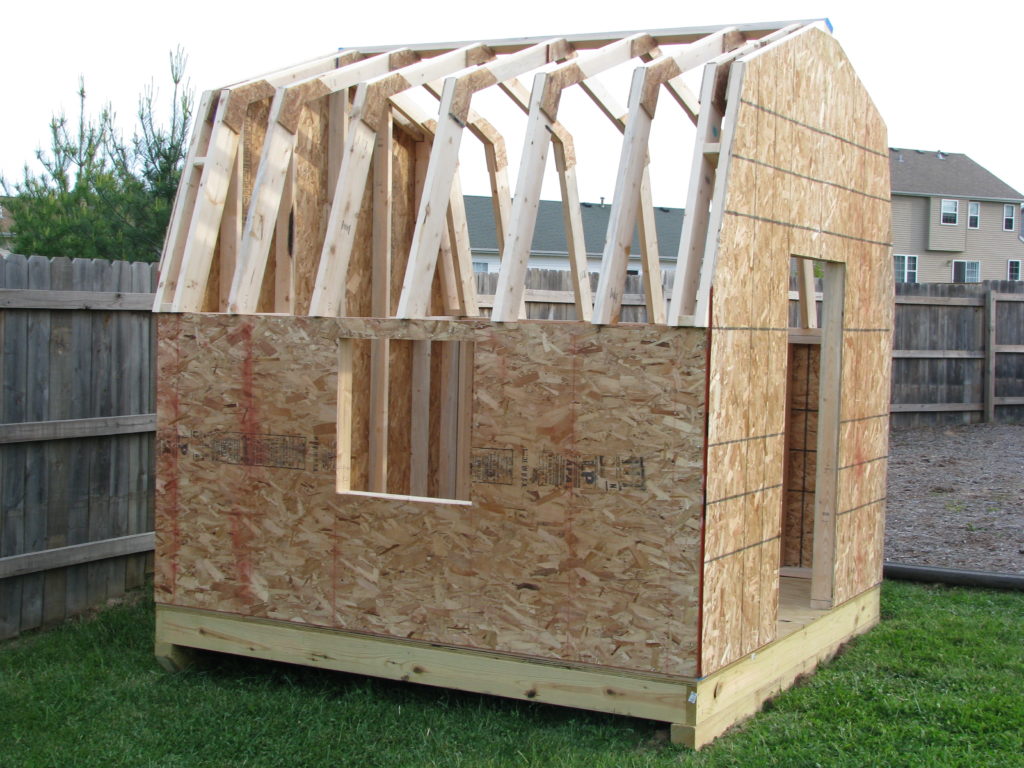
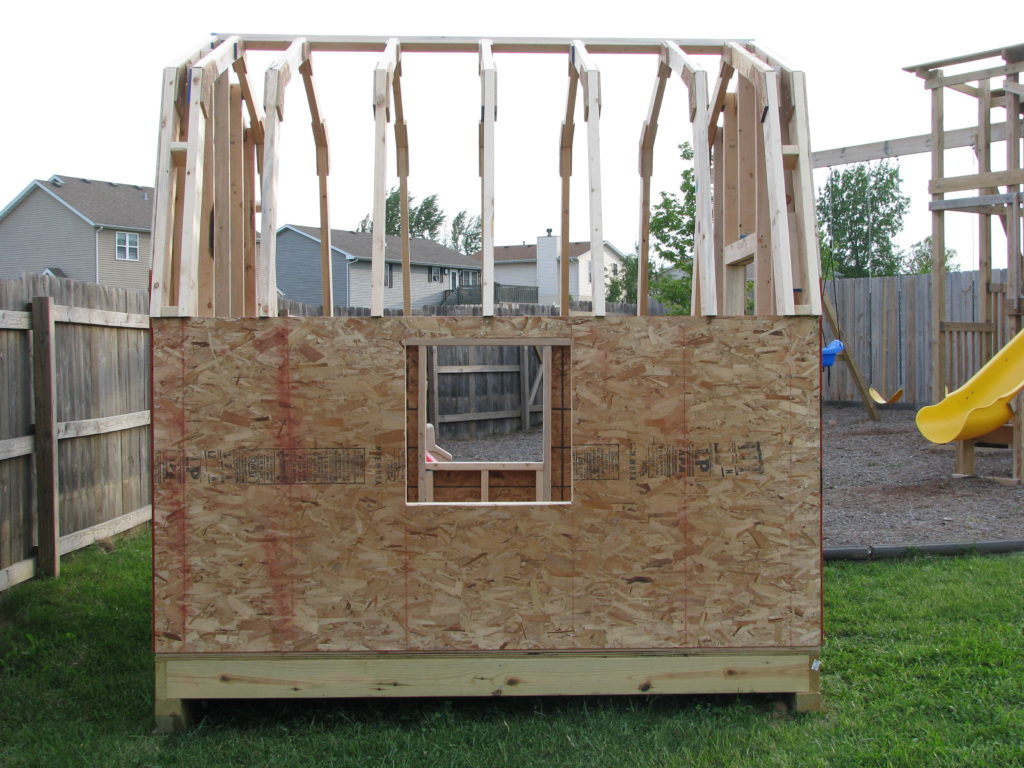
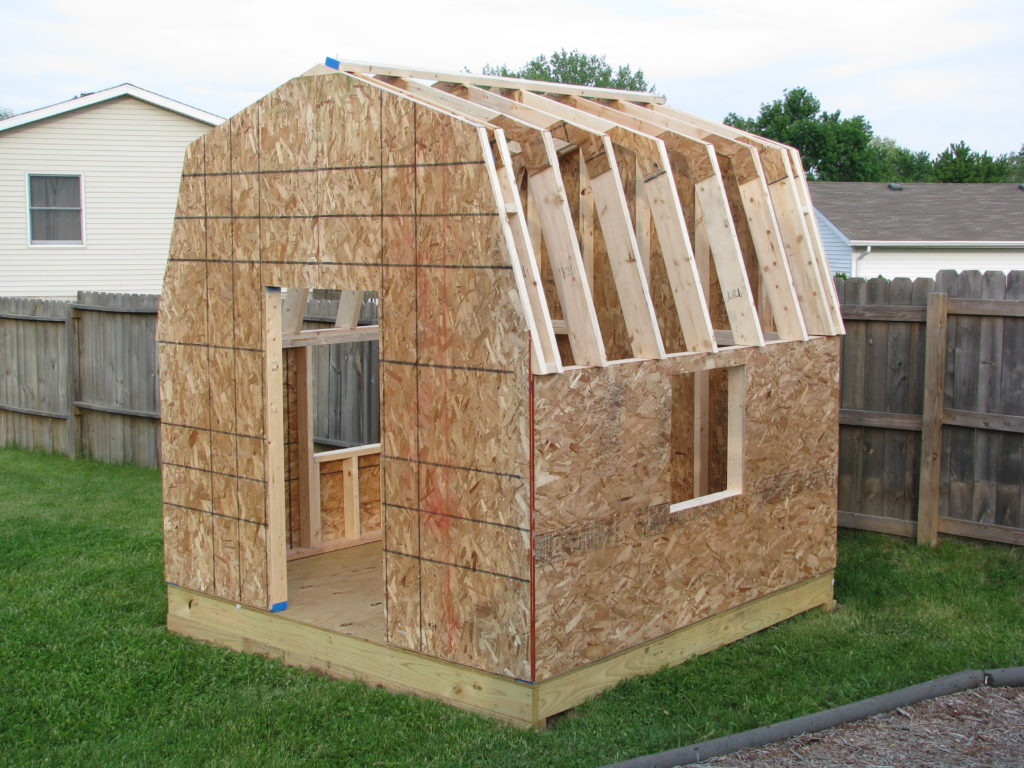
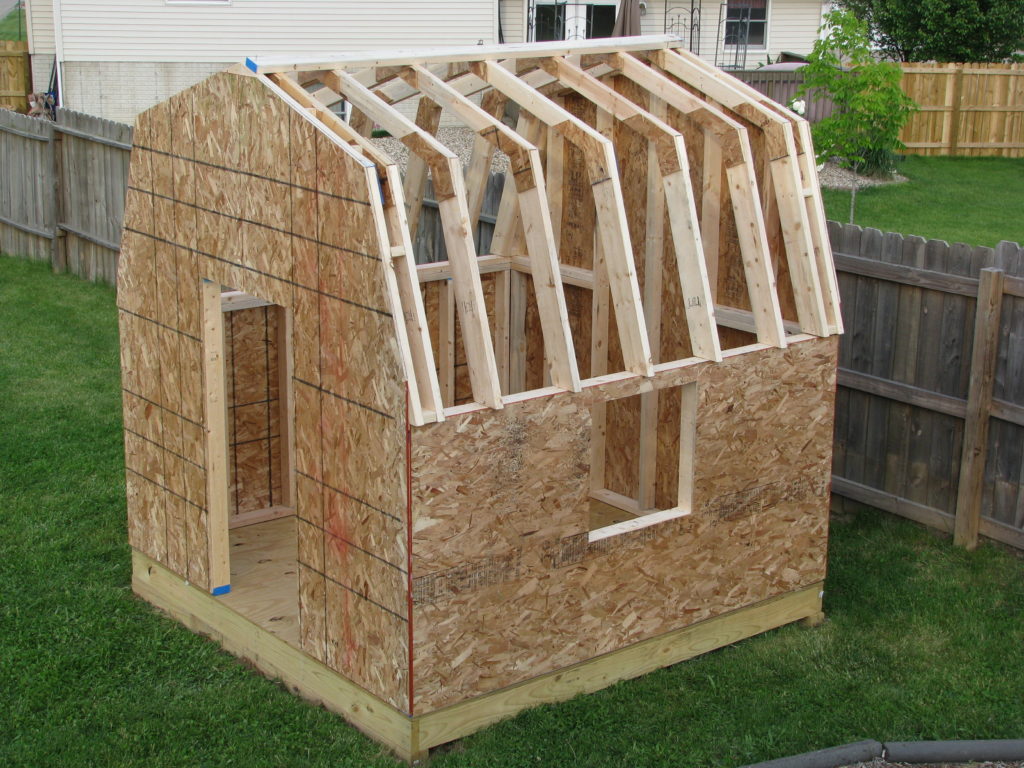
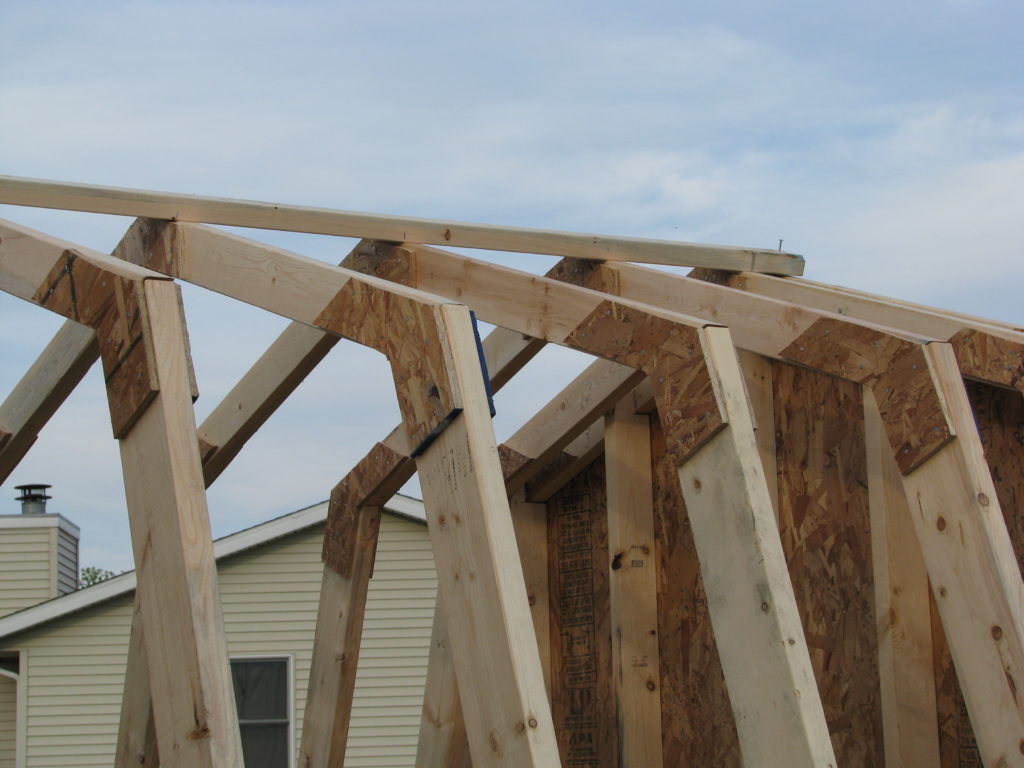
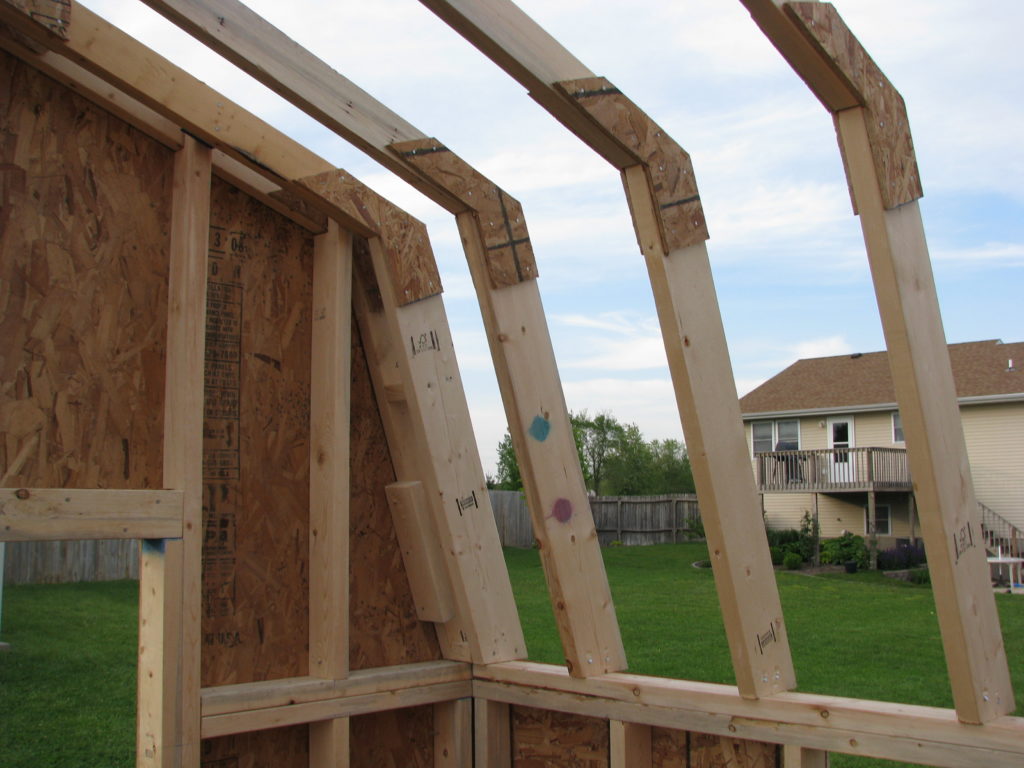
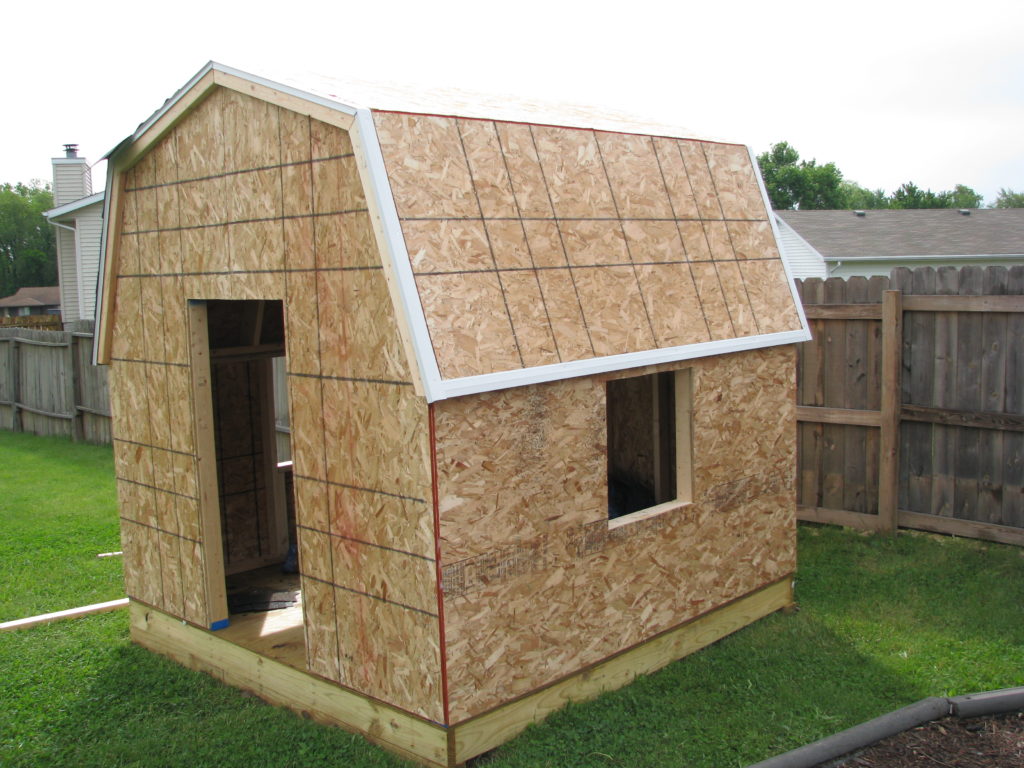
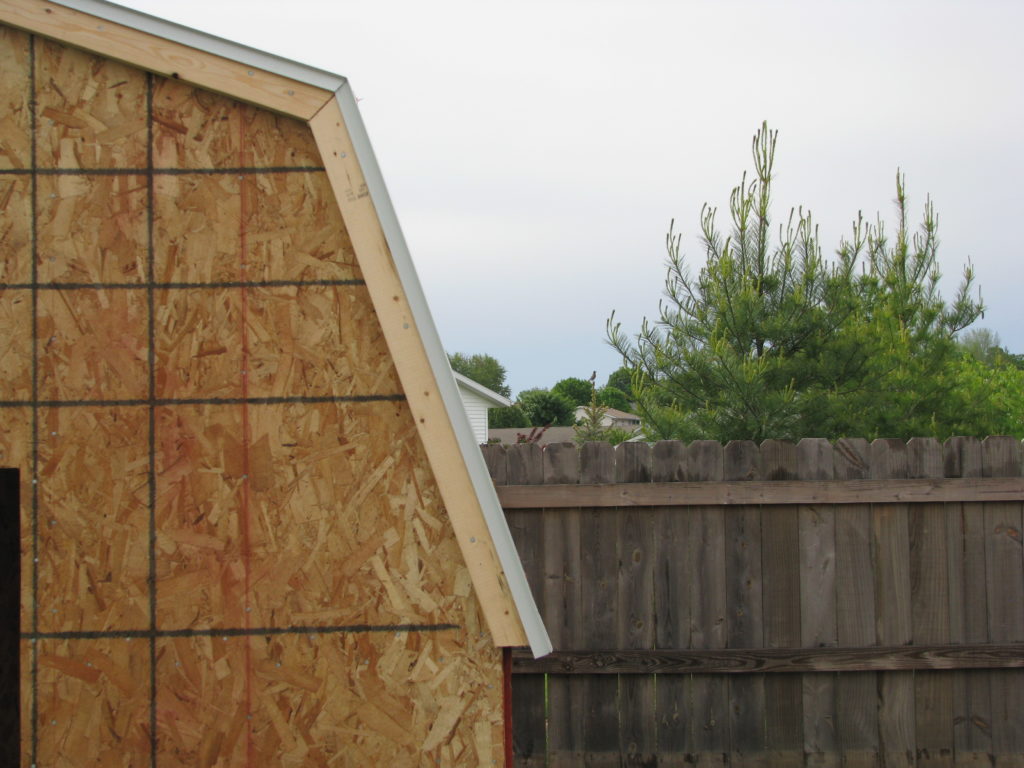
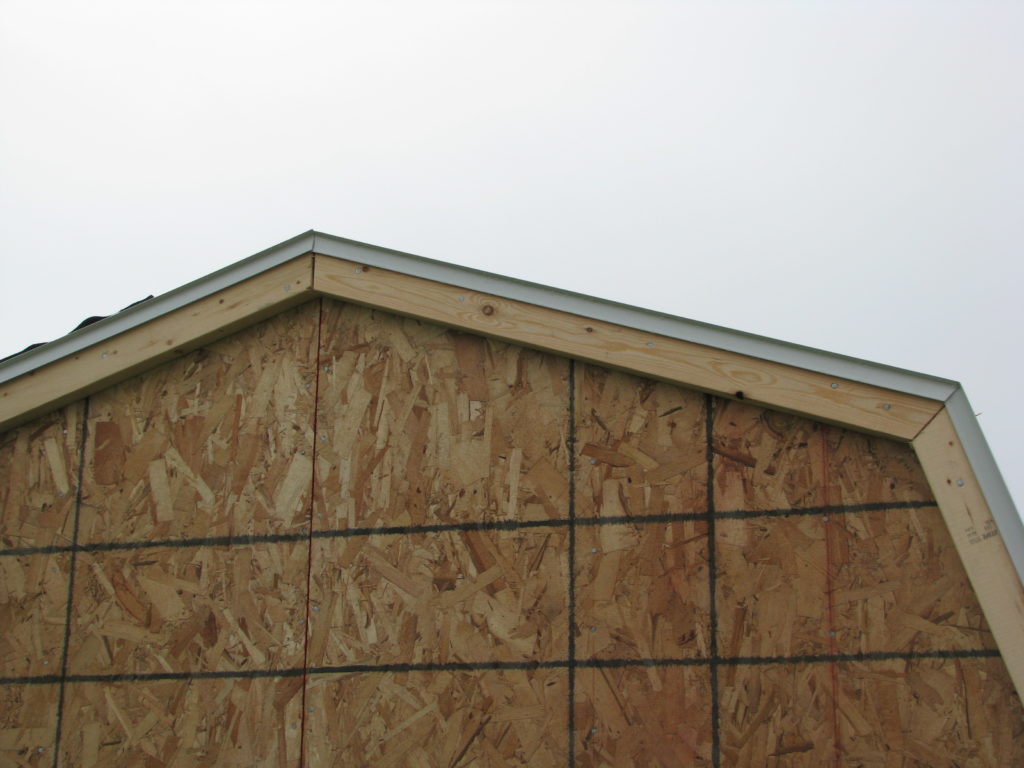
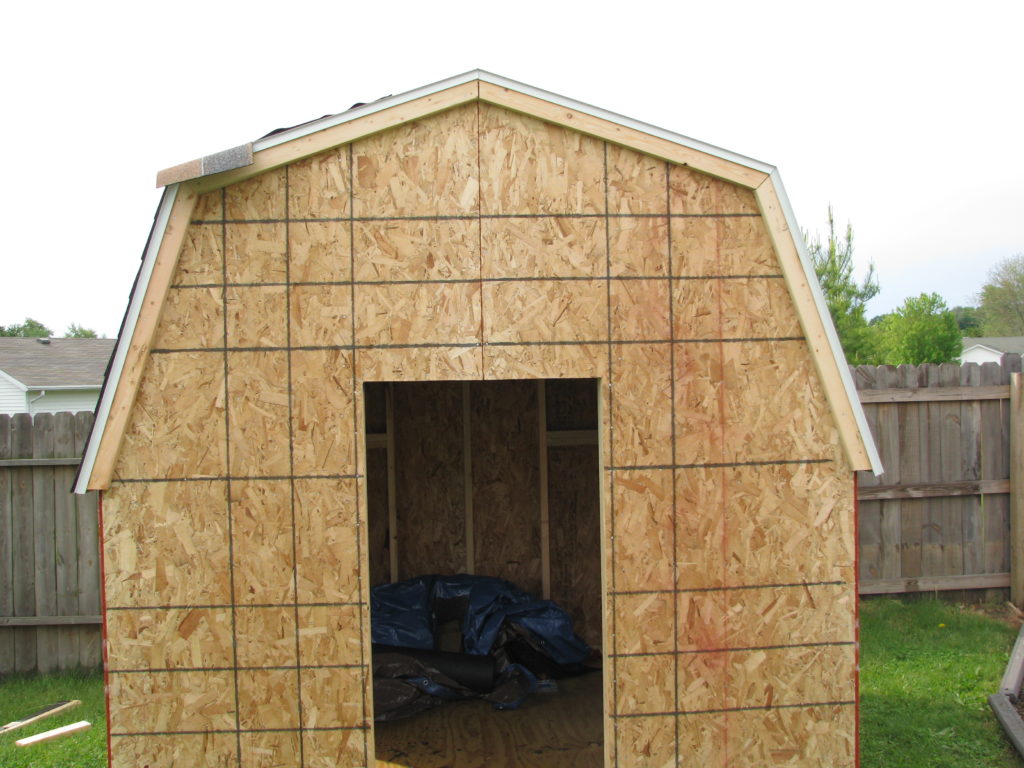
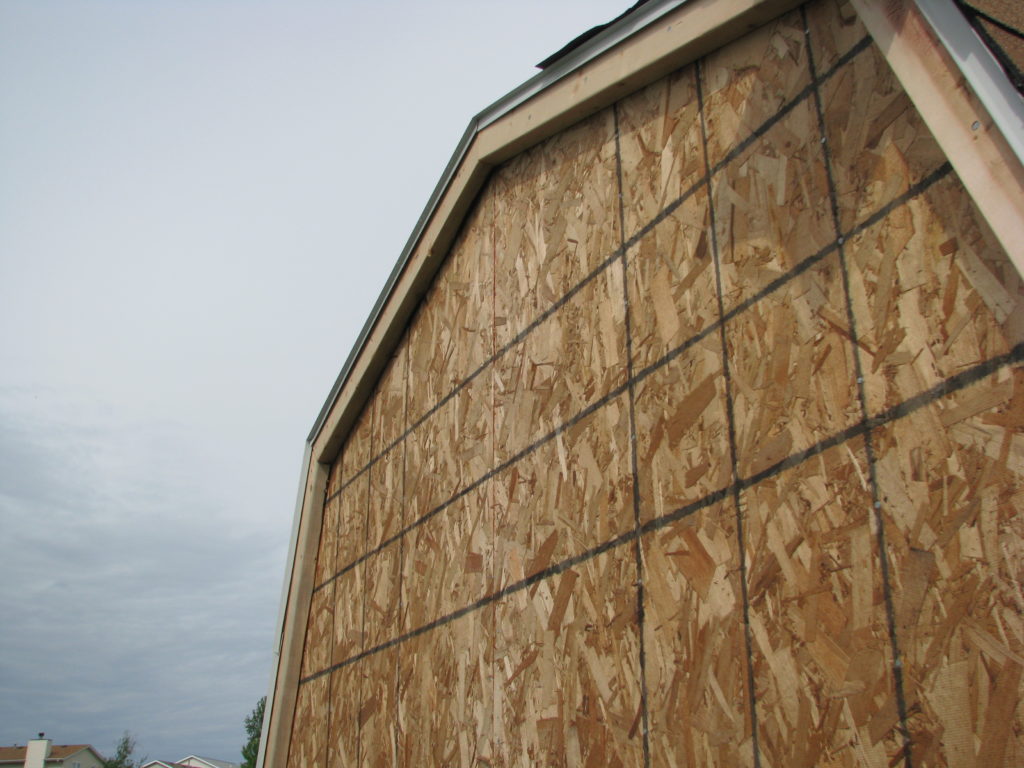
For the first stage, I hand-built the roof trusses and fully assembled each wall (complete with exterior sheathing) in the garage. The roof trusses were designed for a 4/12 pitch on the top of the gambrel roof and a 12/4 pitch on the bottom. The walls were built 16″ on center and had extra studs to allow for interior sheathing. I also built the door out of 1/2″ plywood and 1x4s in the garage. Outside, Evan and I created a level spot in the yard and built the floor from 3/4″ pressure treated plywood and 2x6s on 4×6 skids.
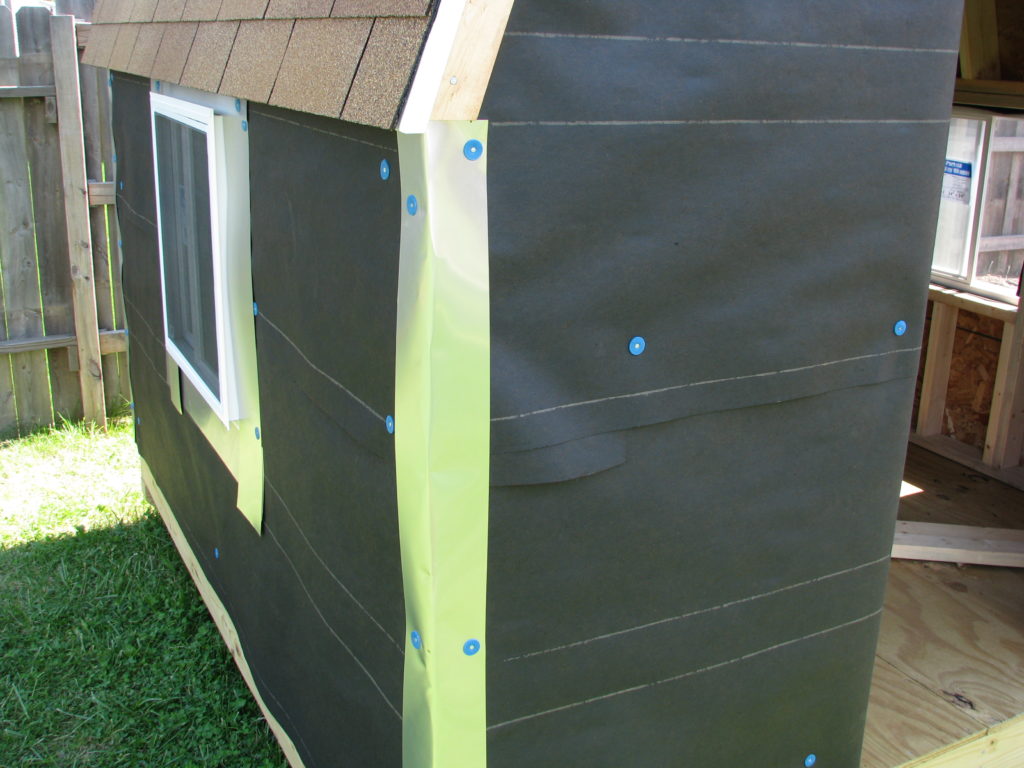
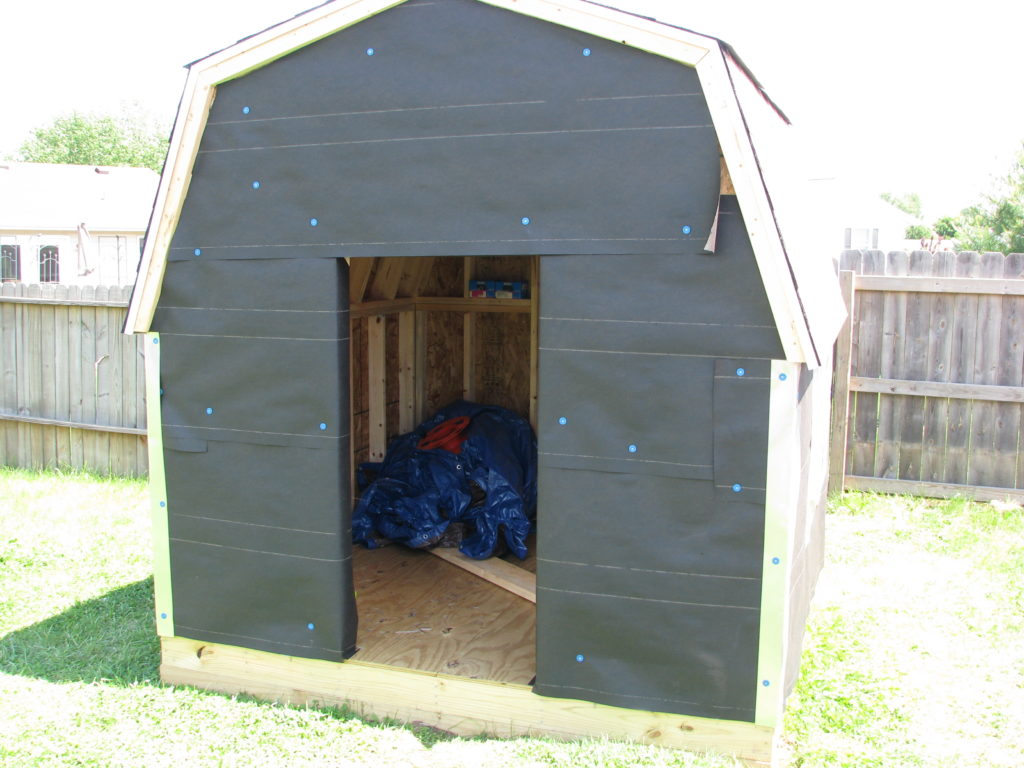
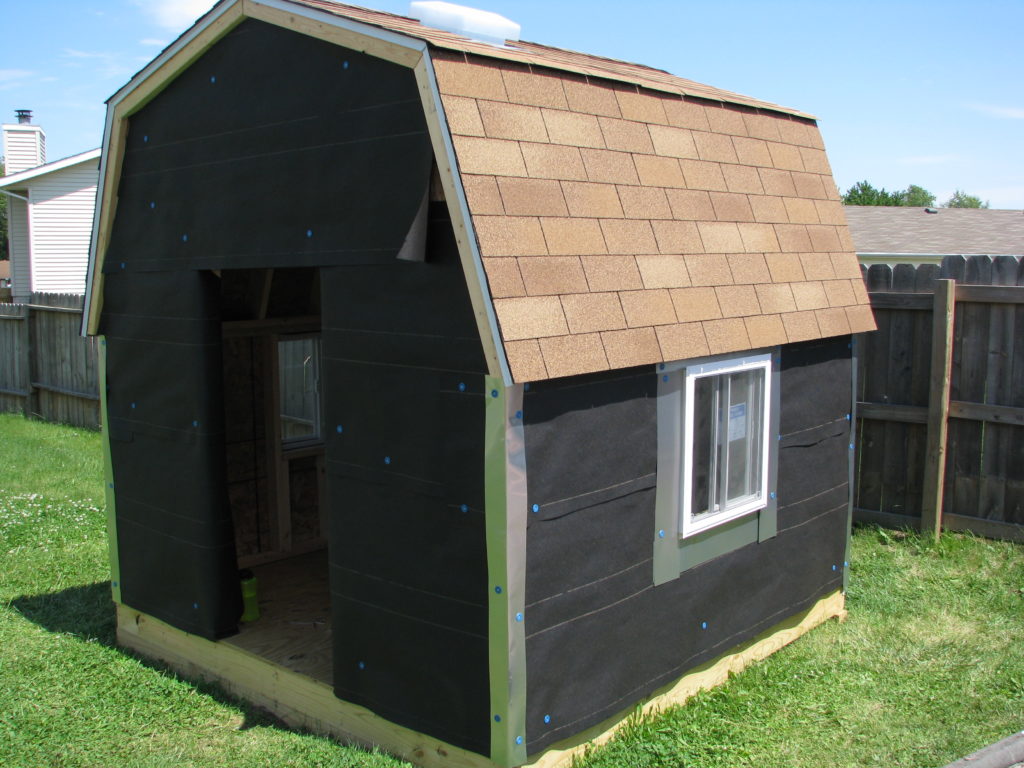
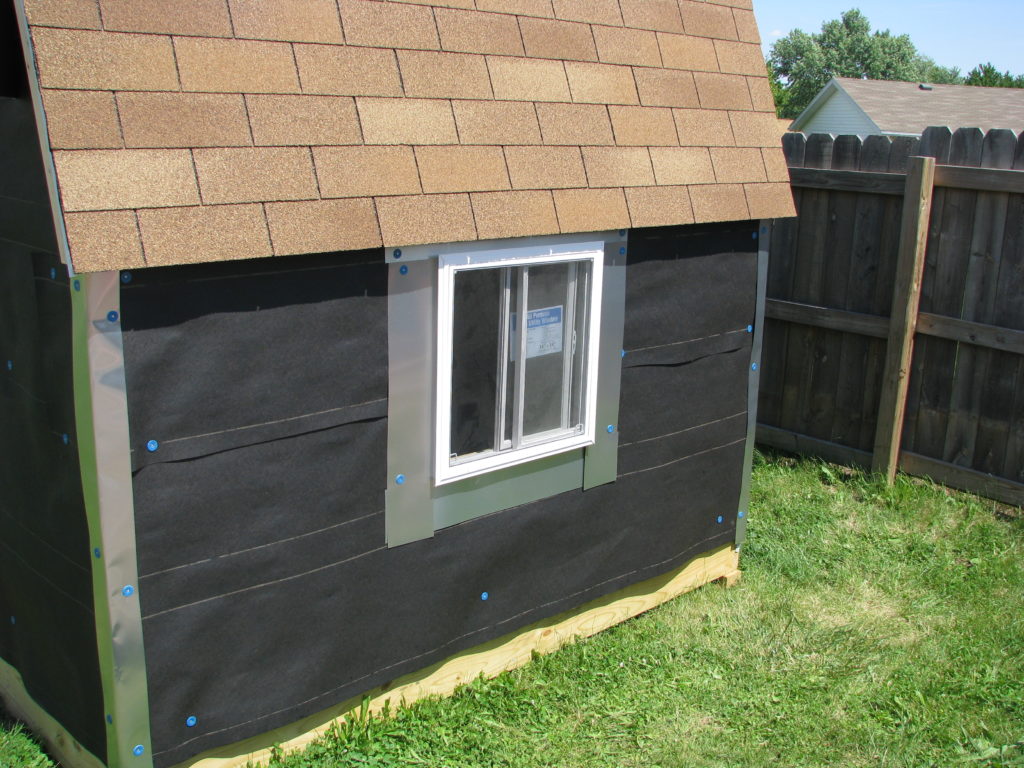
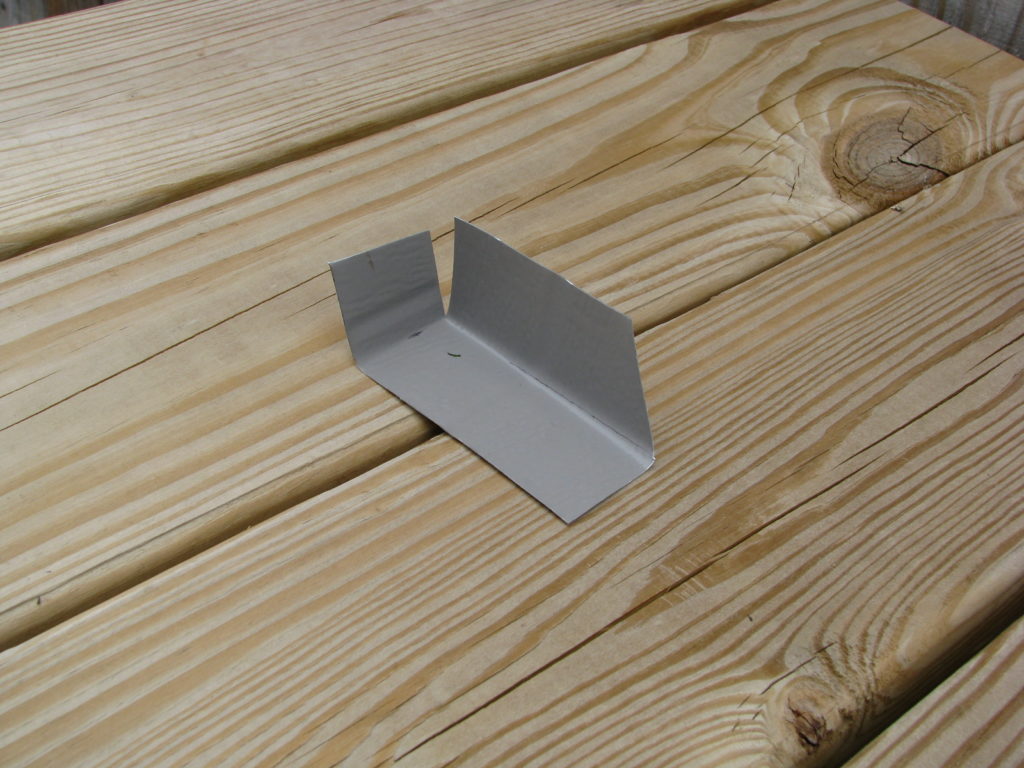
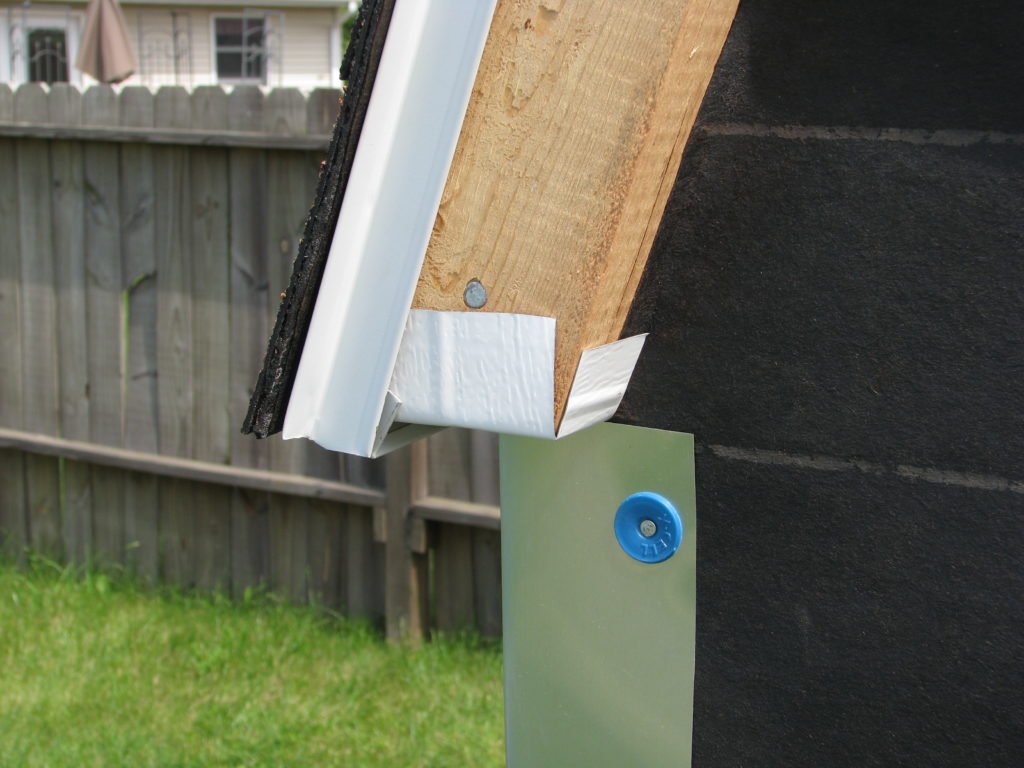
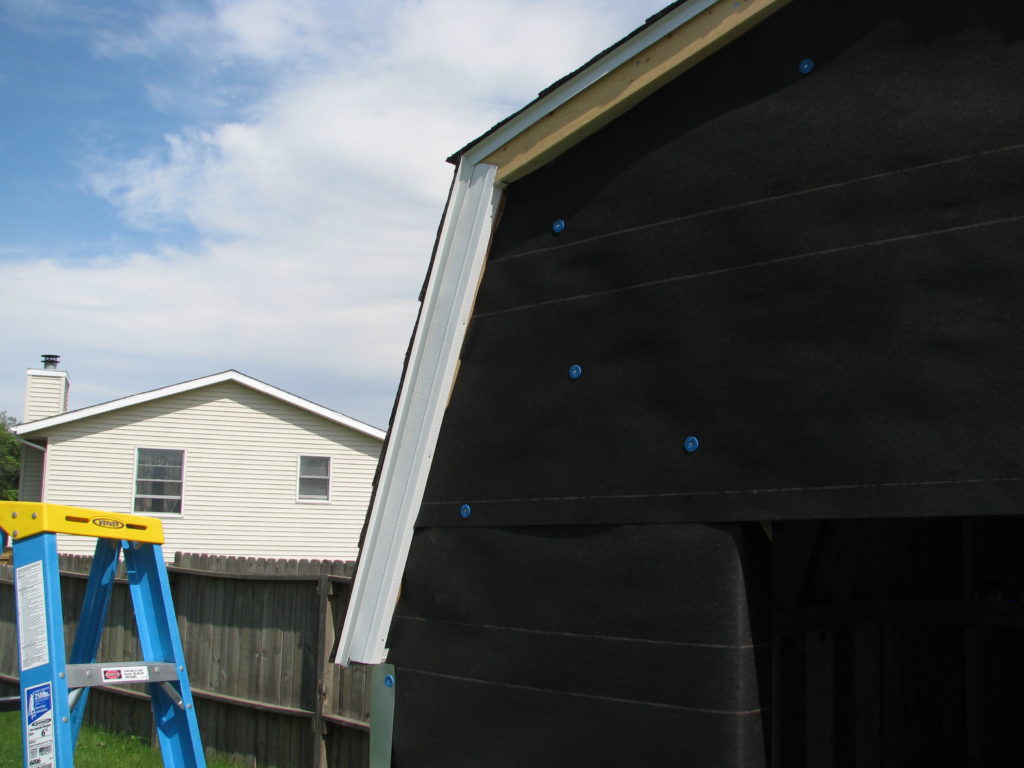
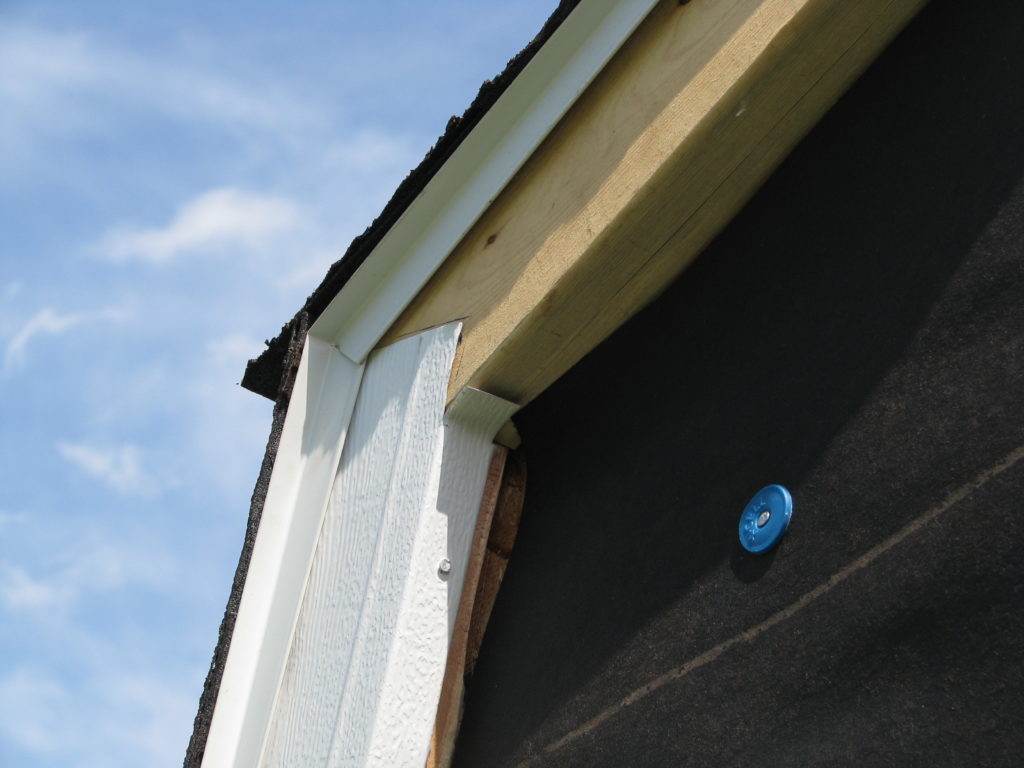
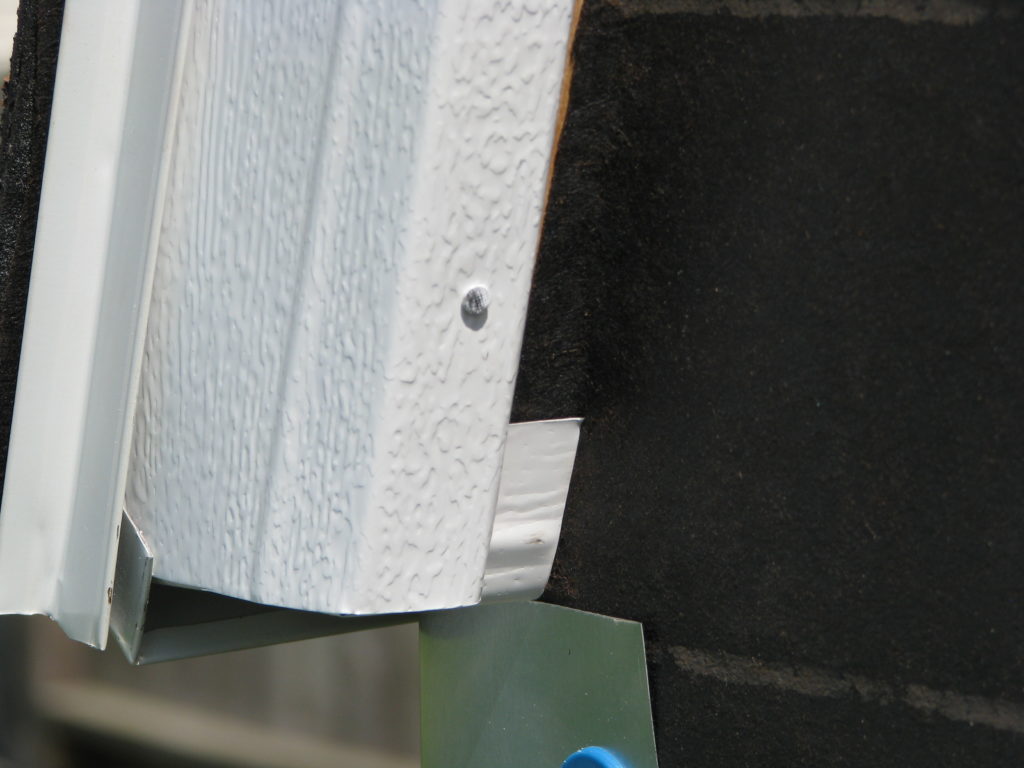
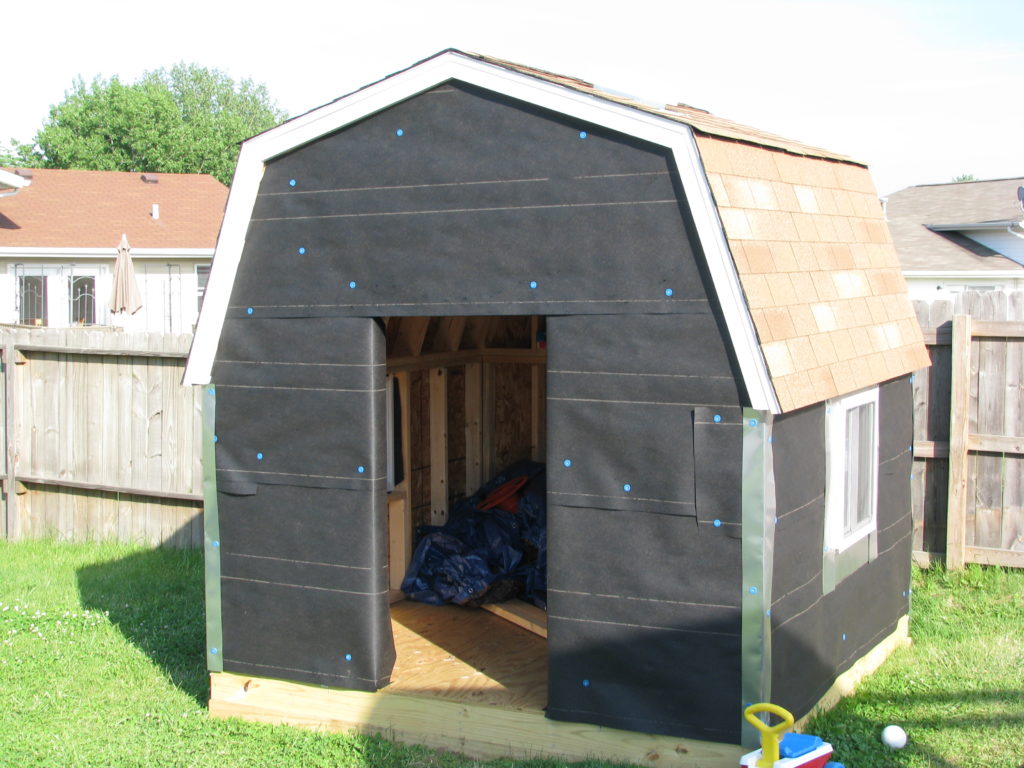
At the beginning of stage two, we had a playdate at our house for my son and his friends, so fortunately I had access to three or four dads to help carry the completed walls outside. Erecting the walls and sheathing the roof by myself was a challenge (the back wall weighed 275 lbs), but I stand by my decision to build that way, since it really reduced the amount of time that the unfinished structure was exposed to the elements. My dad showed me how to do the roofing, which was surprisingly straightforward, and with my wife’s help to put up the building paper, I finished the flashing, fascia, windows, siding, etc. by the following weekend.
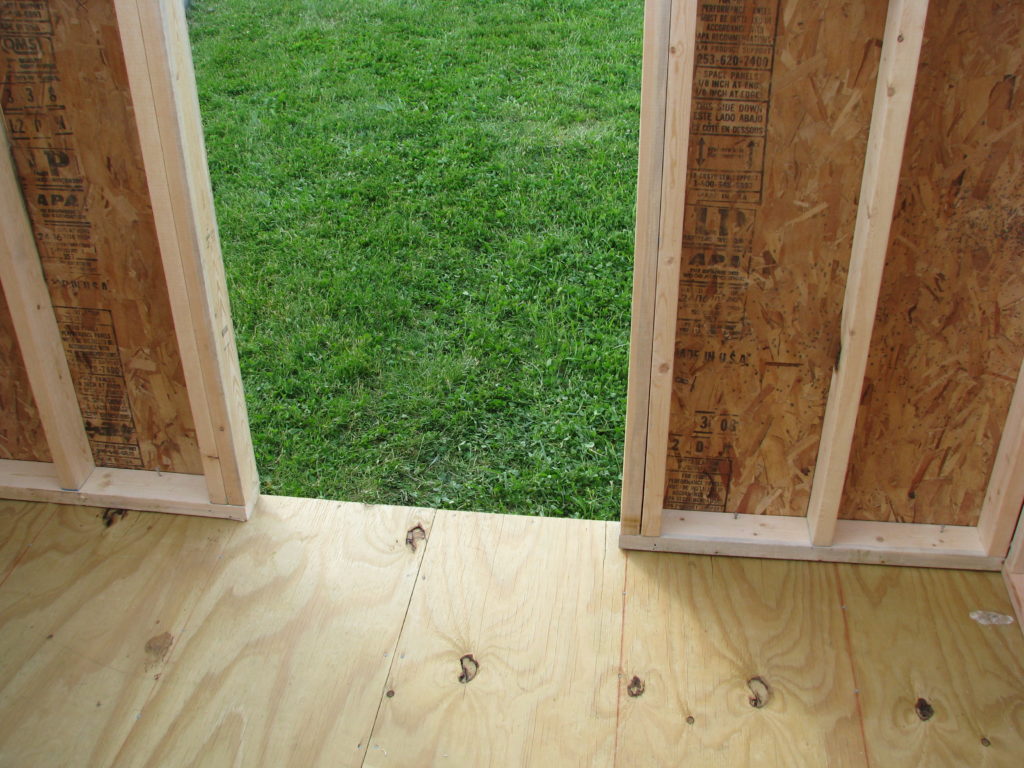
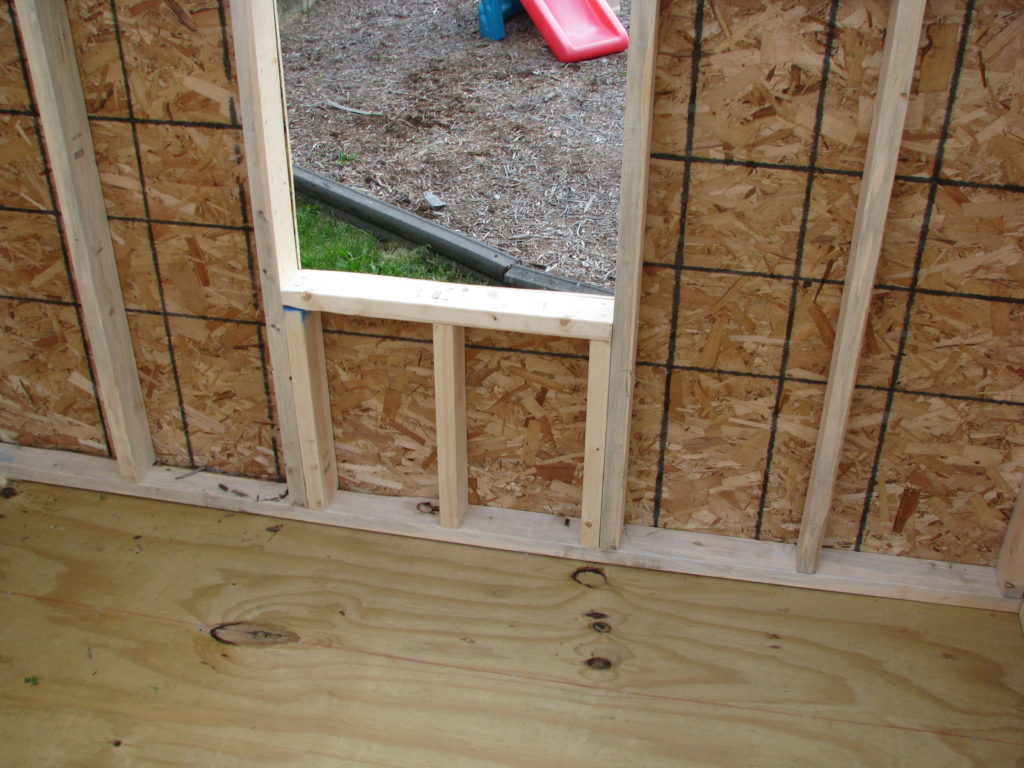
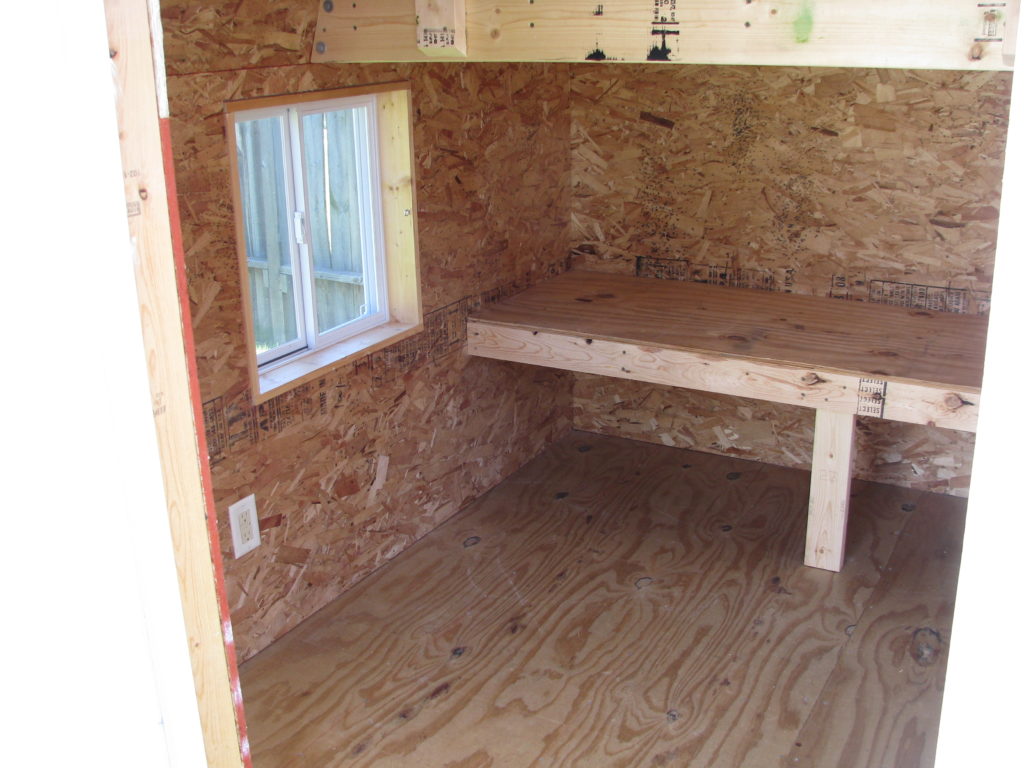
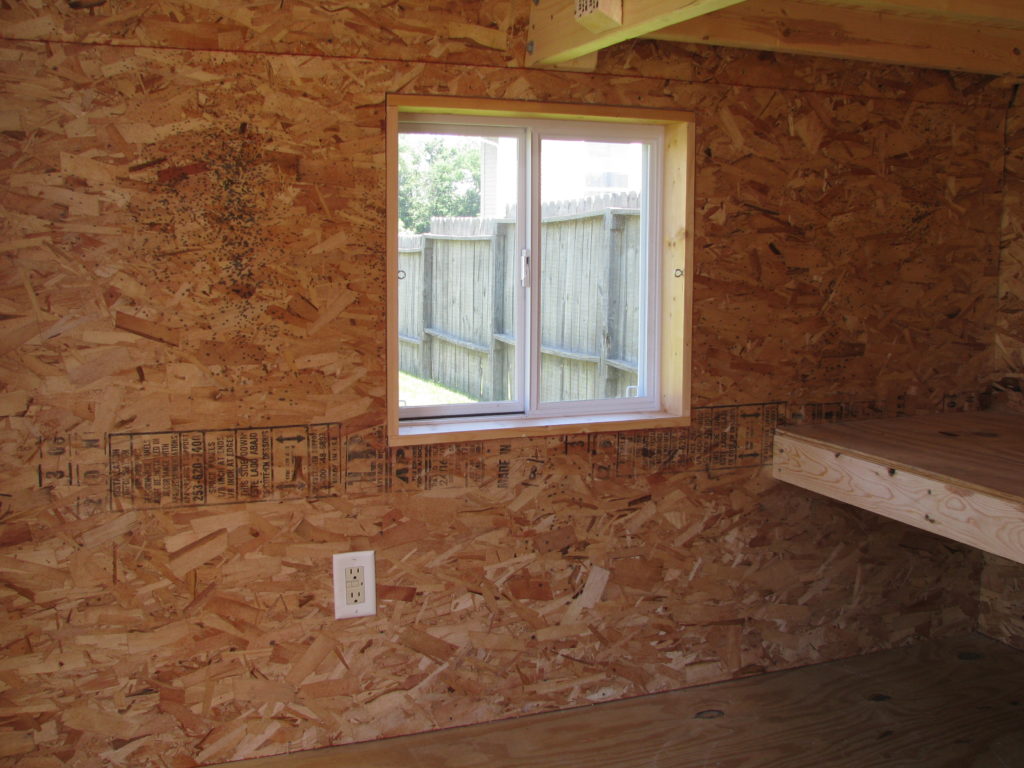
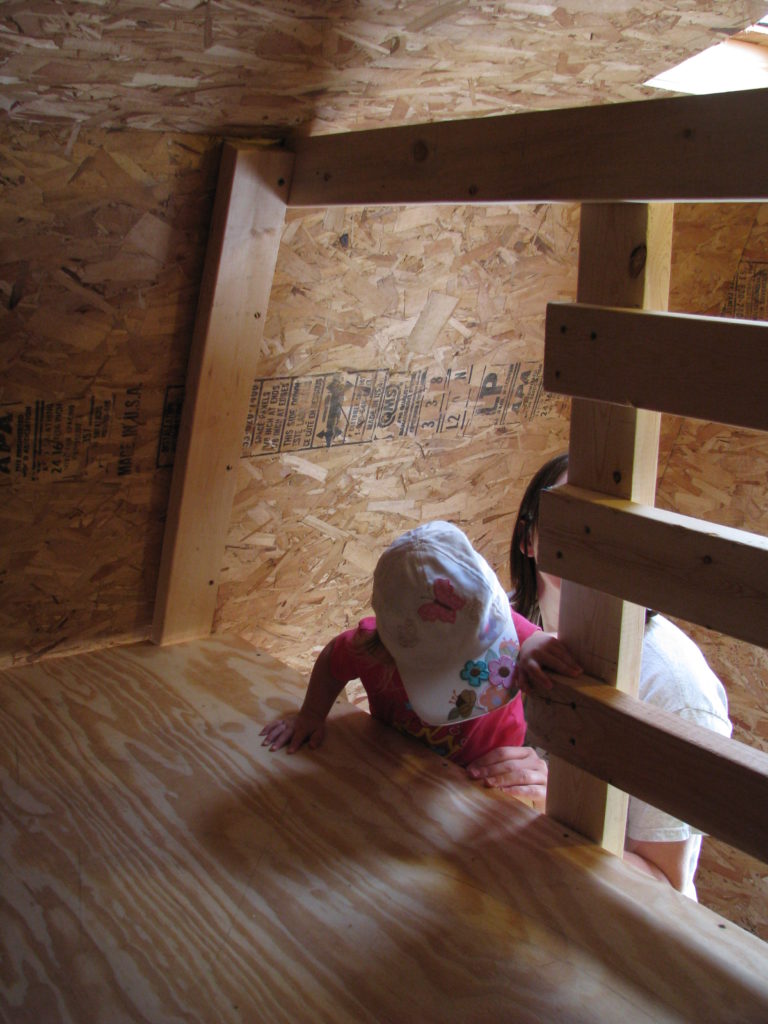
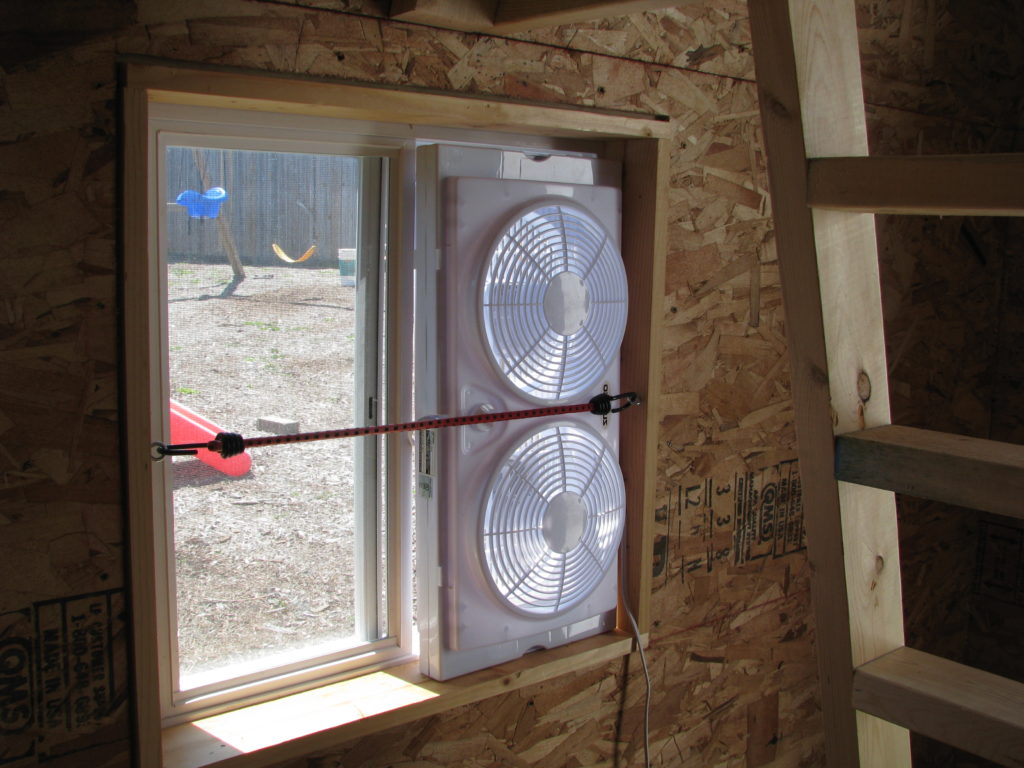
Once everything was weathertight, I got to work inside. I put in a couple of electrical outlets and a ceiling light. Since it can get a bit hot in the summer, I found a box fan to fit into one of the windows for some air circulation. I sheathed the interior walls with OSB, since with vinyl siding there are nails coming through the outside sheathing.
At this point I declared the playhouse open for business. We moved the outdoor toys into the playhouse for easy access and showed Evan the completed project. One of his first questions was “Where’s the potty?” He was under the impression that he was going to live out there full-time.
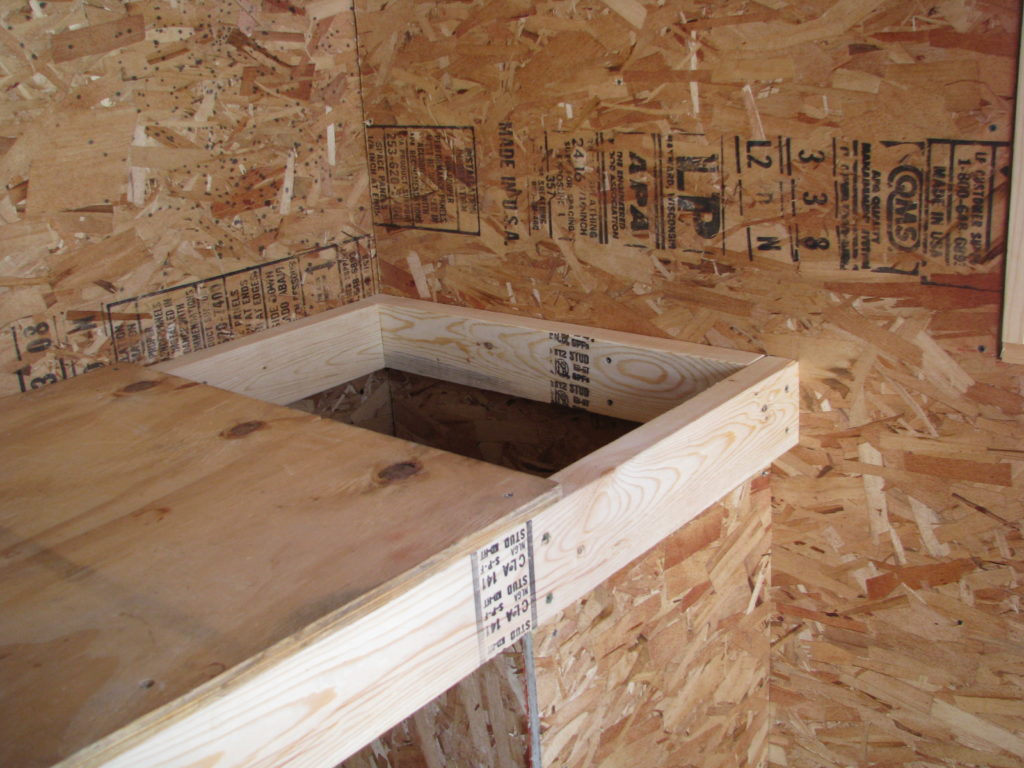
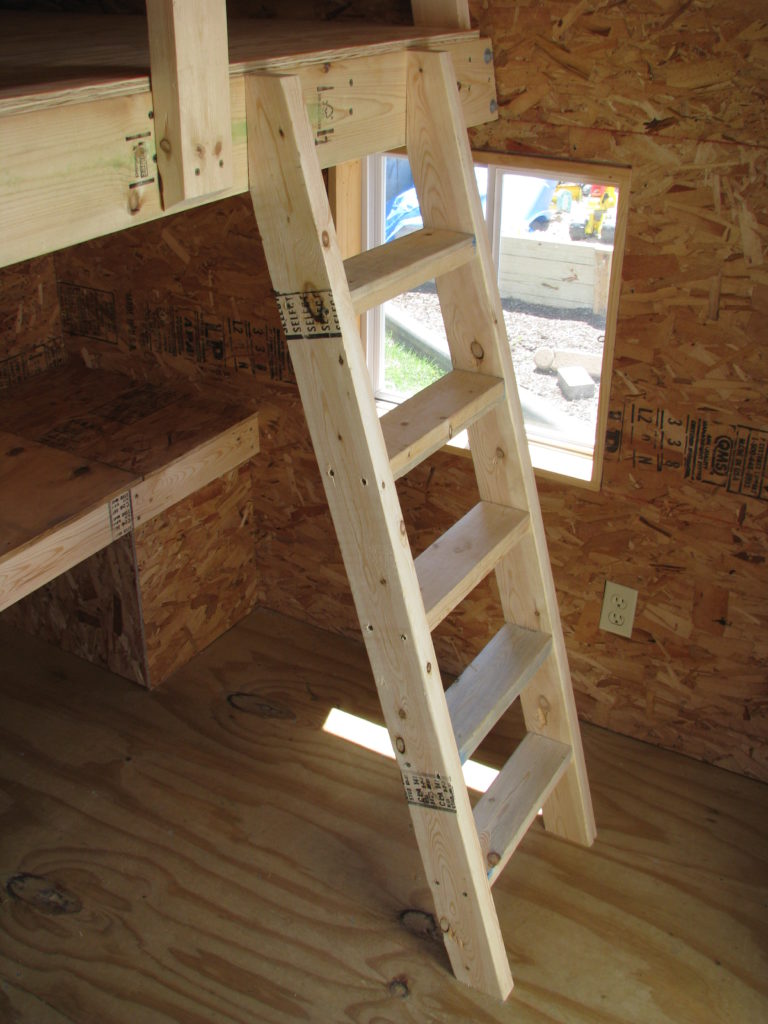
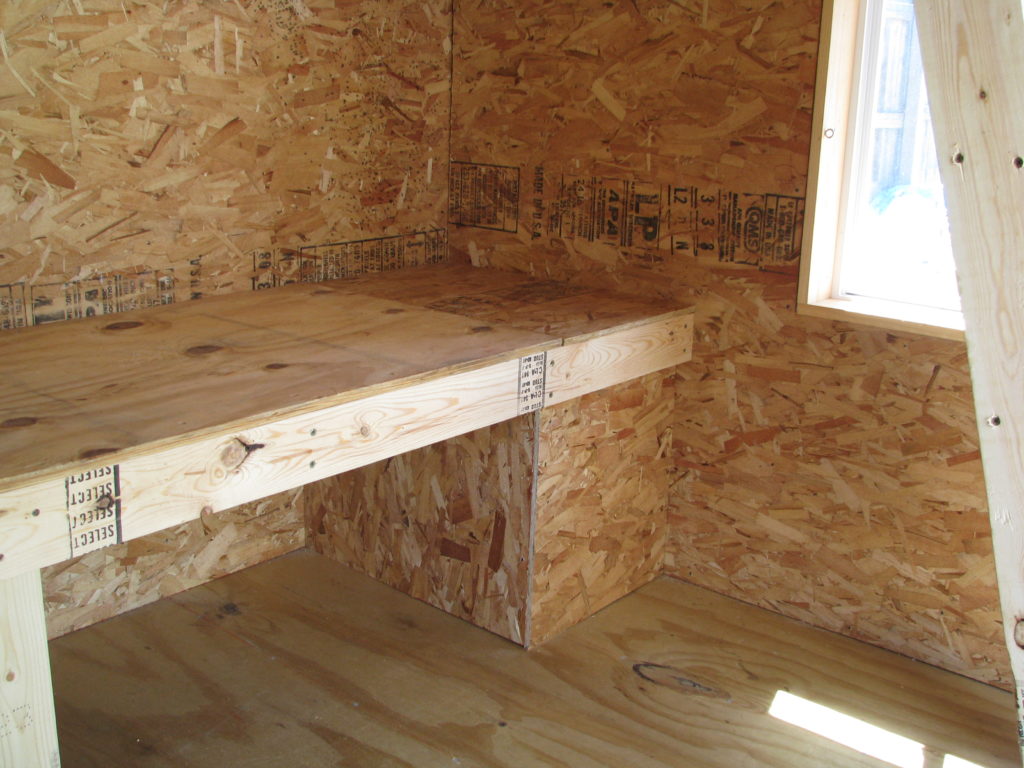
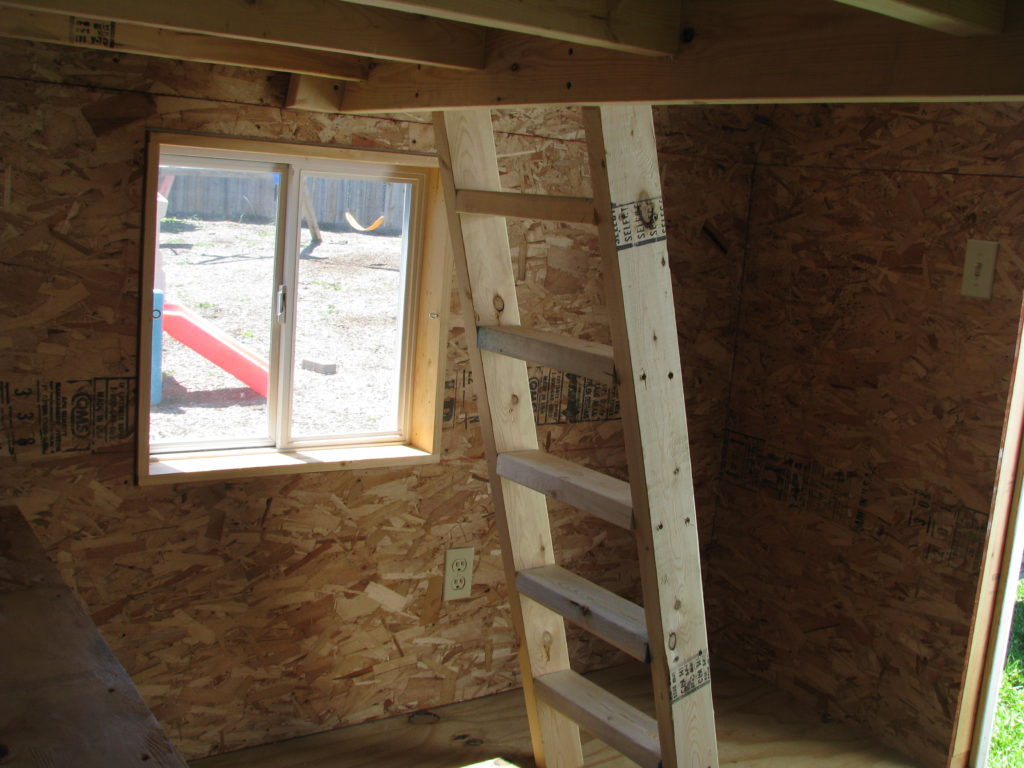
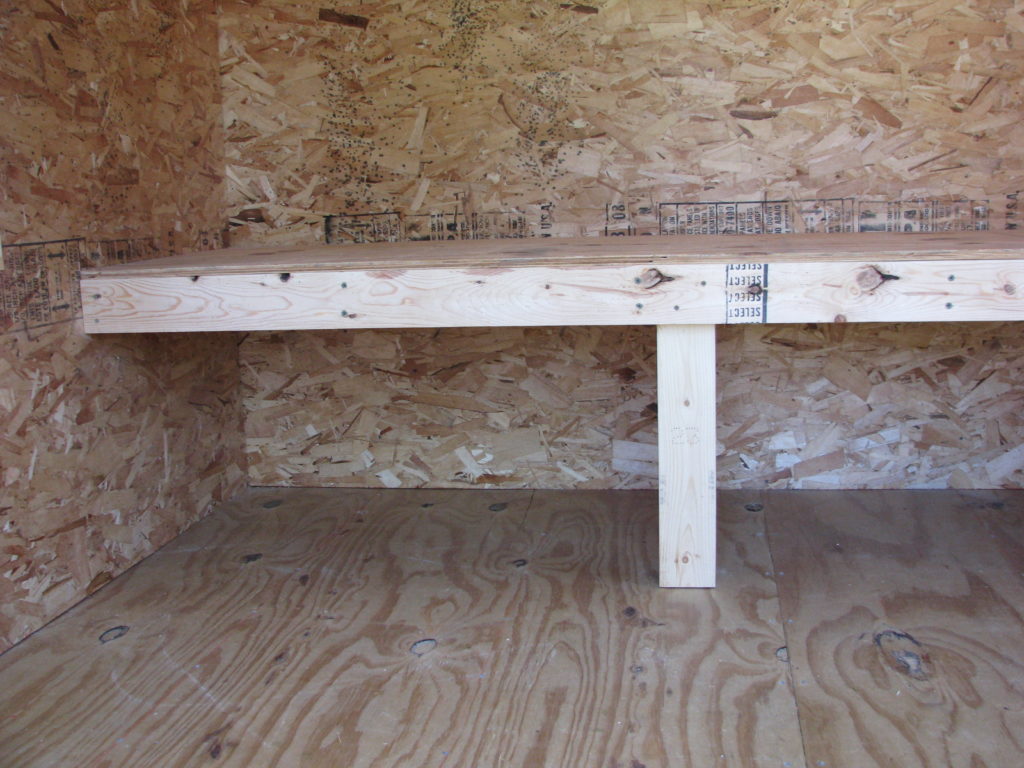
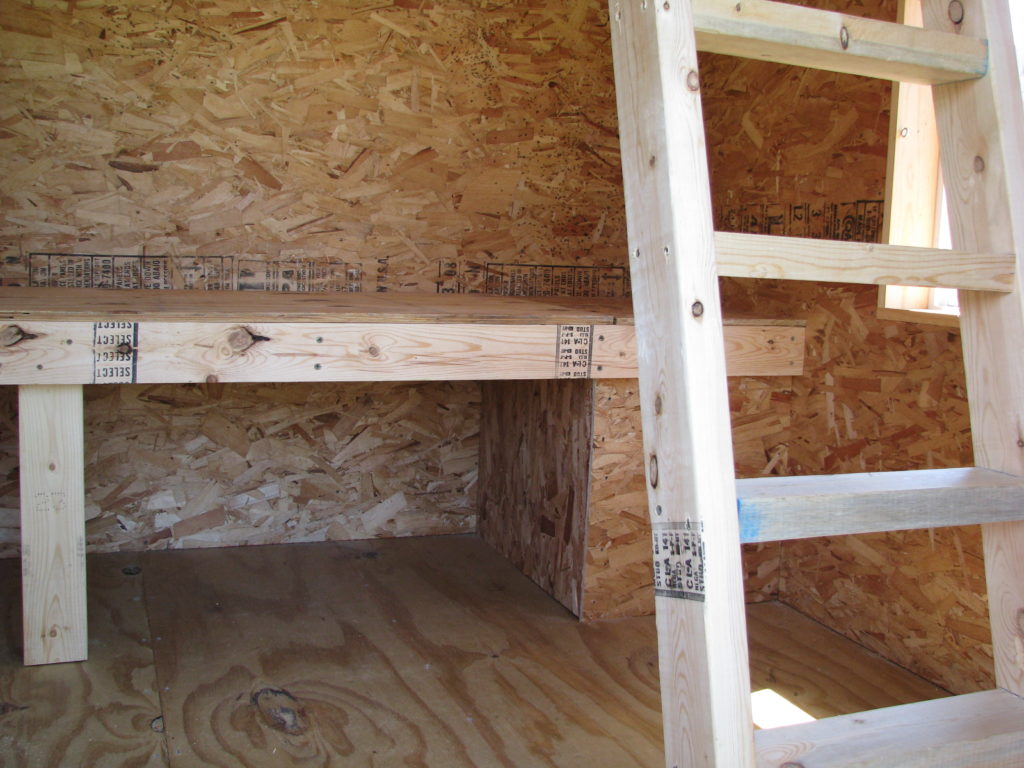
Update 6/05/2009: I finished the interior of the playhouse. The inside is now fully sheathed with OSB. I built a bench across the back wall with Rubbermaid tubs for storage underneath. It also includes a toy box in the corner for larger items like baseball bats.
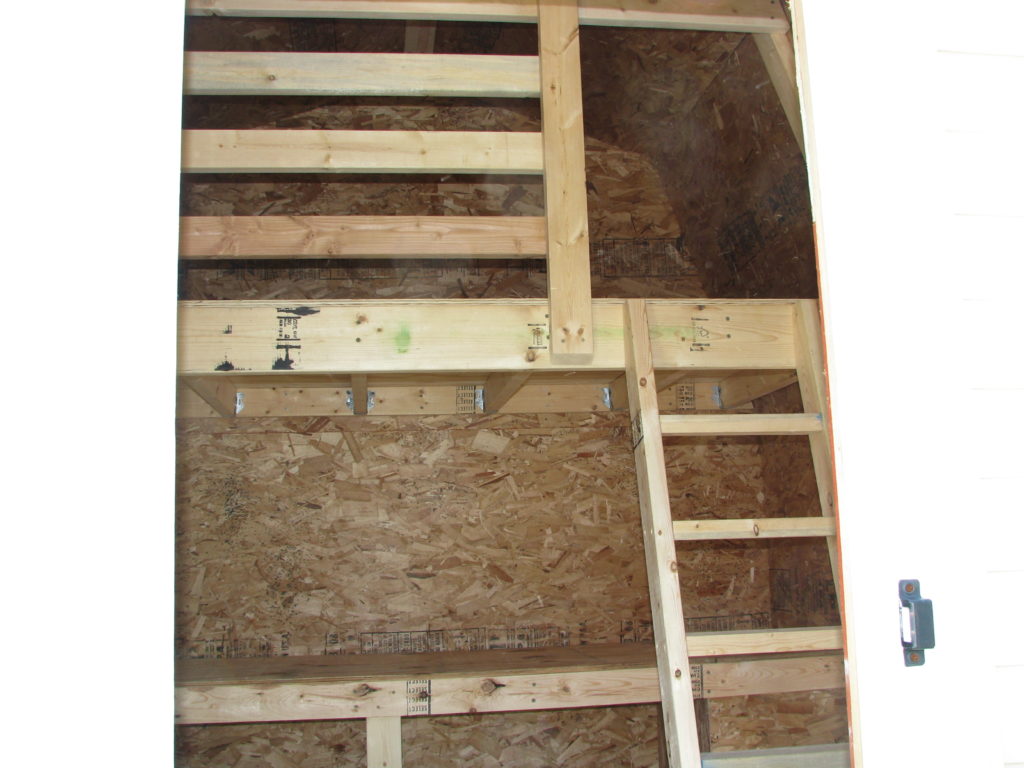
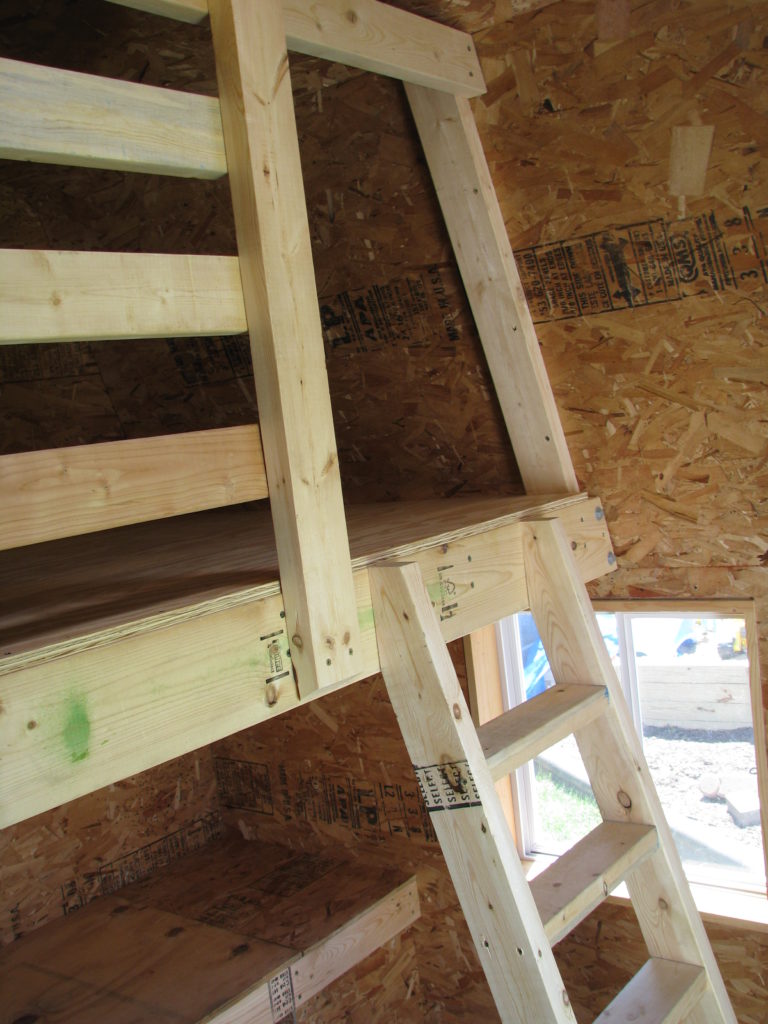
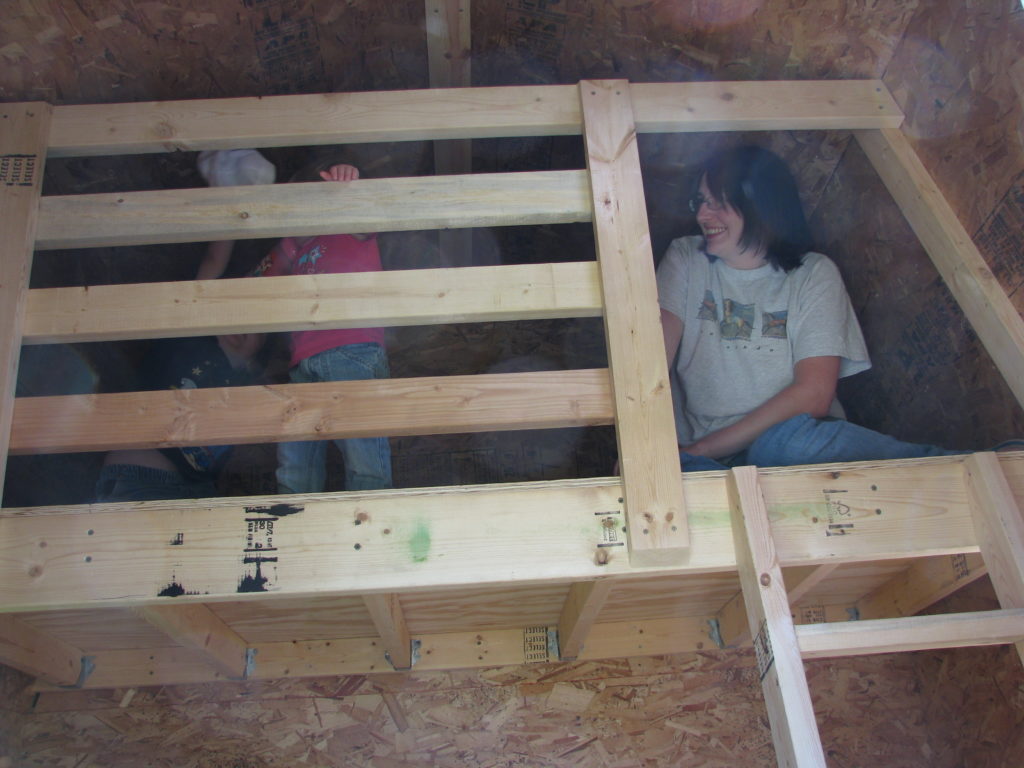
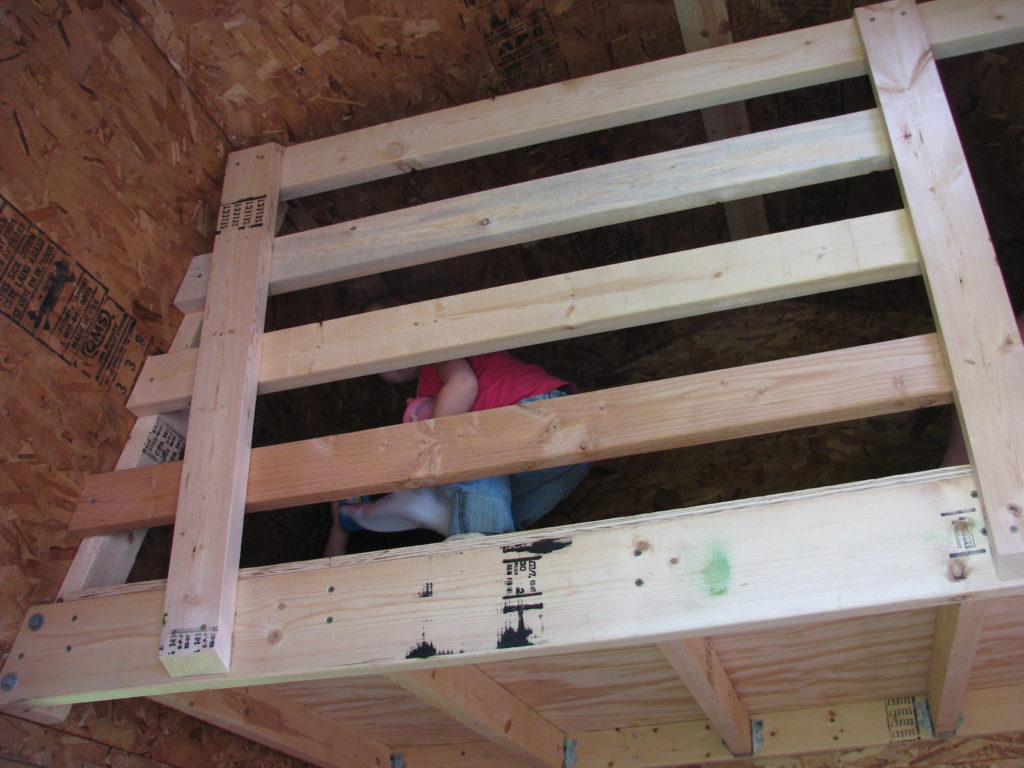
Above is a loft, which Evan calls his “office”. The loft is about 4-1/2 feet off the floor and occupies the back half of the house (so it’s roughly 4×8 feet). The loft has a fixed wooden ladder and a railing with horizontal rails. I had a hard time taking pictures of the interior since my camera’s wide-angle capability was lacking.
A few things I learned on this project:
- Most of those do-it-yourself shed kits at the home improvement stores are junk. They’re very cheaply made and are missing some crucial supports.
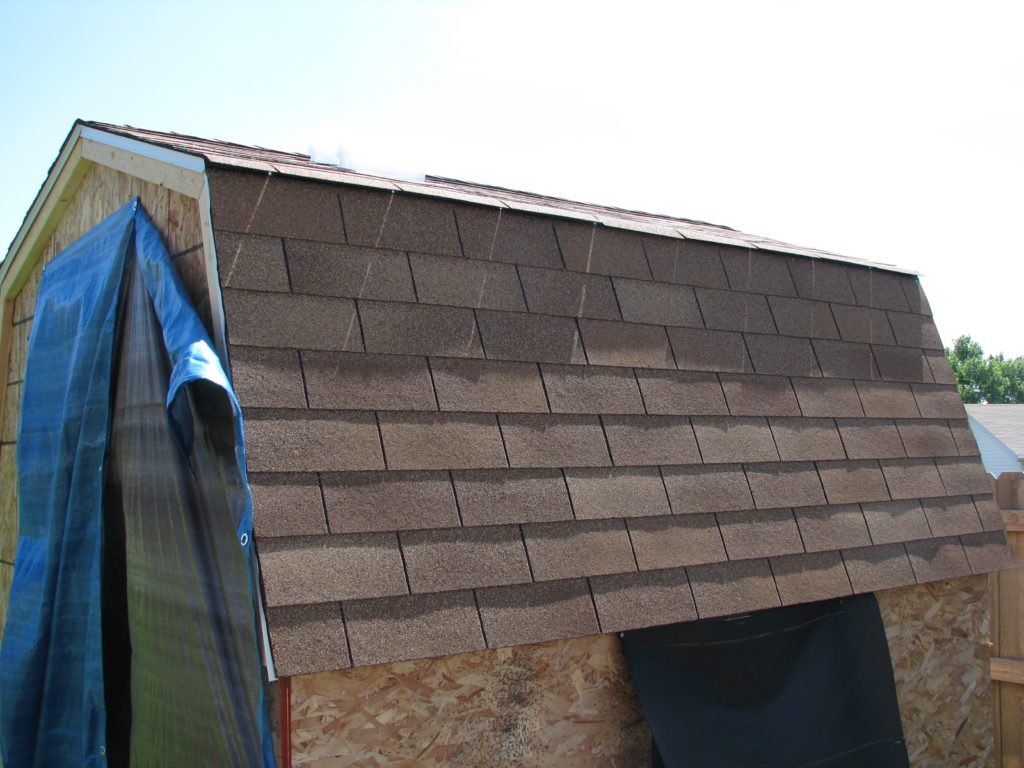
- Roofing is pretty easy, except when your roof is only 8 feet long, you spend a lot of time cutting partial shingles.
- Vinyl siding is easy, cheap and fun to install. By the time I bought the paint, trim and plywood siding I would have spent more than the vinyl.
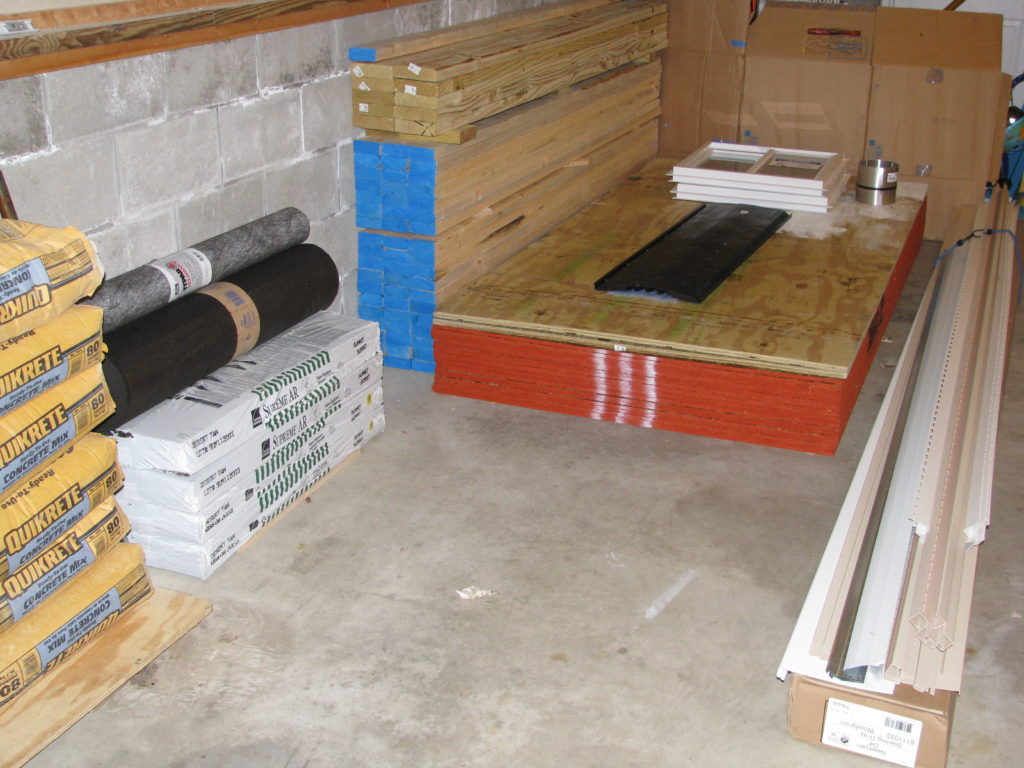
- By keeping an eye on lumber prices, you can save a lot of money. When you buy 20 sheets of plywood, saving a couple of bucks per sheet really helps.
- Menard’s prices on fasteners are much more reasonable than Lowes or Home Depot in my shopping experience.
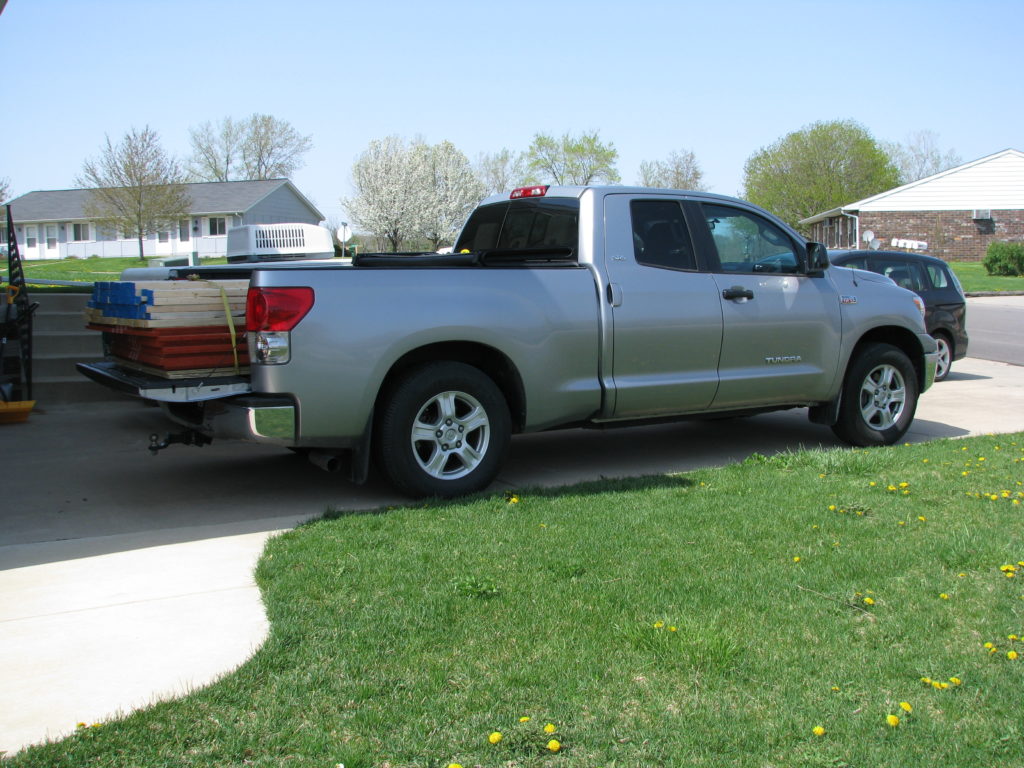
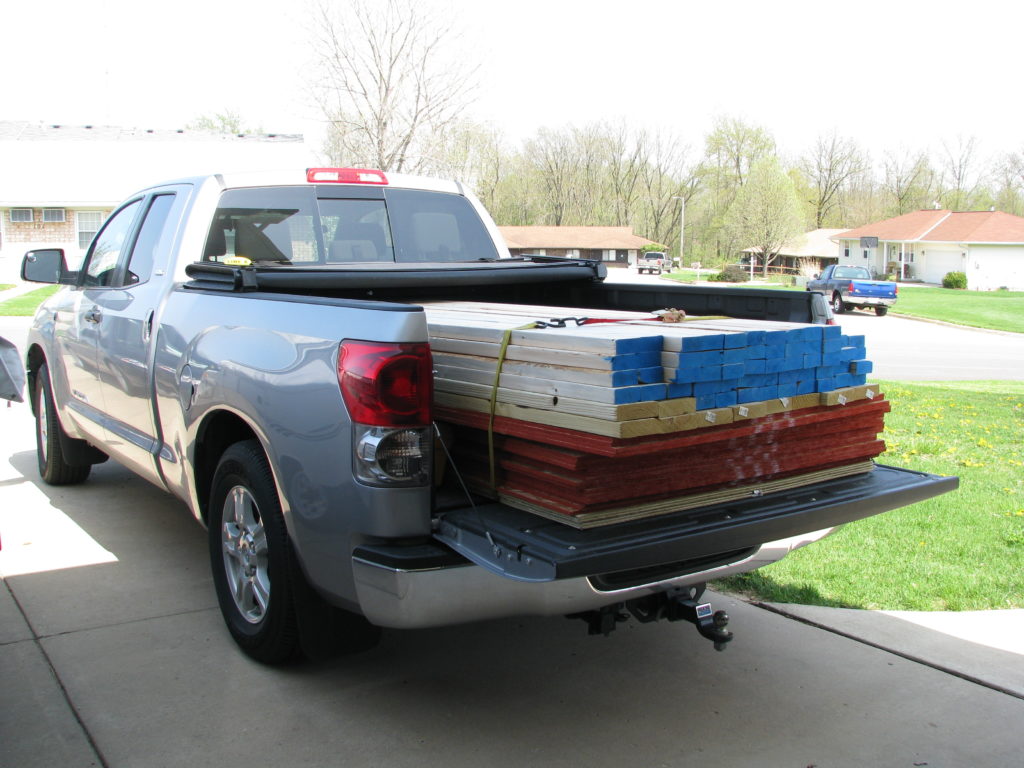
- Drive-in lumber yards are far superior to loading up a cart with 2000 lbs of material.
- A good hammer is a joy to use. I got one as a gift right after I finished this project with a crummy one…
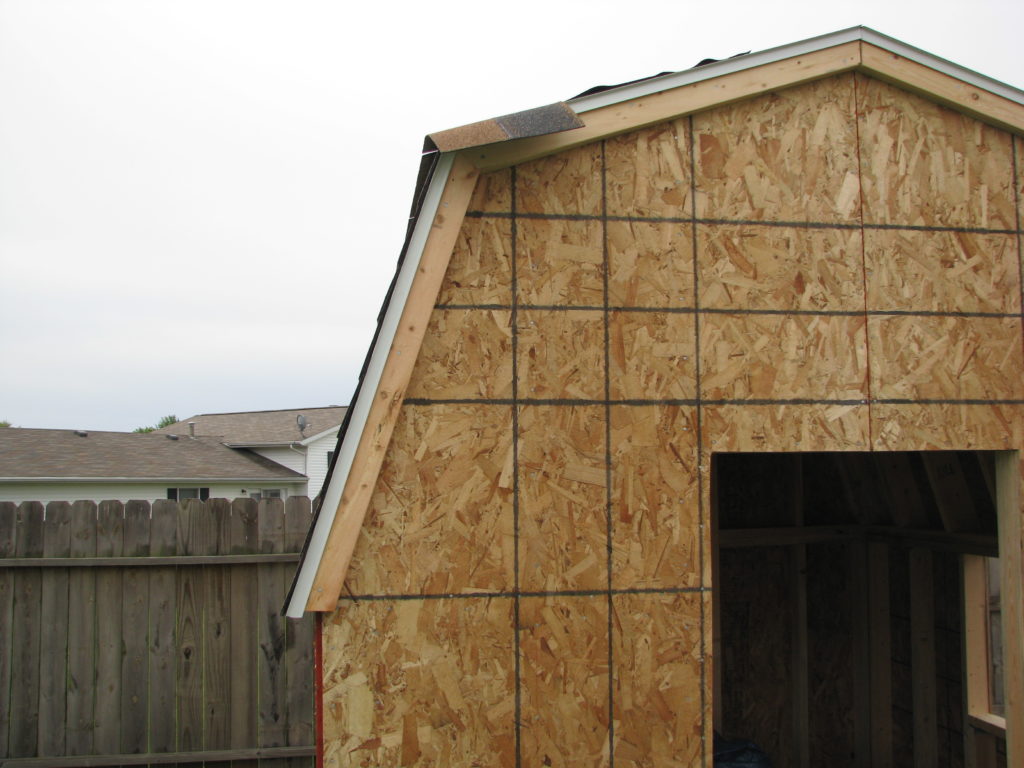
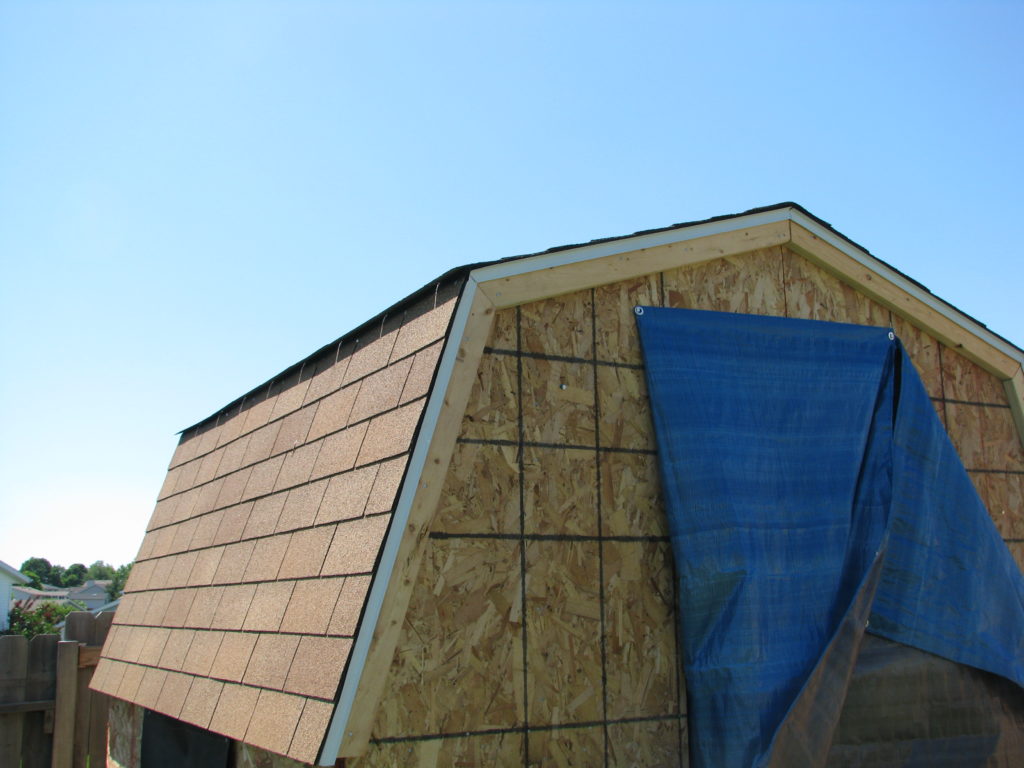
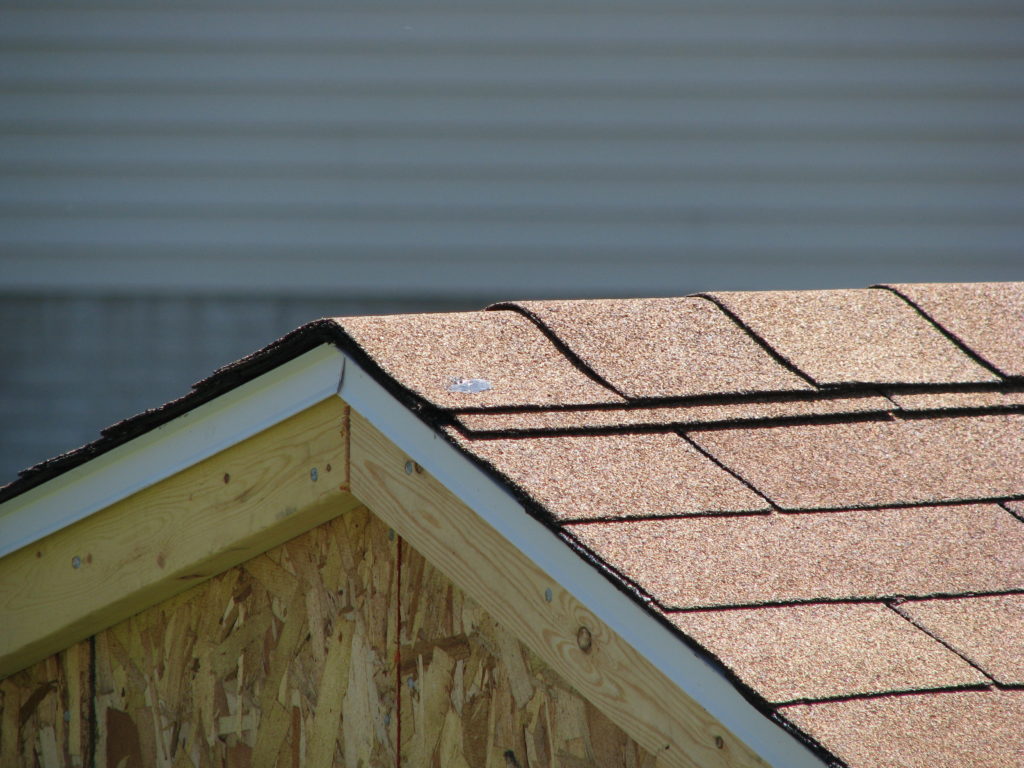
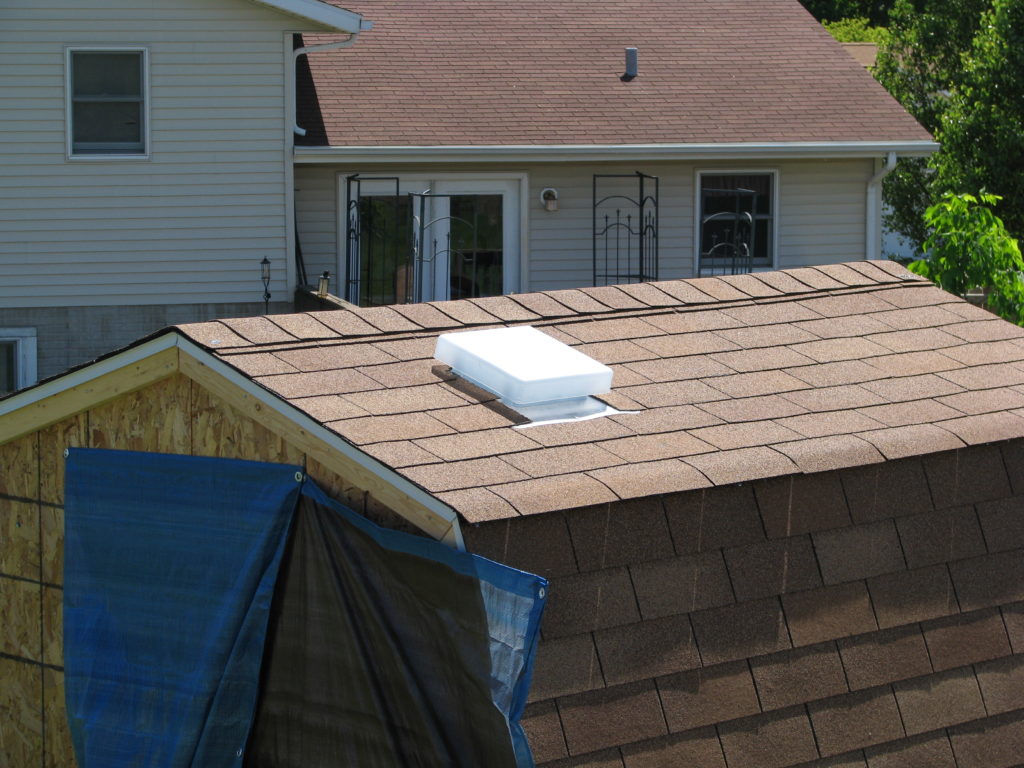
- Shingles don’t bend very well. You’ll see in the photos that I had problems bending the shingles from the upper roof to the lower roof. I redid that part later.
More information:
- The list of materials I bought (with prices) and my labor breakdown (showing how slow I work when I don’t know what I’m doing)
- VSI vinyl siding installation manual
Required tools:
- Circular saw
- Miter saw
- Drill/driver
- Hammer
- Ladder
- Tape measure
- Square
- Level
- Tin snips
- Vinyl siding snaplock tool (purchased for $15)
- Vinyl siding unlock tool (purchased $5)
- Electrical tools (wire stripper, etc.), if you’re installing outlets
- Shovel, if you need to level the site
Construction Photos:


Very beautiful playhouse. I will make one for my son.
I want to build one as well……I want mine 10×10 as i already have a slab that big. How would i measure the trusses?
Thanks
Hi David- my old high school trigonometry teacher wouldn’t approve of me not showing my work, but here’s how to calculate your trusses. First, as I mentioned above, the top roof is 4/12 pitch and the bottom is 12/4. That means each roof segment is the same length. If my math is correct, the length of each segment is .395 times the span of your roof. So, for your 10 foot span, each segment would be 3.95 feet, which is about 3ft 11-1/2in.